> ## Documentation Index
> Fetch the complete documentation index at: https://docs.cysmiq.com/llms.txt
> Use this file to discover all available pages before exploring further.
# Install in your environment
> Deploy the Cysmiq self-hosted platform on Kubernetes using Replicated.
## Overview
Cysmiq self-hosted deployments use Replicated. Choose an installer option for your environment.
## Installer options
Install on an existing Kubernetes cluster with the Replicated Admin Console. Continue with the steps below.
Replicated KURL builds a Kubernetes cluster as part of installation. See the Replicated guide for [KURL](https://docs.replicated.com/enterprise/installing-kurl-requirements).
## Prerequisites
* Two license files from Cysmiq: a Replicated license (`.yaml`) and a Cysmiq application license (`.lic`)
* Network access for Replicated and Cysmiq endpoints. See [network requirements](/self-hosting/network-requirements)
- A Kubernetes cluster that meets the [self-hosting requirements](/self-hosting/requirements)
- `kubectl` configured with cluster-admin access
- Replicated KOTS CLI installed. Follow the [KOTS CLI getting started guide](https://docs.replicated.com/reference/kots-cli-getting-started)
- A DNS name or load balancer for your Cysmiq app if you plan to expose it with Ingress or HTTPProxy
* Review the Replicated Embedded Cluster requirements and prerequisites
* Review the Replicated KURL requirements and prerequisites
## Steps
Run the install command provided during onboarding. It prompts you for a namespace and the Admin Console password.
```bash Install command theme={null}
kubectl kots install cysmiq/stable
```
```text Example output theme={null}
Enter the namespace to deploy to:
• Deploying Admin Console
• Creating namespace ✓
• Waiting for datastore to be ready ✓
Enter a new password for the admin console (6+ characters): ••••••••
• Waiting for Admin Console to be ready ✓
• Press Ctrl+C to exit
• Go to http://localhost:8800 to access the Admin Console
• To access the Admin Console again, run kubectl kots admin-console --namespace
```
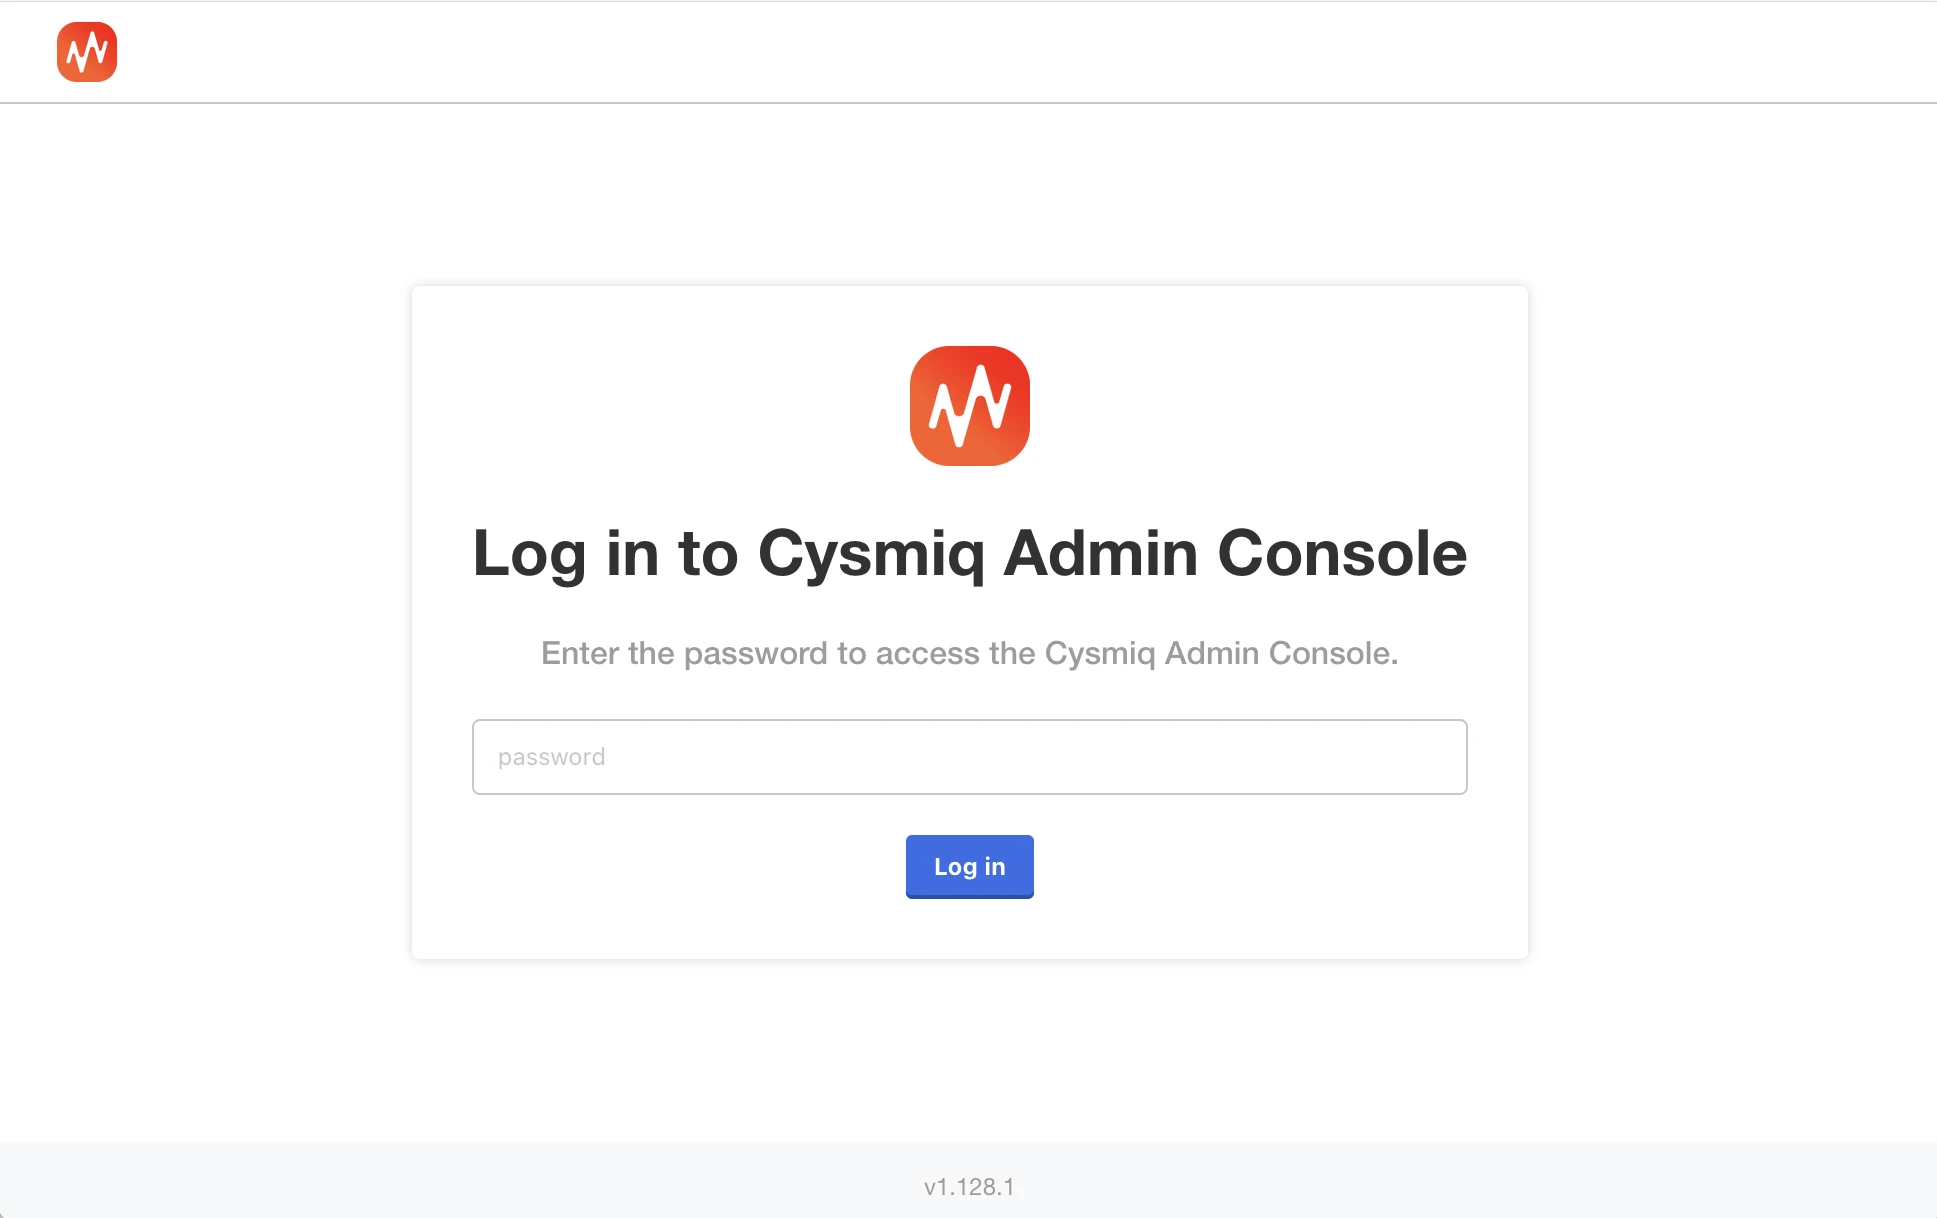
When the install completes, keep the terminal output. It includes the Admin Console access URL.
If your workstation can reach `http://localhost:8800`, open it and log in with the password you set.
 If you need to reopen the console later, run:
```bash Reopen the Admin Console theme={null}
kubectl kots admin-console --namespace
```
If you run `kubectl` on a remote VM and cannot access `http://localhost:8800`, expose the `kotsadm` service and access it via the node IP.
```bash Expose the Admin Console with NodePort theme={null}
kubectl edit svc kotsadm --namespace
```
Change `type: ClusterIP` to `type: NodePort`, save, then run `kubectl get svc -n ` to find the assigned port.
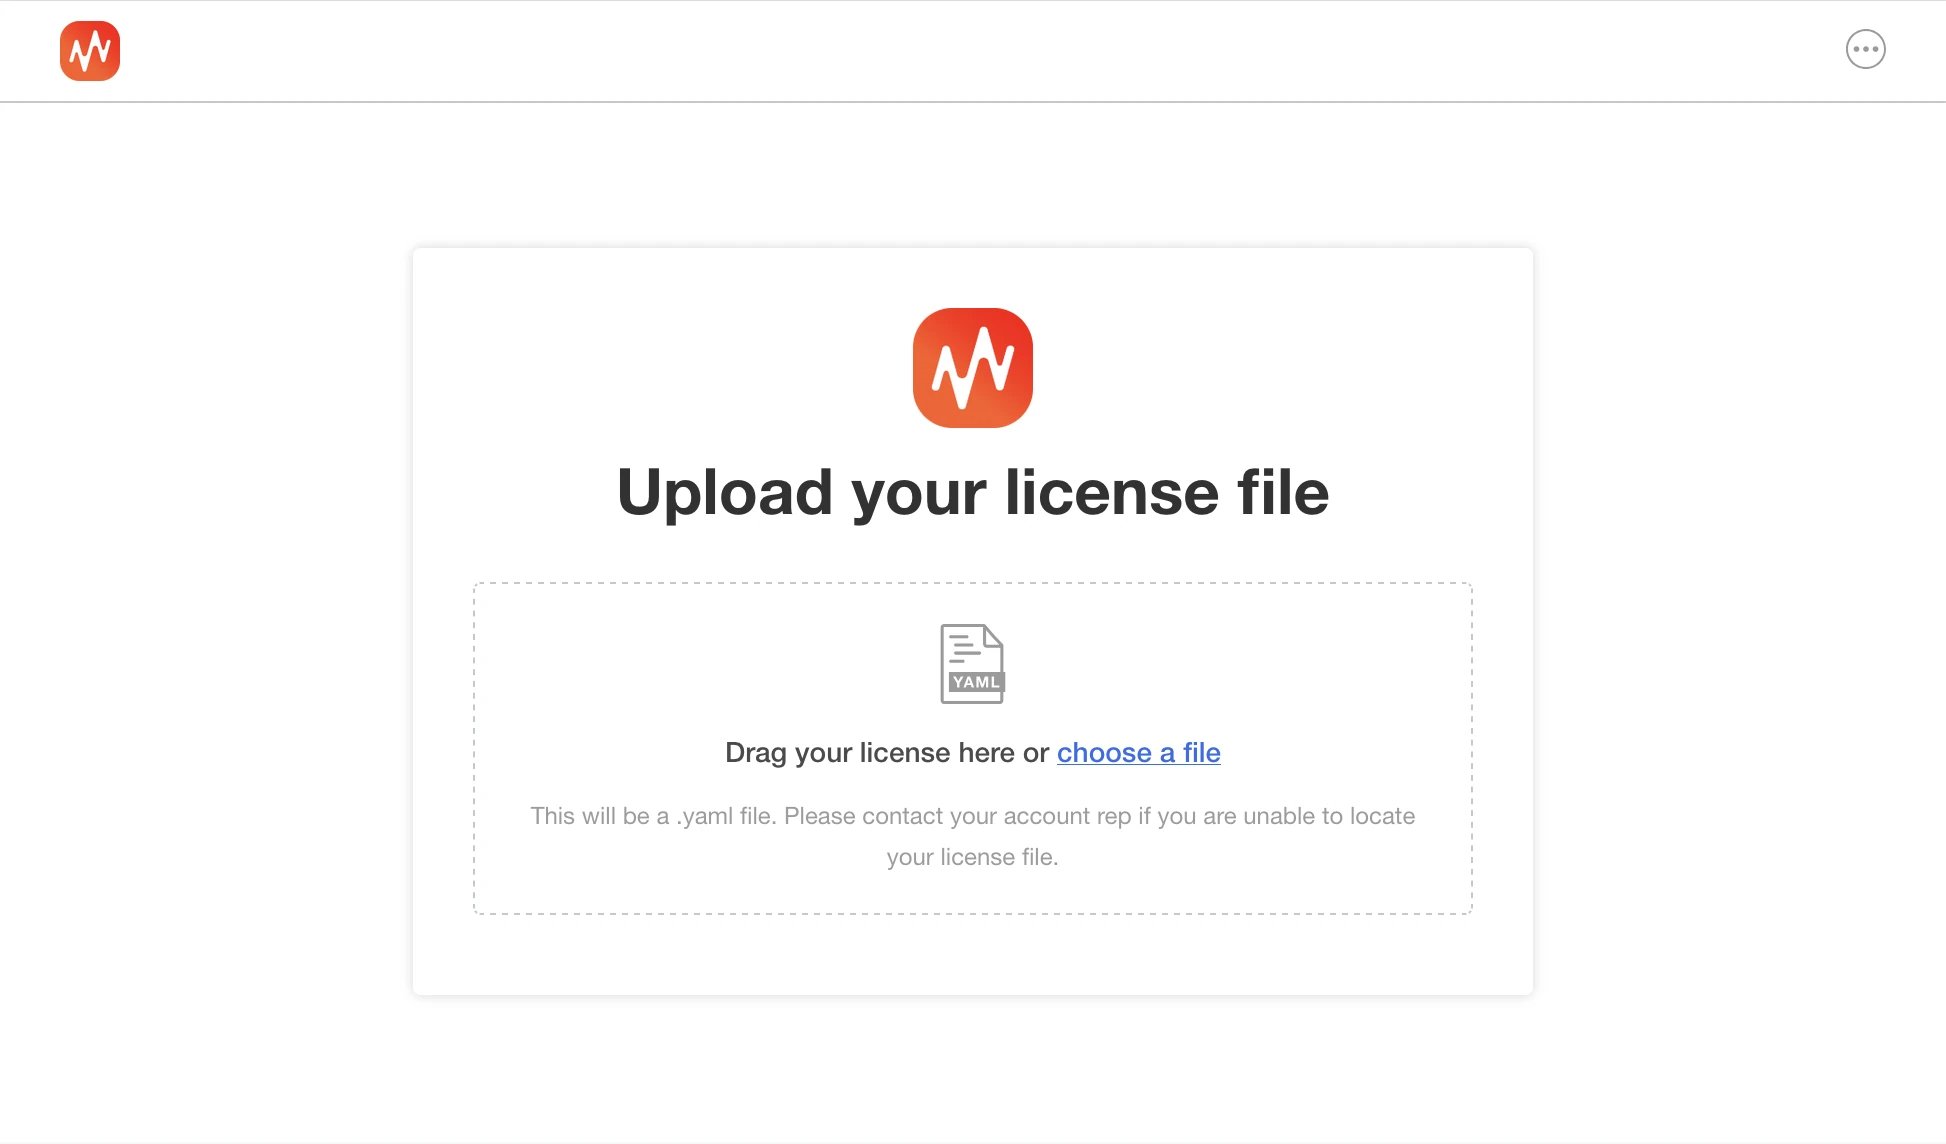
Upload the Replicated license file to continue.
If you need to reopen the console later, run:
```bash Reopen the Admin Console theme={null}
kubectl kots admin-console --namespace
```
If you run `kubectl` on a remote VM and cannot access `http://localhost:8800`, expose the `kotsadm` service and access it via the node IP.
```bash Expose the Admin Console with NodePort theme={null}
kubectl edit svc kotsadm --namespace
```
Change `type: ClusterIP` to `type: NodePort`, save, then run `kubectl get svc -n ` to find the assigned port.
Upload the Replicated license file to continue.
 If you see a "Let's get you started!" sidebar, first enter your `Application Domain Name` then scroll down and press `Continue`.
Open the **Config** tab and set the required fields, including **Application Domain Name**. Keep defaults unless you need custom storage, database, or exposure settings.
If you see a "Let's get you started!" sidebar, first enter your `Application Domain Name` then scroll down and press `Continue`.
Open the **Config** tab and set the required fields, including **Application Domain Name**. Keep defaults unless you need custom storage, database, or exposure settings.
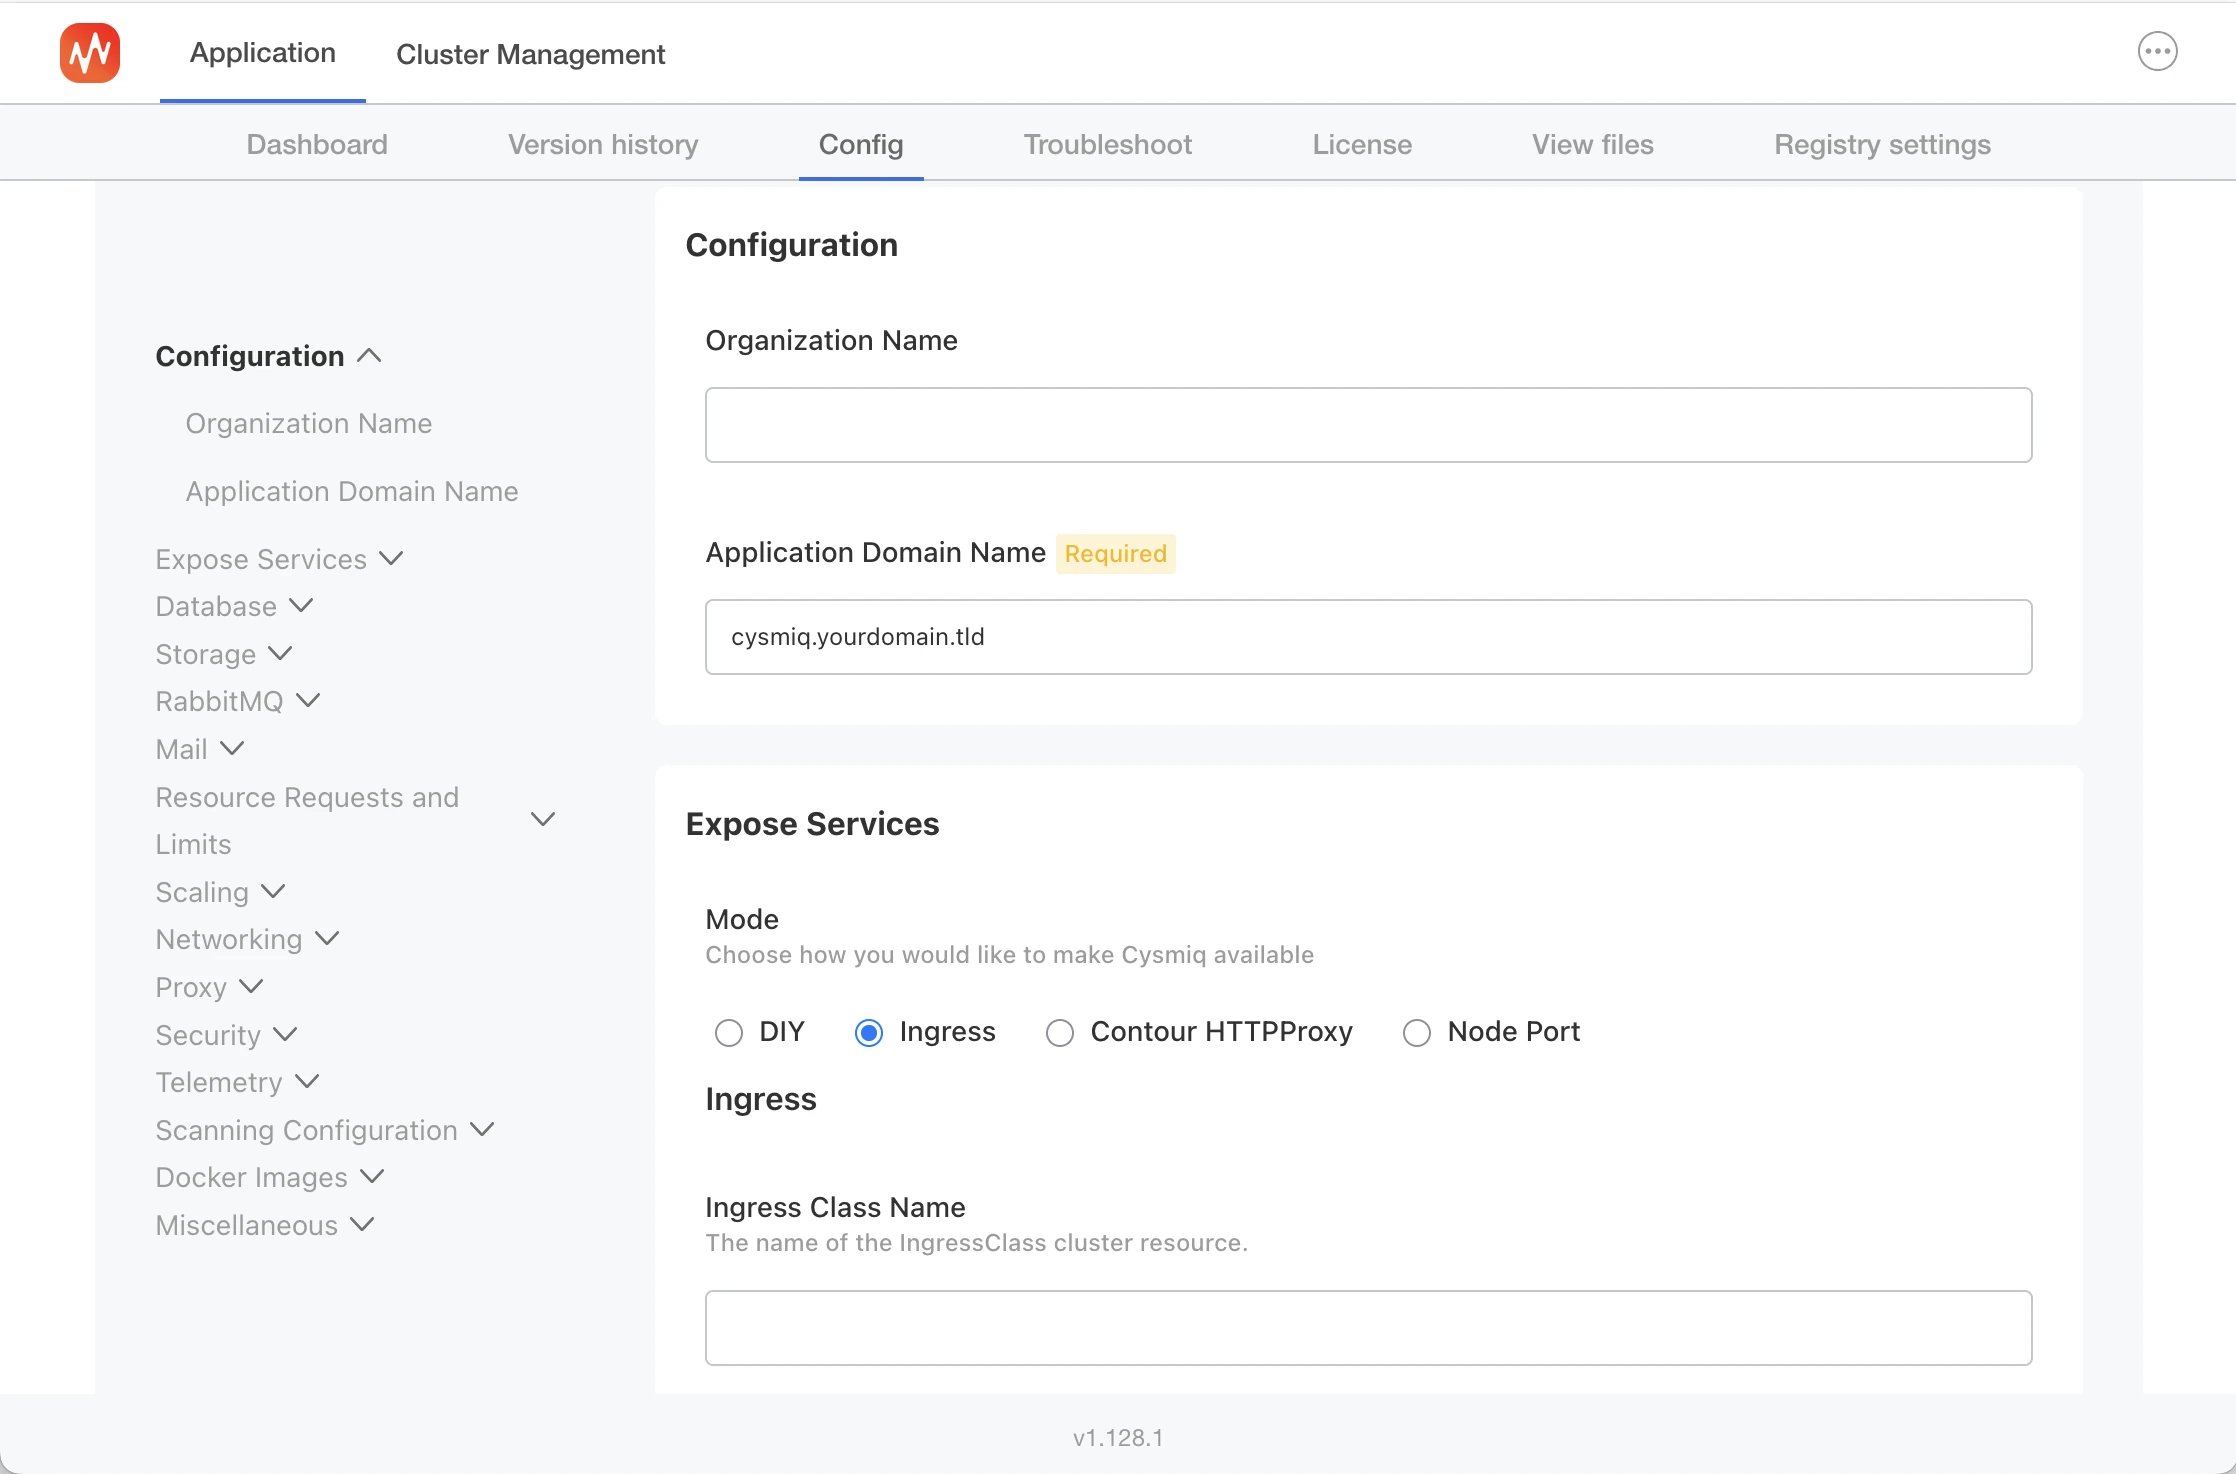 Select **Save config** to apply the settings. For a full list of options, see [Self-hosting configuration](/self-hosting/configuration).
Review the preflight checks, resolve any failures, then continue.
From the Admin Console dashboard, wait for the application status to reach **Ready**. You might see **Missing** or **Deploying** while the installation completes.
Select **Save config** to apply the settings. For a full list of options, see [Self-hosting configuration](/self-hosting/configuration).
Review the preflight checks, resolve any failures, then continue.
From the Admin Console dashboard, wait for the application status to reach **Ready**. You might see **Missing** or **Deploying** while the installation completes.
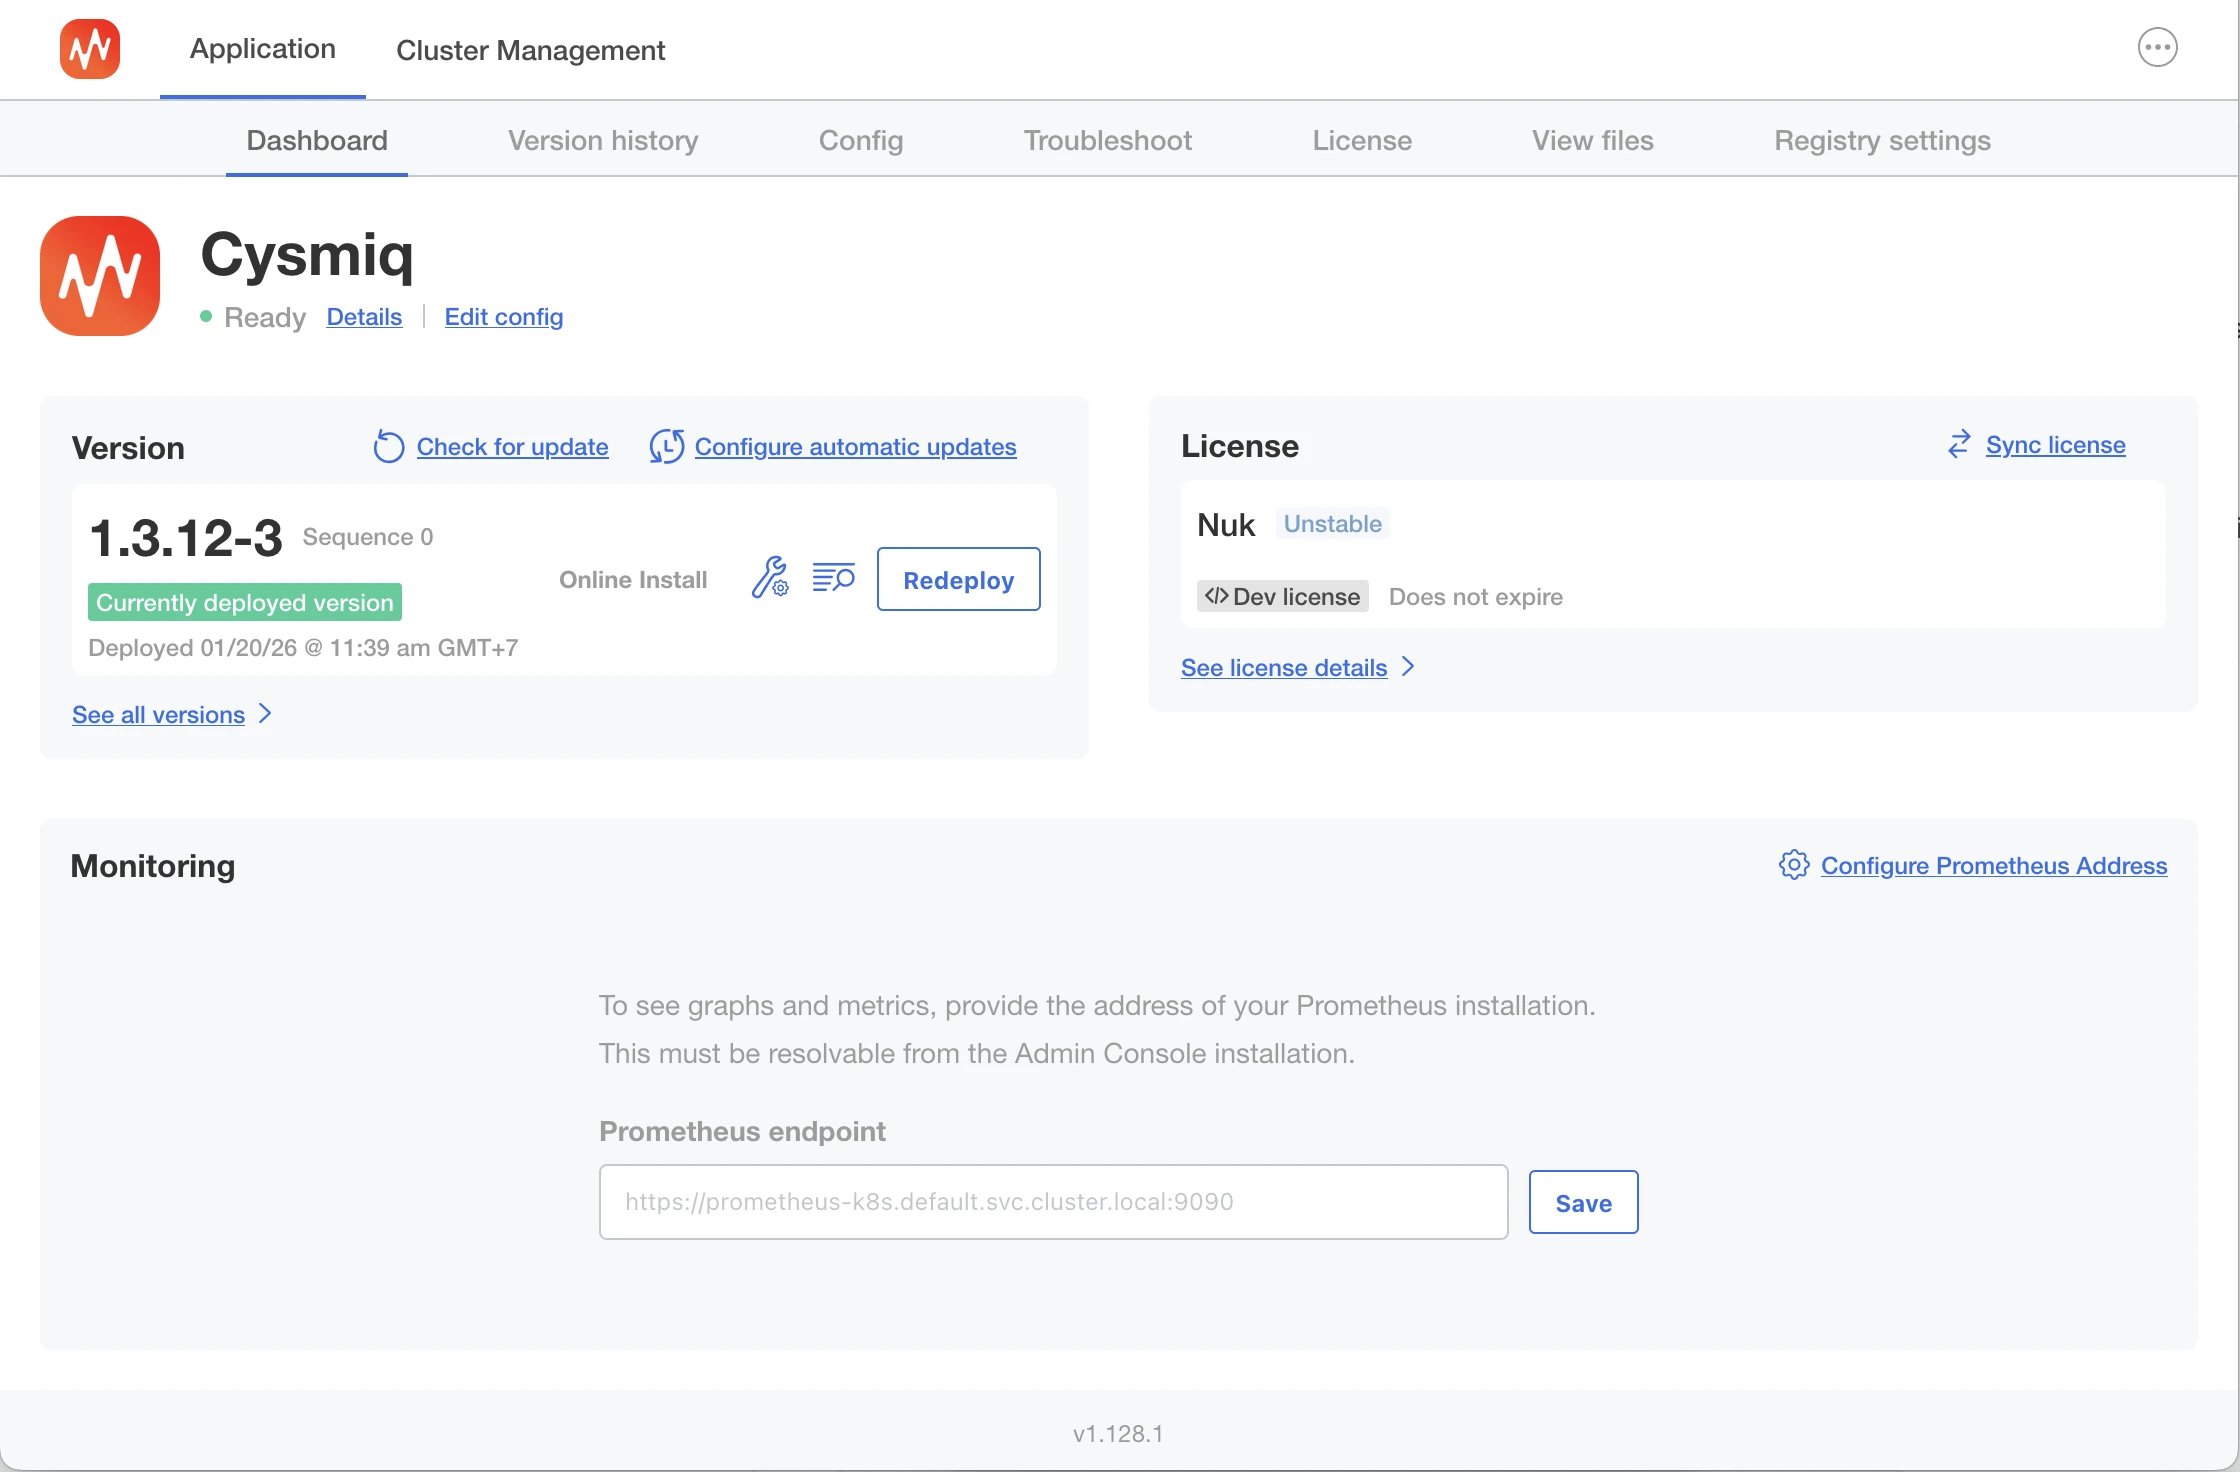 Navigate to the domain you configured.
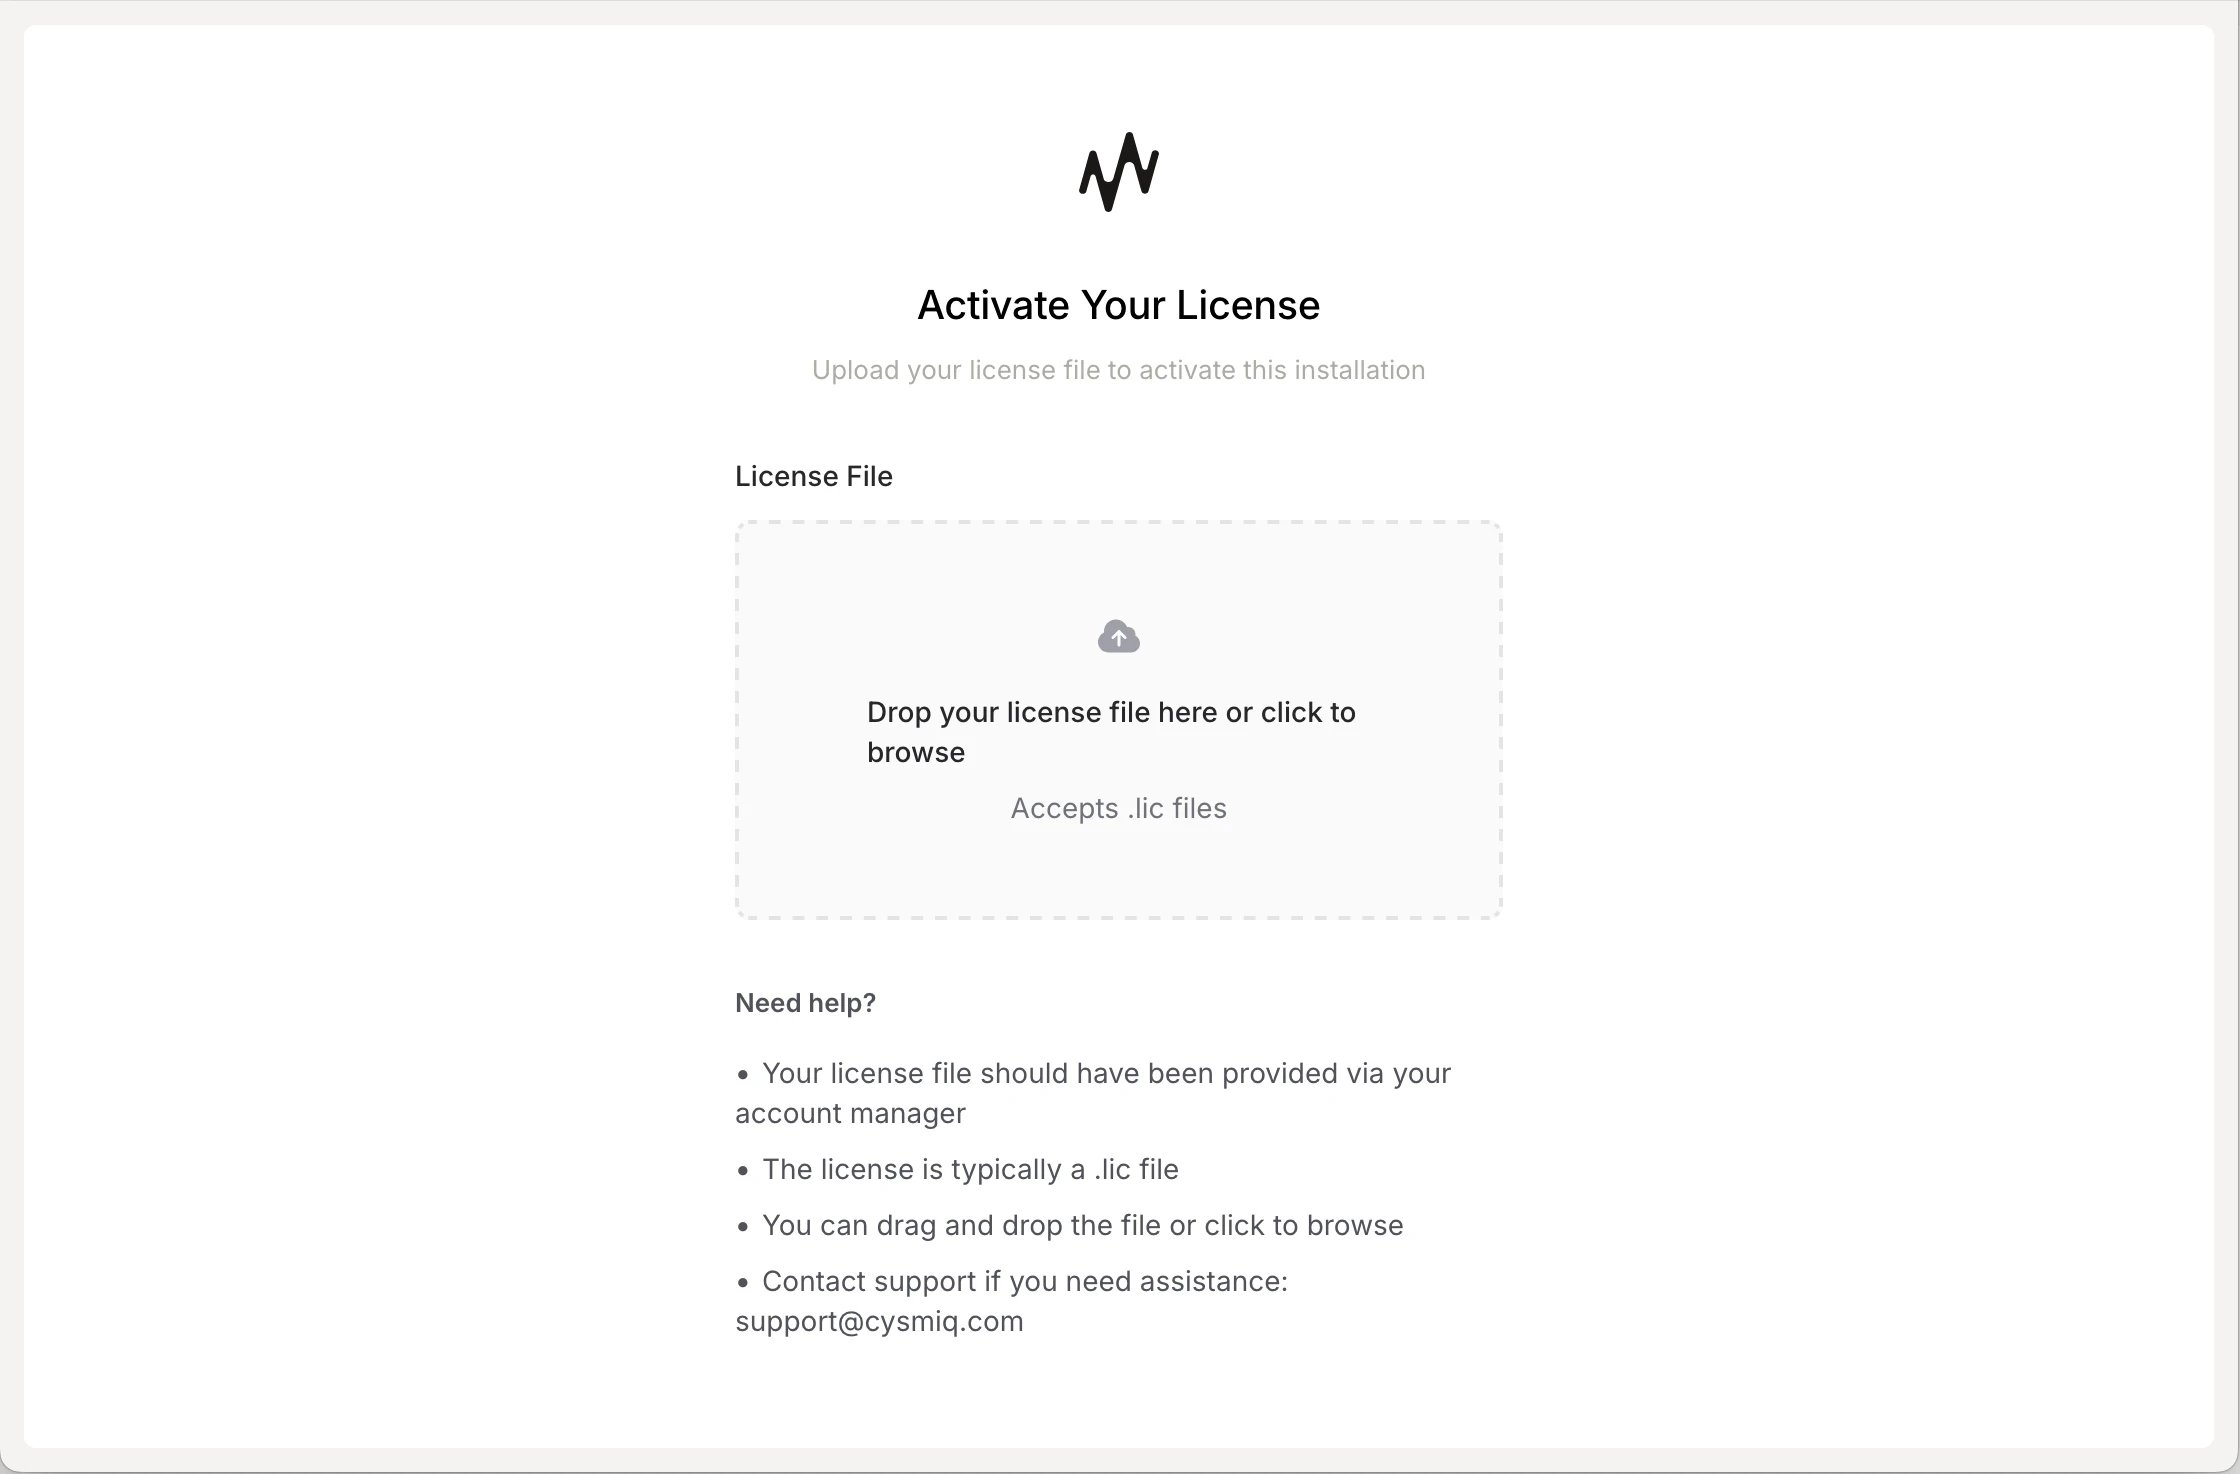
Create your first admin account, then upload the Cysmiq application license to activate the installation.
Navigate to the domain you configured.
Create your first admin account, then upload the Cysmiq application license to activate the installation.
 ## Next steps
* [Connect a VCS](/guides/connect-vcs)
* [Invite your team](/guides/invite-team)
## Next steps
* [Connect a VCS](/guides/connect-vcs)
* [Invite your team](/guides/invite-team)