> ## Documentation Index
> Fetch the complete documentation index at: https://docs.cysmiq.com/llms.txt
> Use this file to discover all available pages before exploring further.
# Manage members
> Invite users and assign roles to control workspace access.
Workspace members can view vulnerabilities, manage findings, and configure settings based on their assigned role. This guide covers inviting new members, assigning roles, and managing access.
## Prerequisites
* Owner role in the workspace
## View members
Navigate to **Settings** → **Members** to see all workspace members.
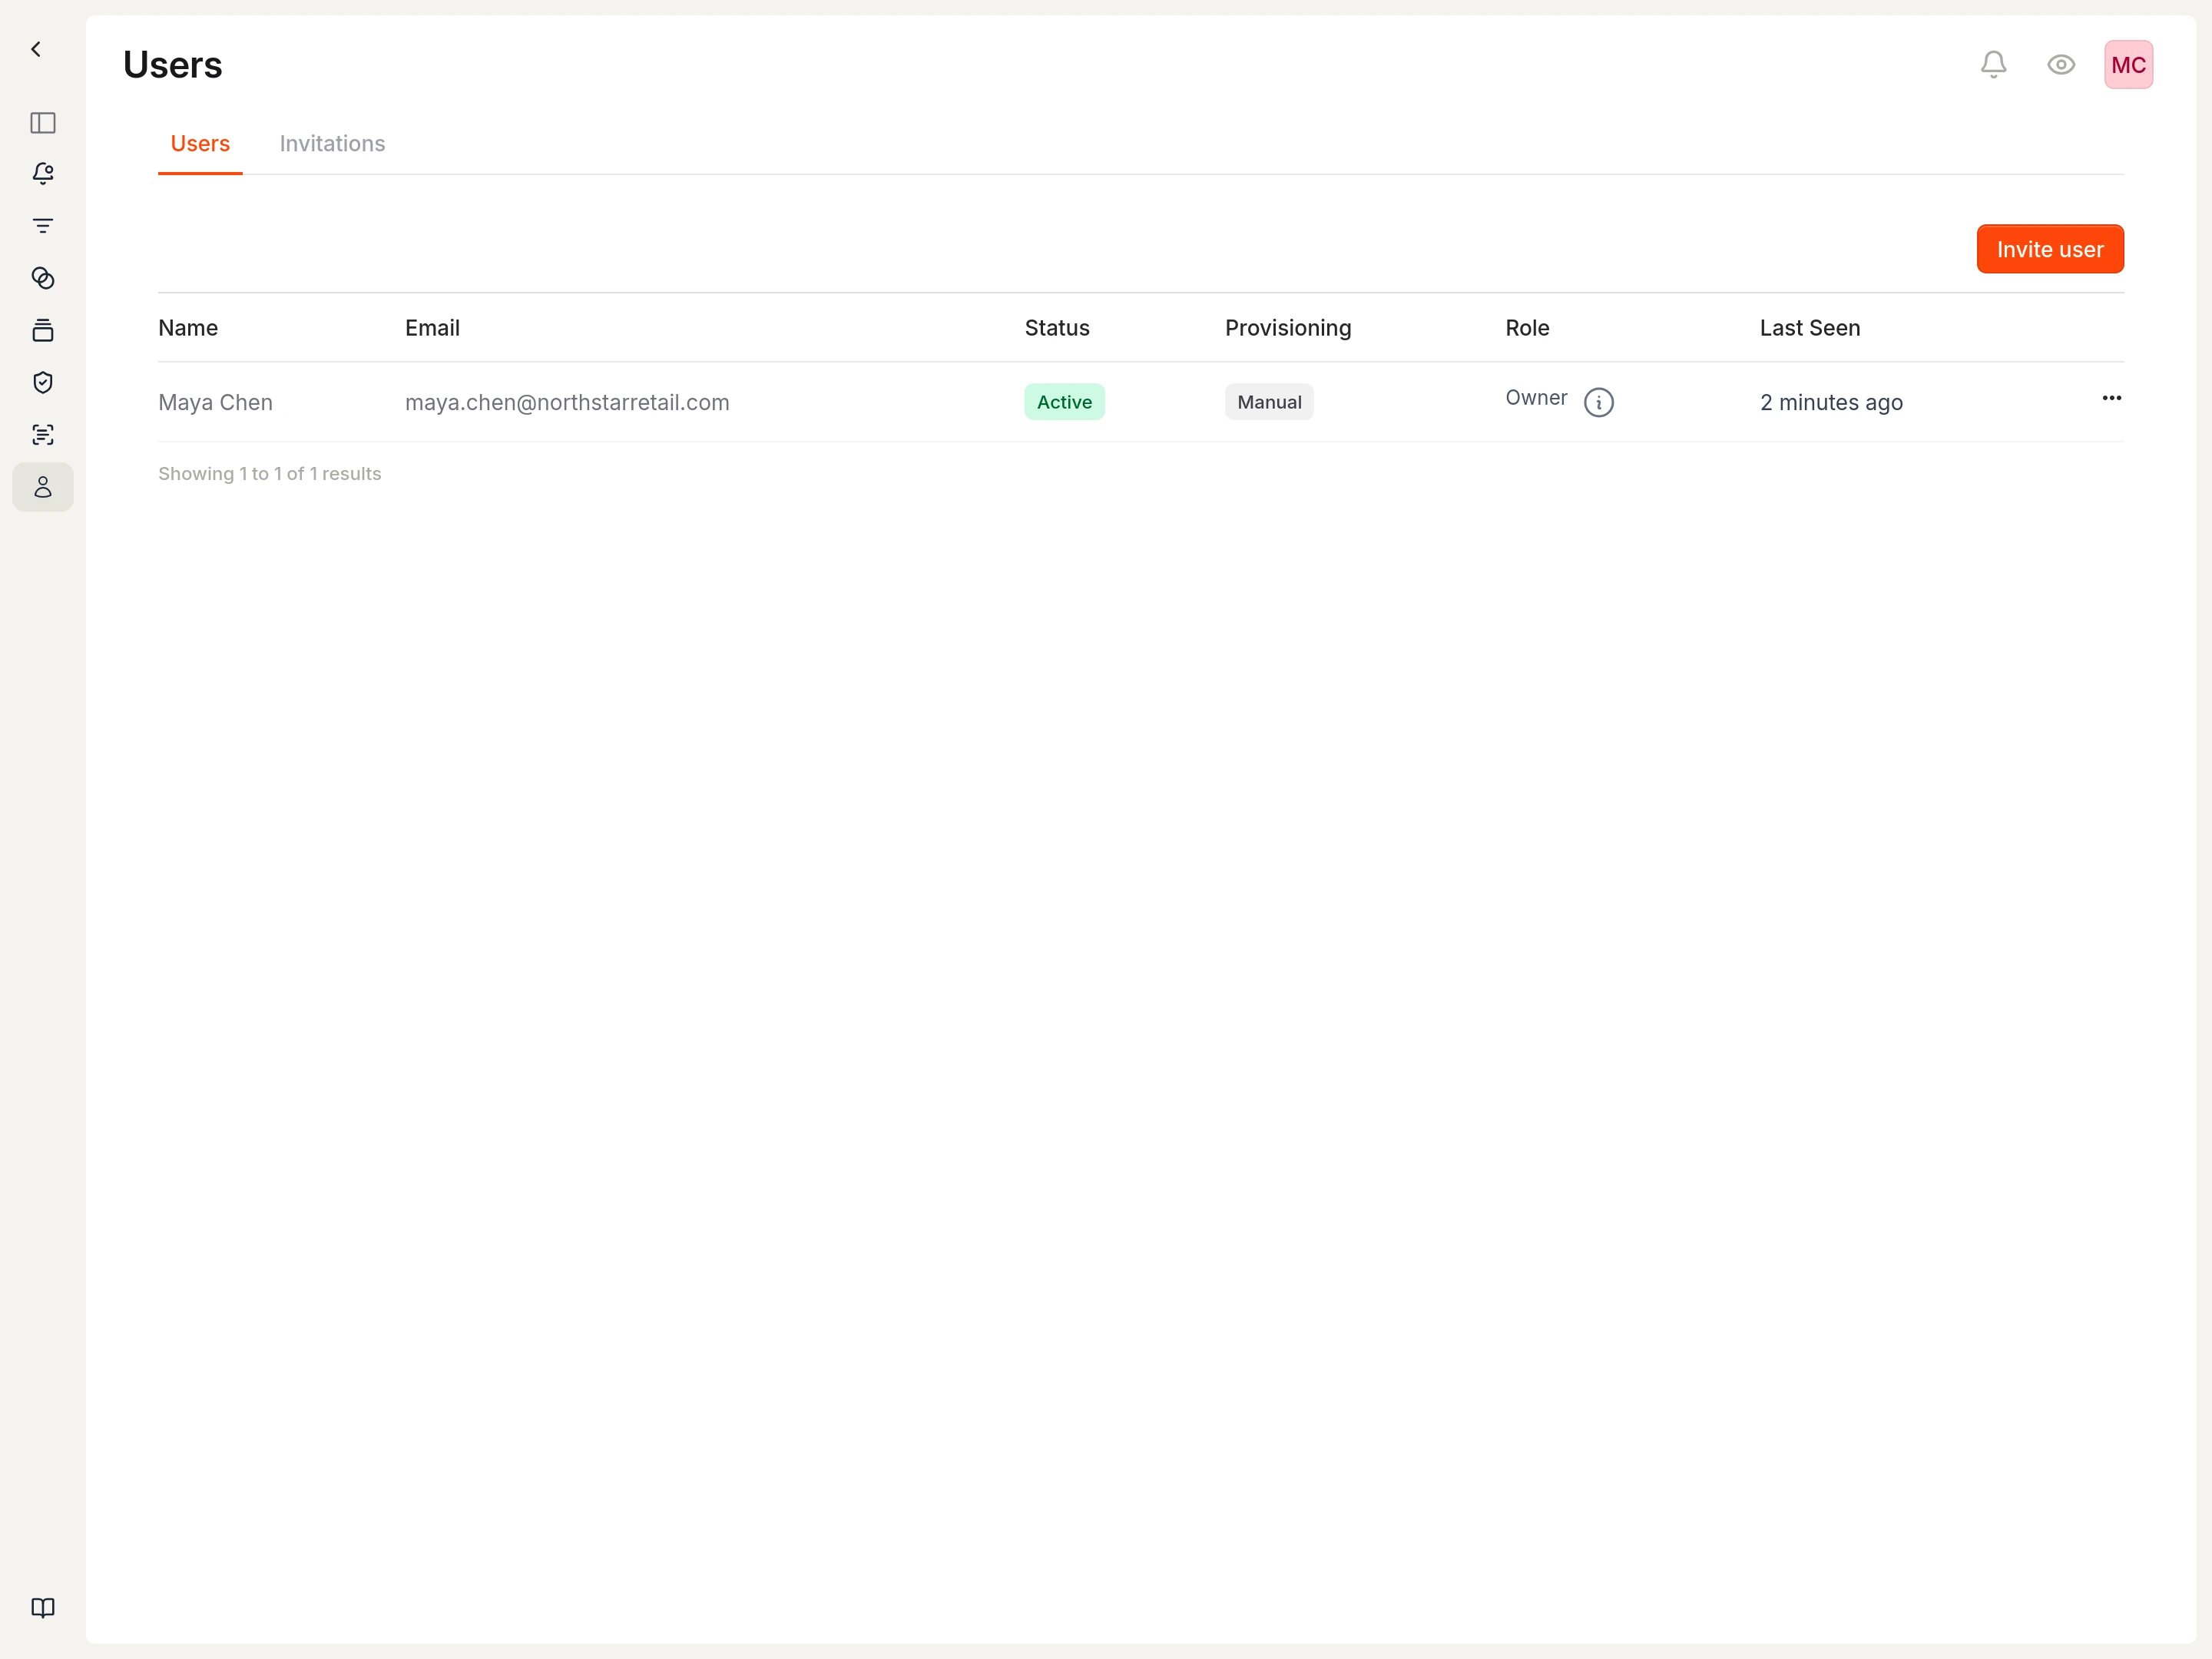 The Users tab displays:
* **Name**: Display name from the user's profile
* **Email**: The email address used to sign in
* **Status**: Active (can access workspace) or Pending (invited but not yet signed in)
* **Provisioning**: How the user was added (Manual or SSO)
* **Role**: The user's permission level
* **Last Seen**: When the user last accessed the workspace
## Invite a member
1. Select **Invite user** to open the invitation form.
The Users tab displays:
* **Name**: Display name from the user's profile
* **Email**: The email address used to sign in
* **Status**: Active (can access workspace) or Pending (invited but not yet signed in)
* **Provisioning**: How the user was added (Manual or SSO)
* **Role**: The user's permission level
* **Last Seen**: When the user last accessed the workspace
## Invite a member
1. Select **Invite user** to open the invitation form.
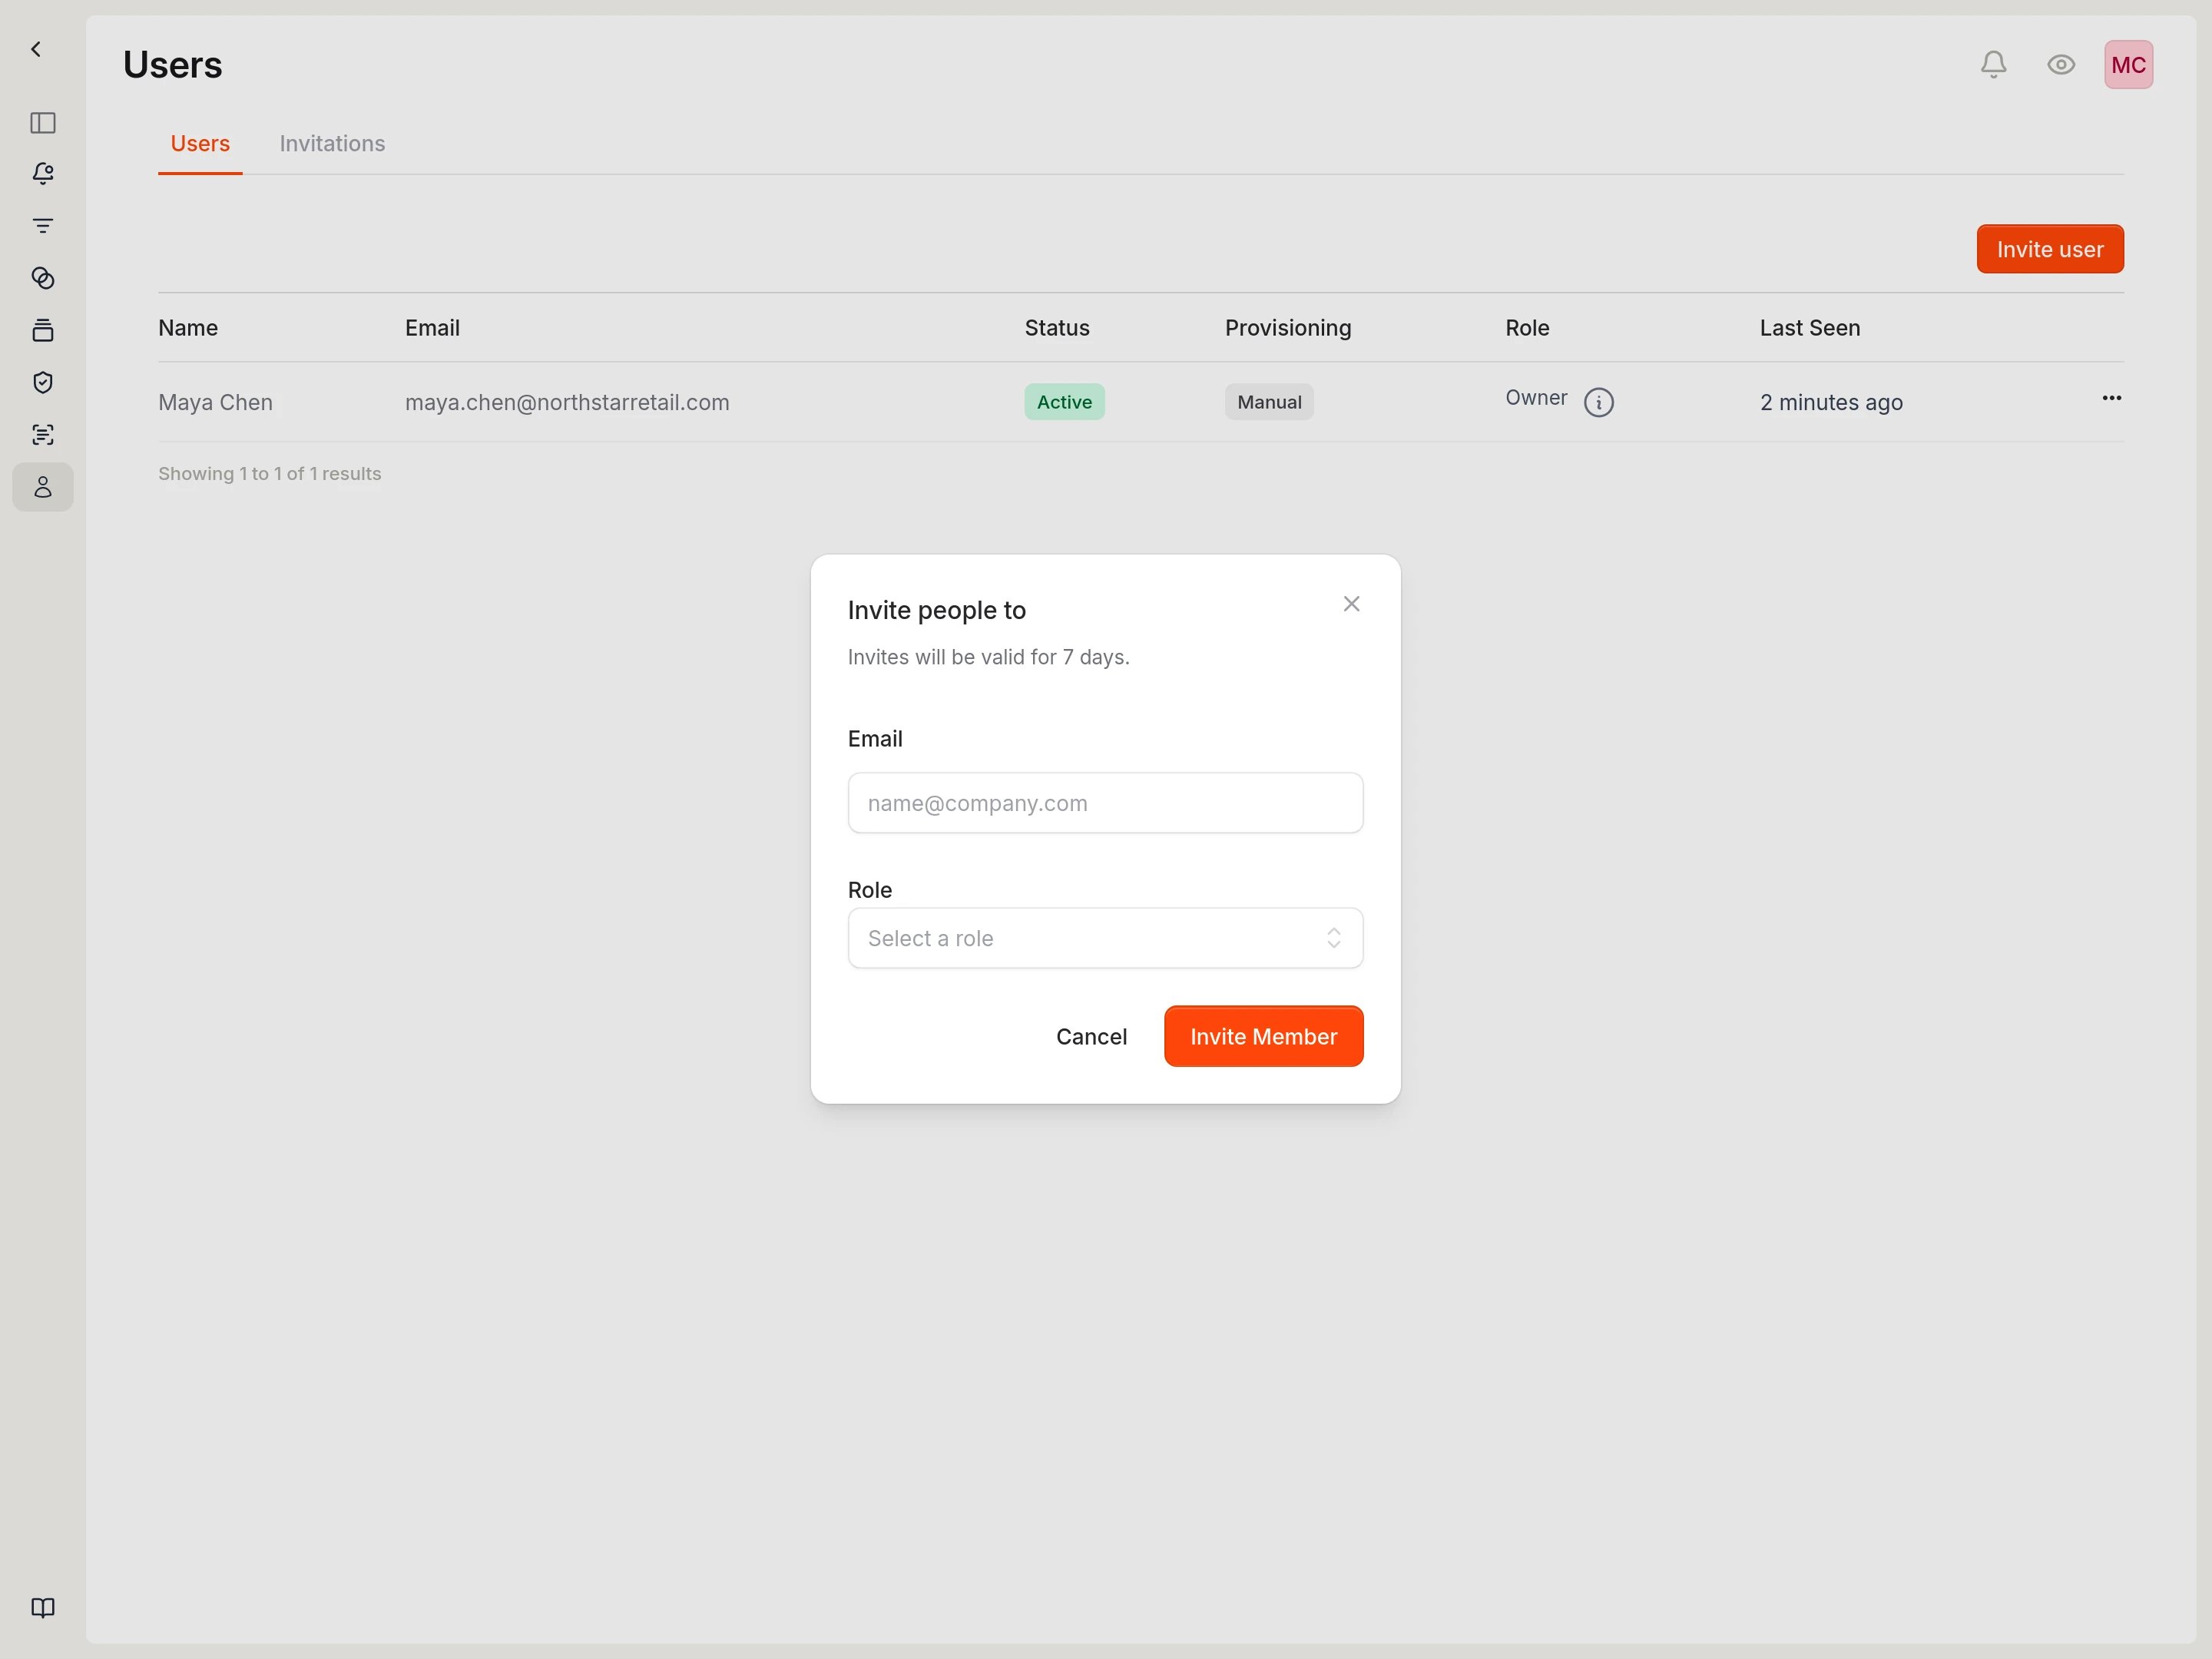 2. Enter the user's email address.
3. Select a role from the dropdown.
2. Enter the user's email address.
3. Select a role from the dropdown.
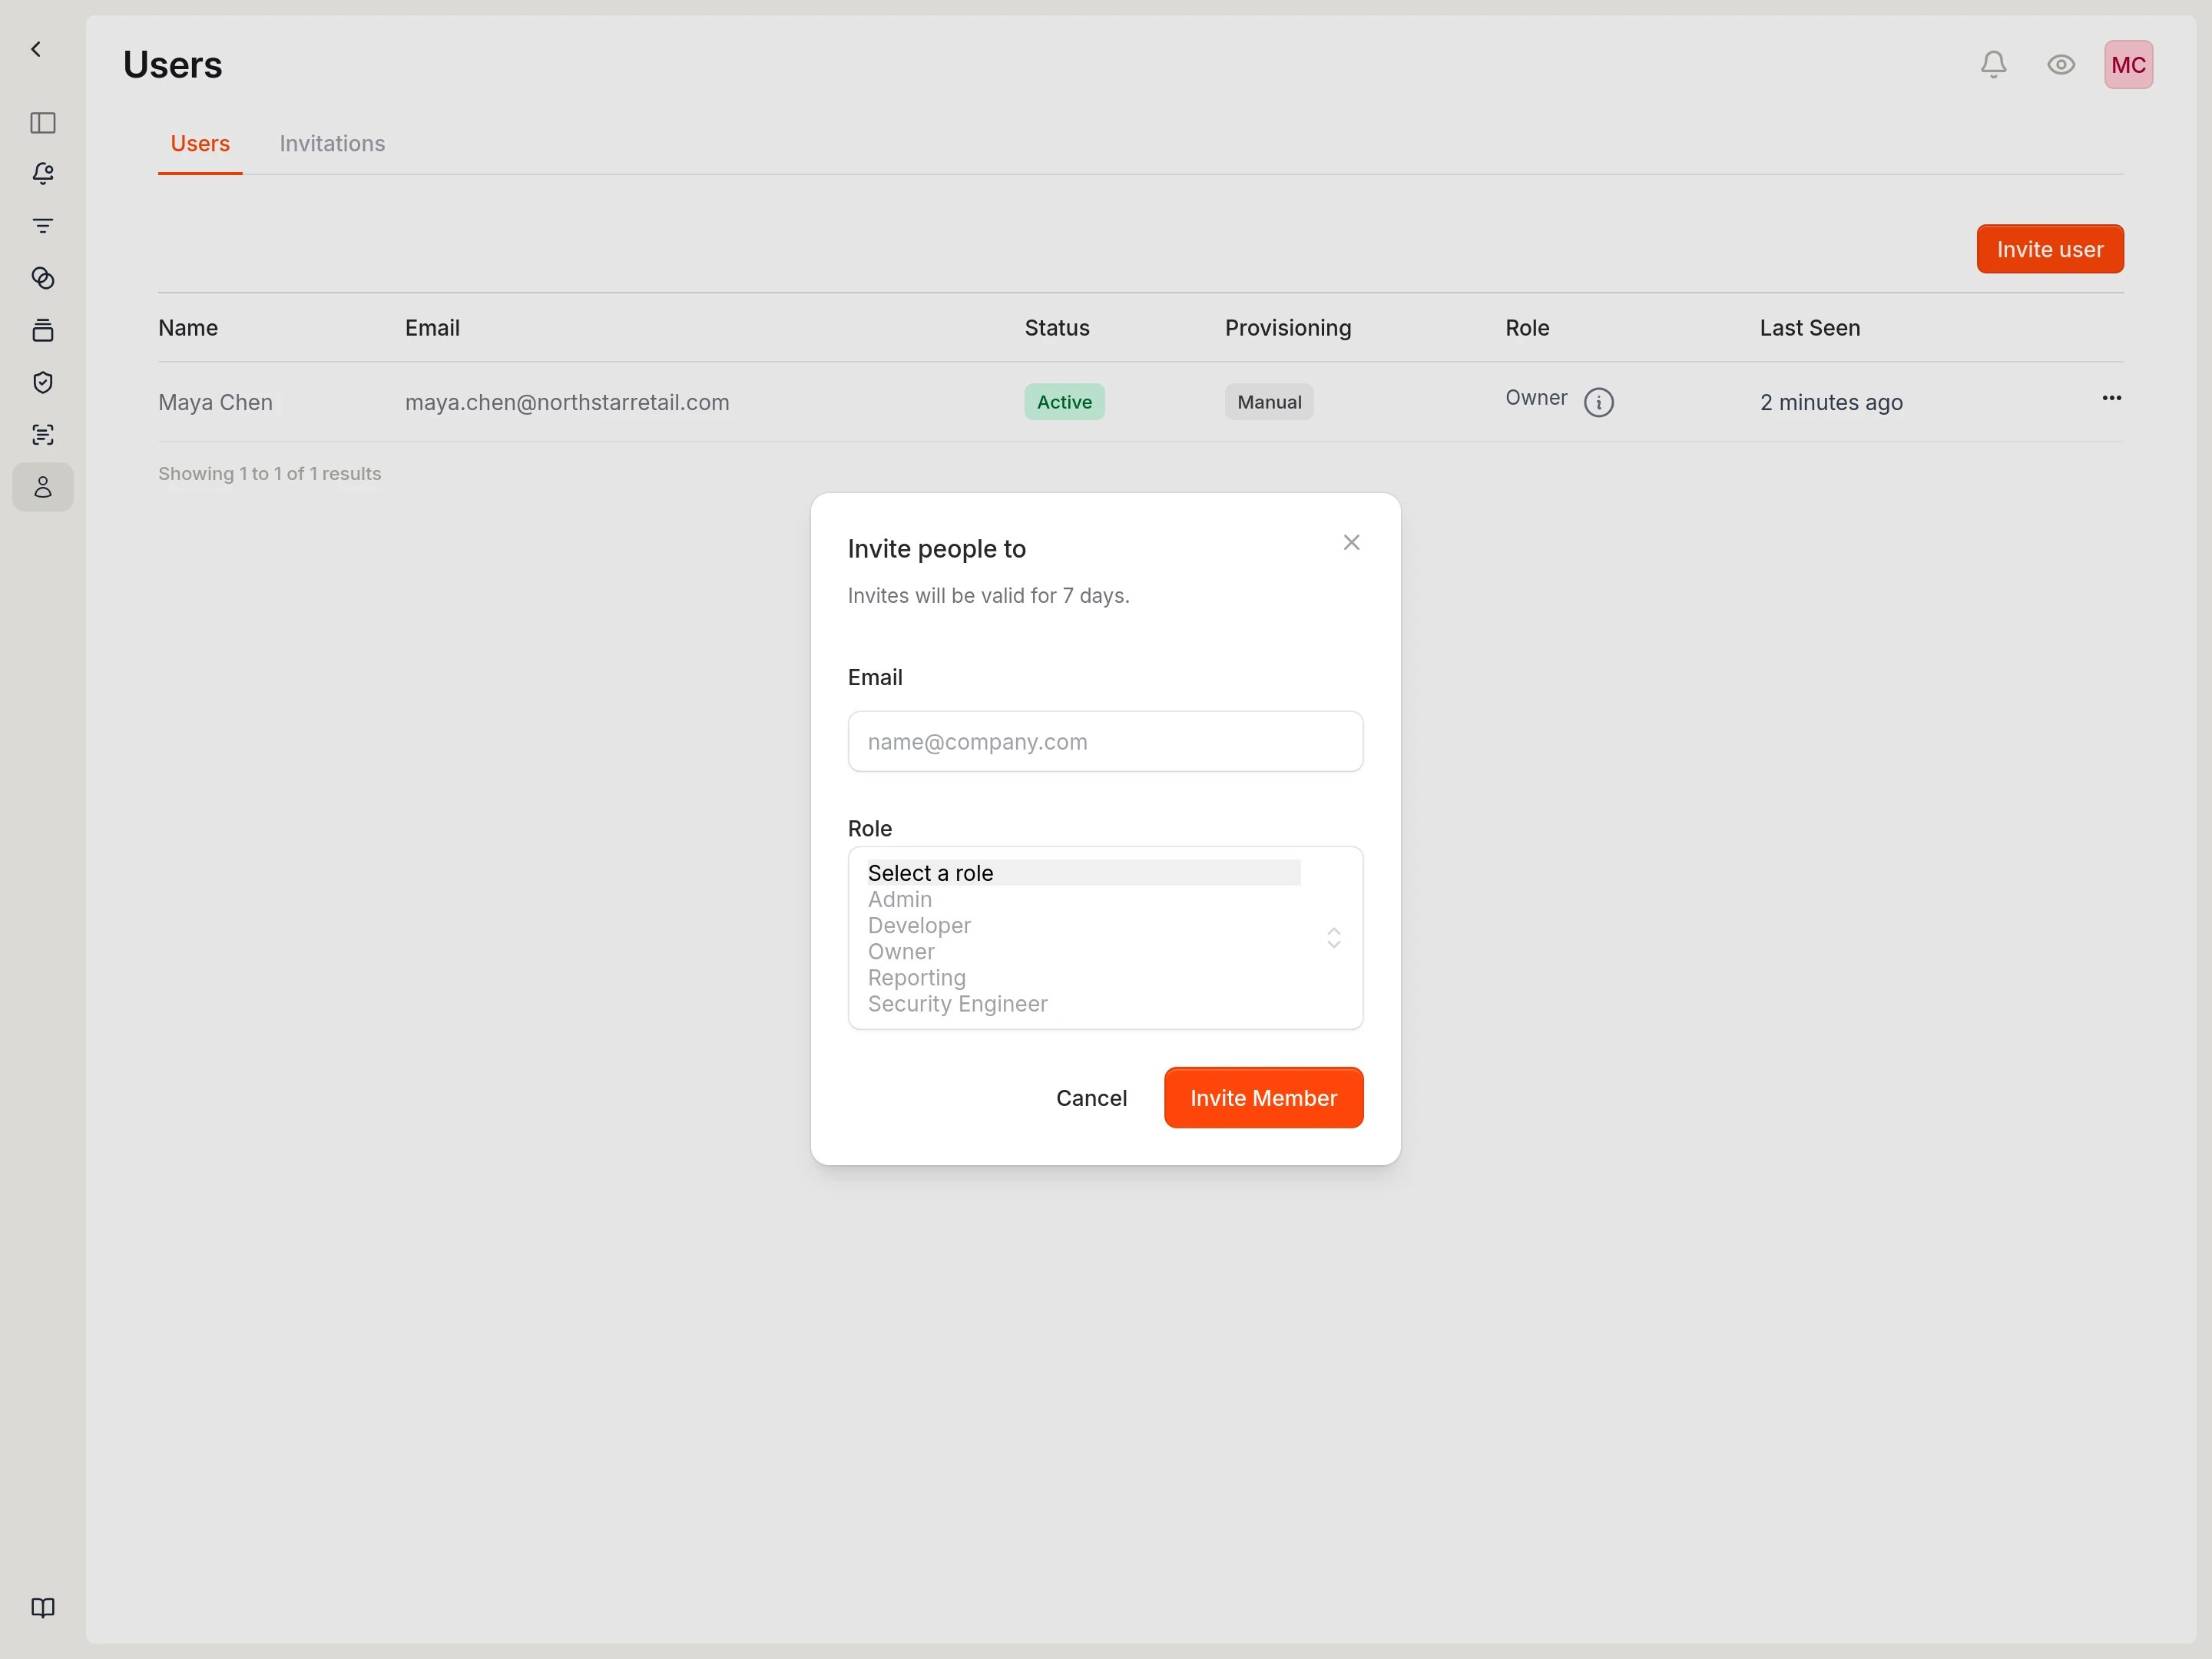 4. Select **Invite Member** to send the invitation.
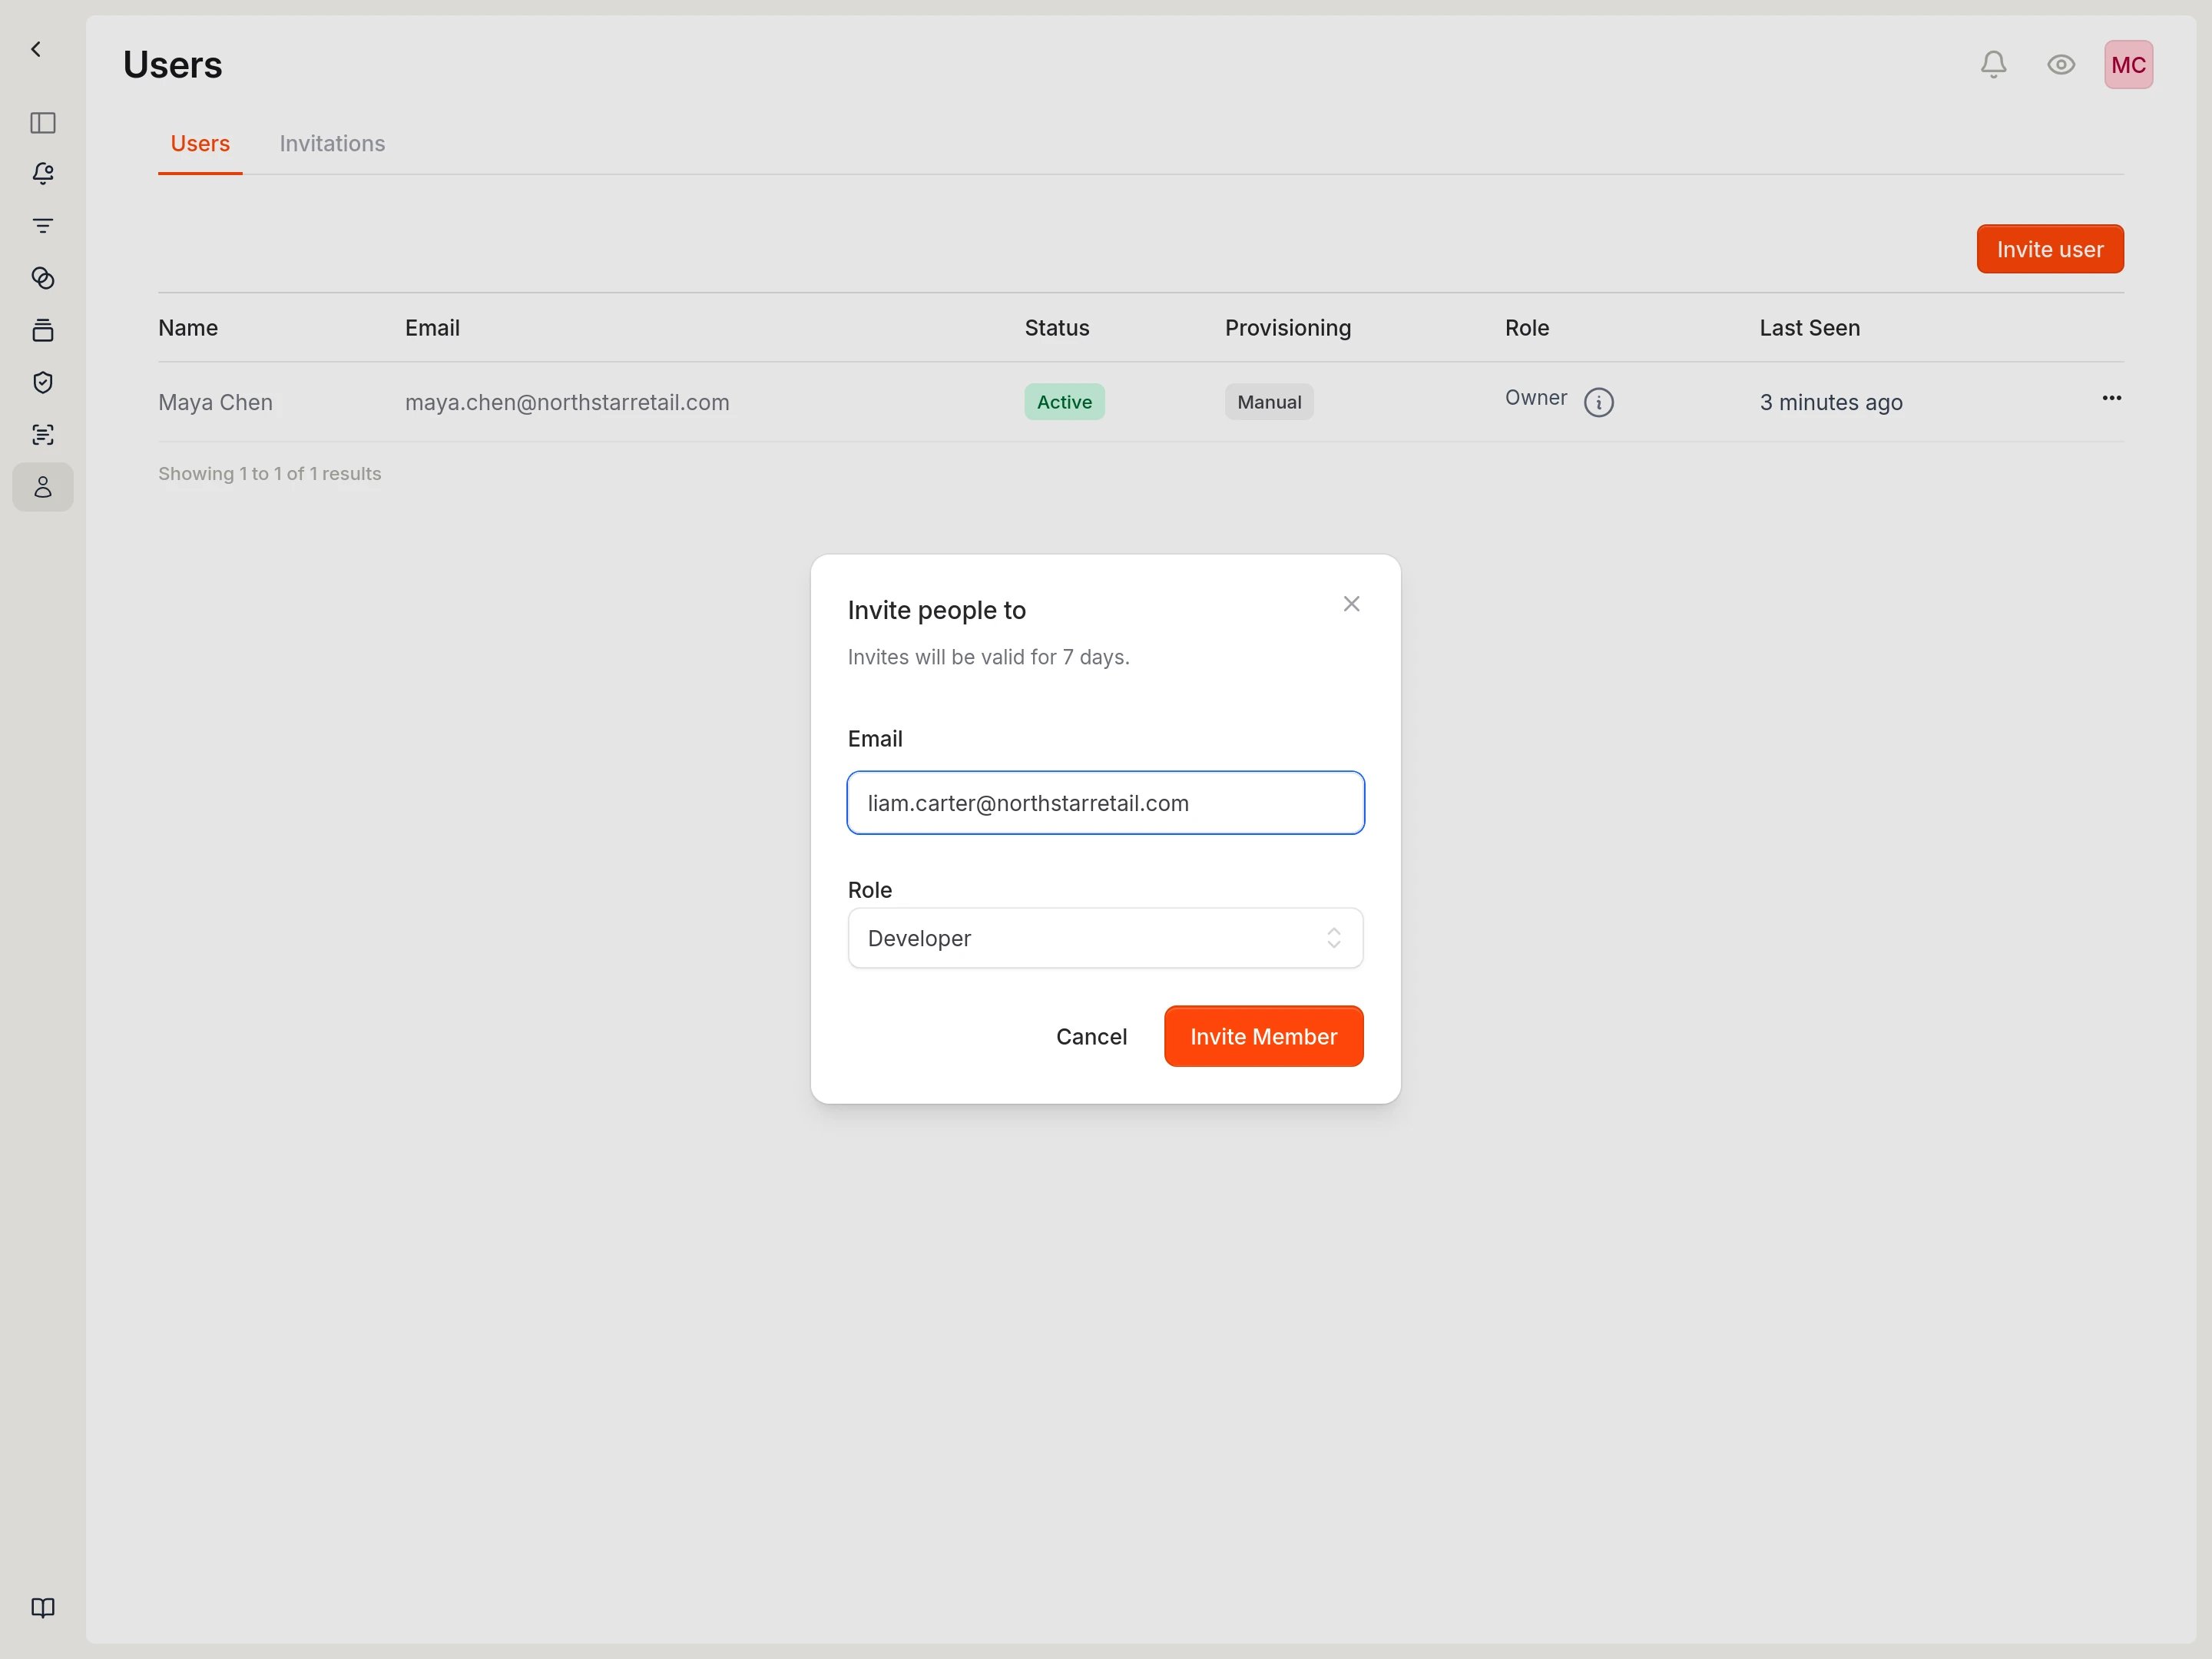 The invitation is valid for 7 days. The user receives an email with a link to join the workspace.
## Available roles
| Role | Description |
| --------------------- | ------------------------------------------------------------------------------------ |
| **Owner** | Full access including billing and workspace deletion |
| **Admin** | Manage repositories, vulnerabilities, and reports. Cannot manage members or billing. |
| **Security Engineer** | Triage vulnerabilities and manage findings |
| **Developer** | View vulnerabilities and create tickets |
| **Reporting** | Read-only access to dashboards and reports |
## Track pending invitations
Select the **Invitations** tab to view pending invitations.
The invitation is valid for 7 days. The user receives an email with a link to join the workspace.
## Available roles
| Role | Description |
| --------------------- | ------------------------------------------------------------------------------------ |
| **Owner** | Full access including billing and workspace deletion |
| **Admin** | Manage repositories, vulnerabilities, and reports. Cannot manage members or billing. |
| **Security Engineer** | Triage vulnerabilities and manage findings |
| **Developer** | View vulnerabilities and create tickets |
| **Reporting** | Read-only access to dashboards and reports |
## Track pending invitations
Select the **Invitations** tab to view pending invitations.
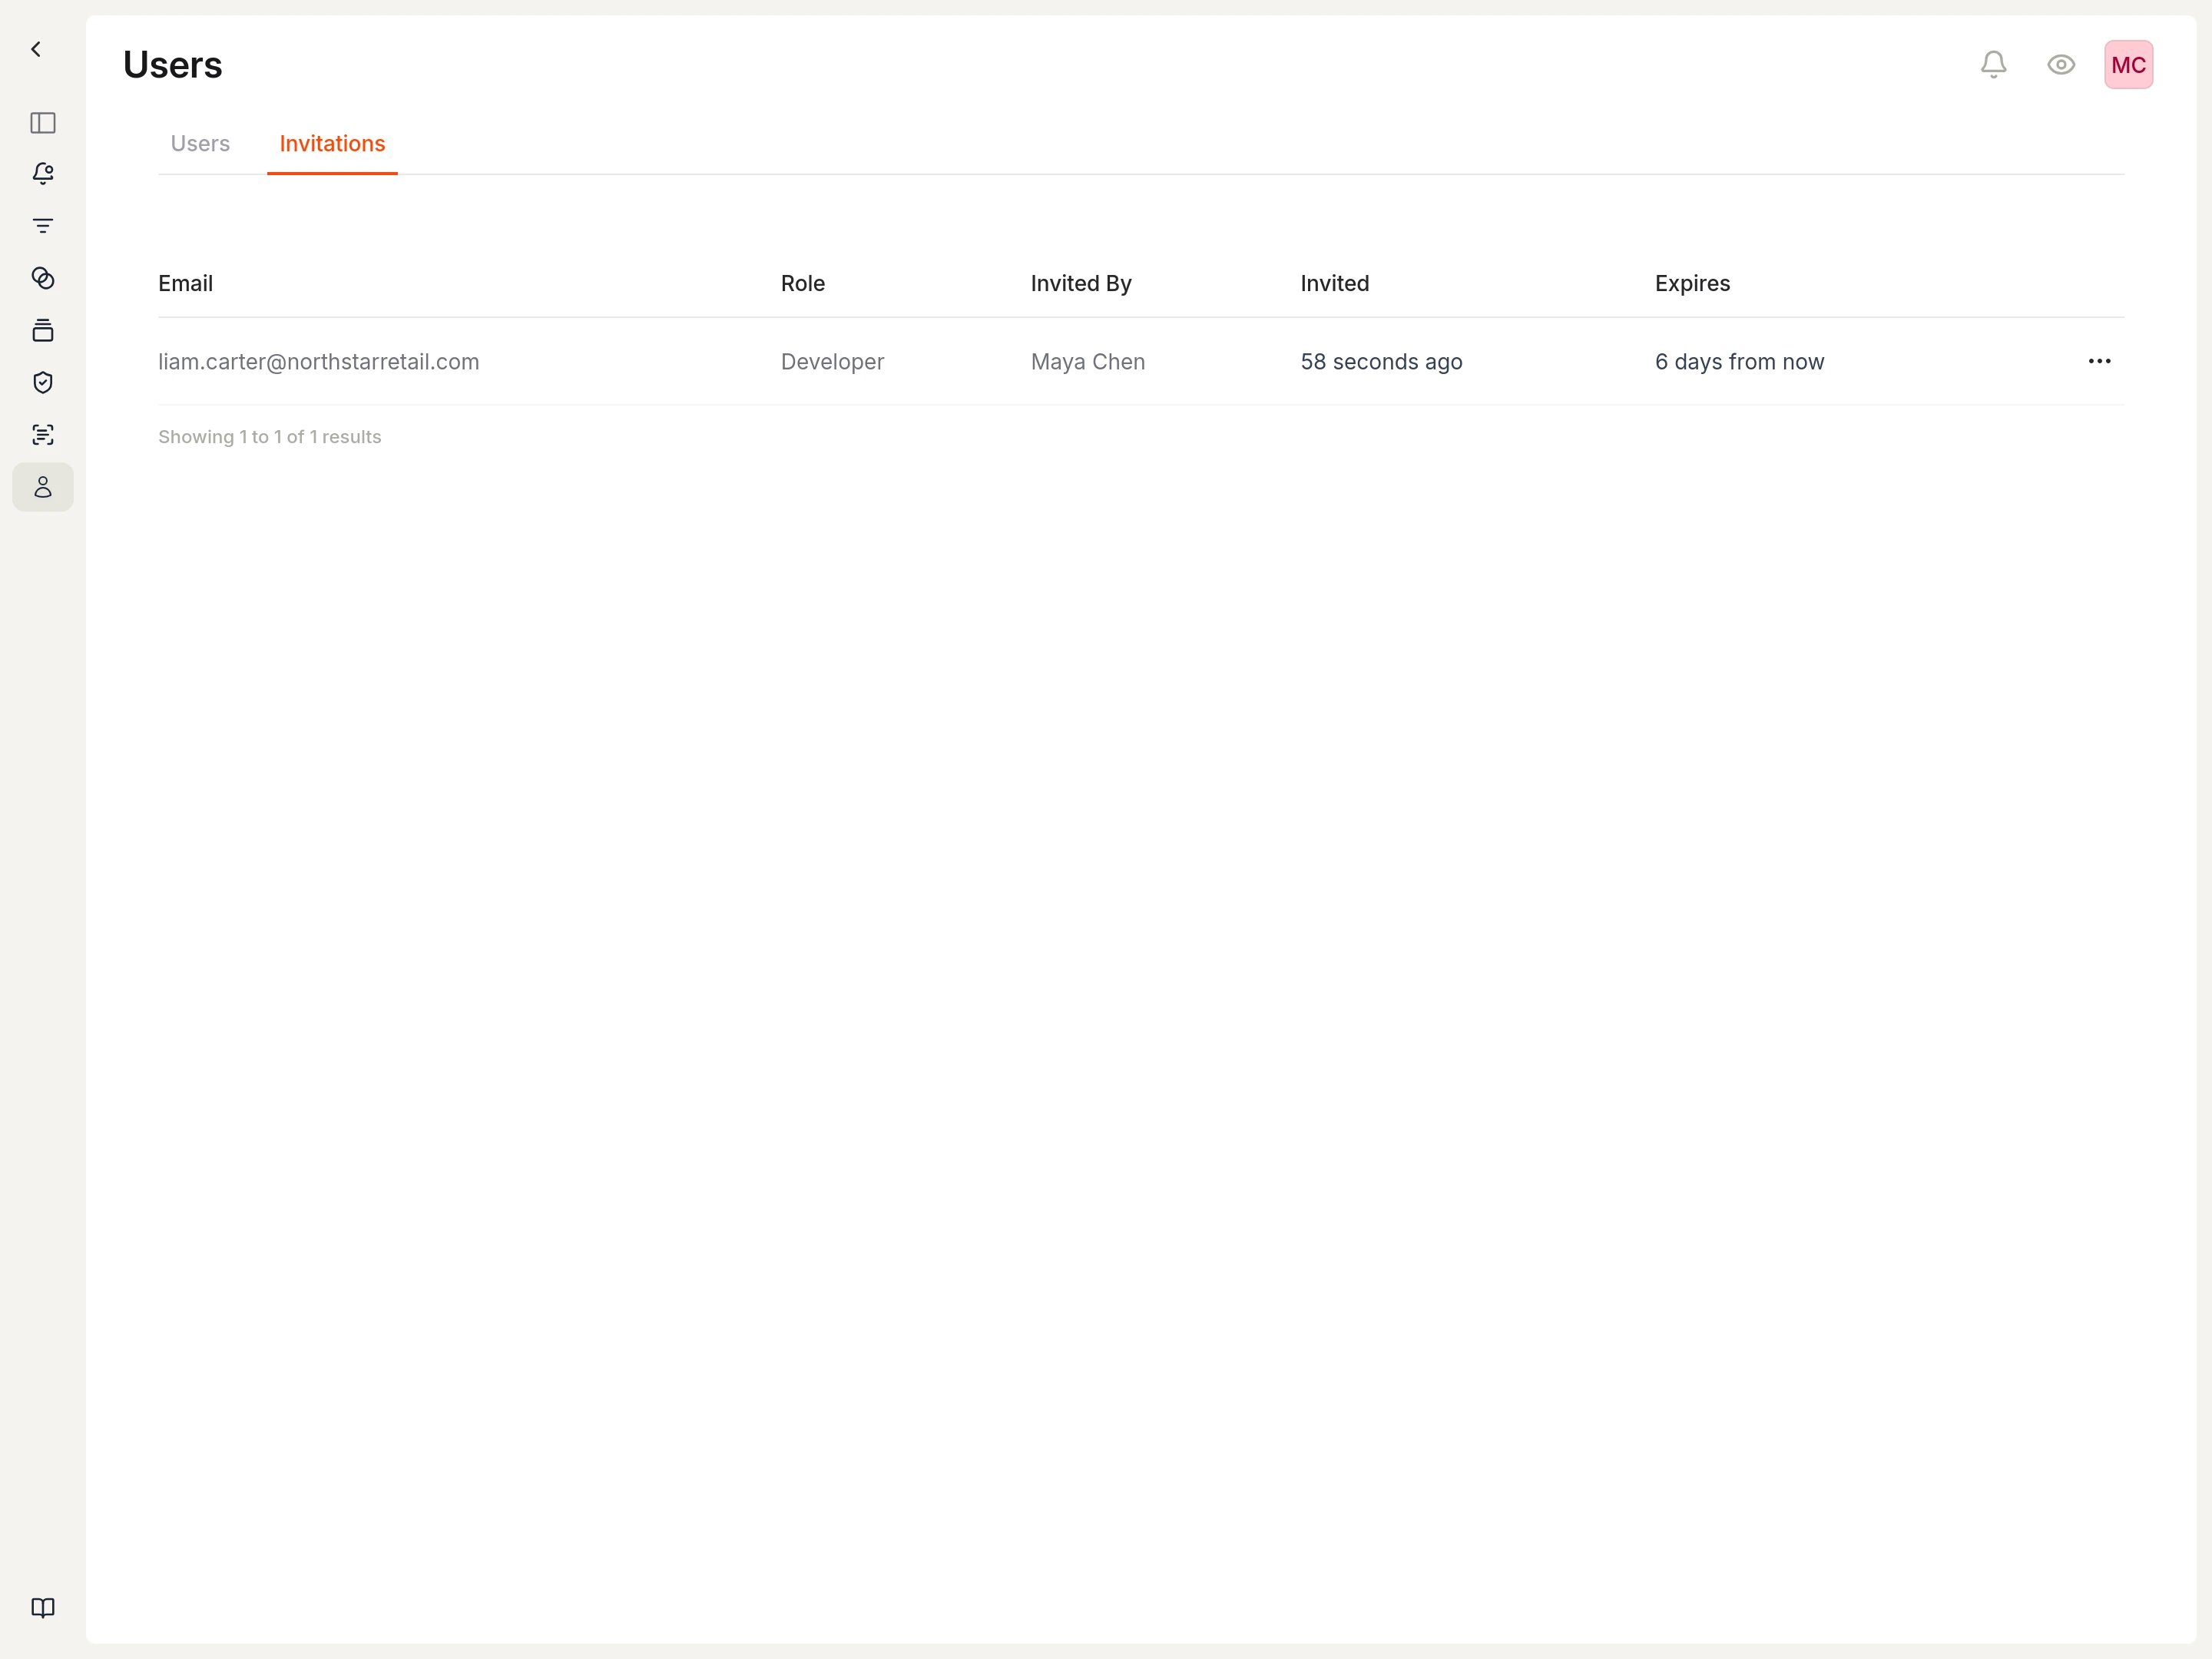 From here you can:
* See who sent each invitation
* Check when invitations expire
* Resend or revoke invitations using the actions menu
## Manage a member
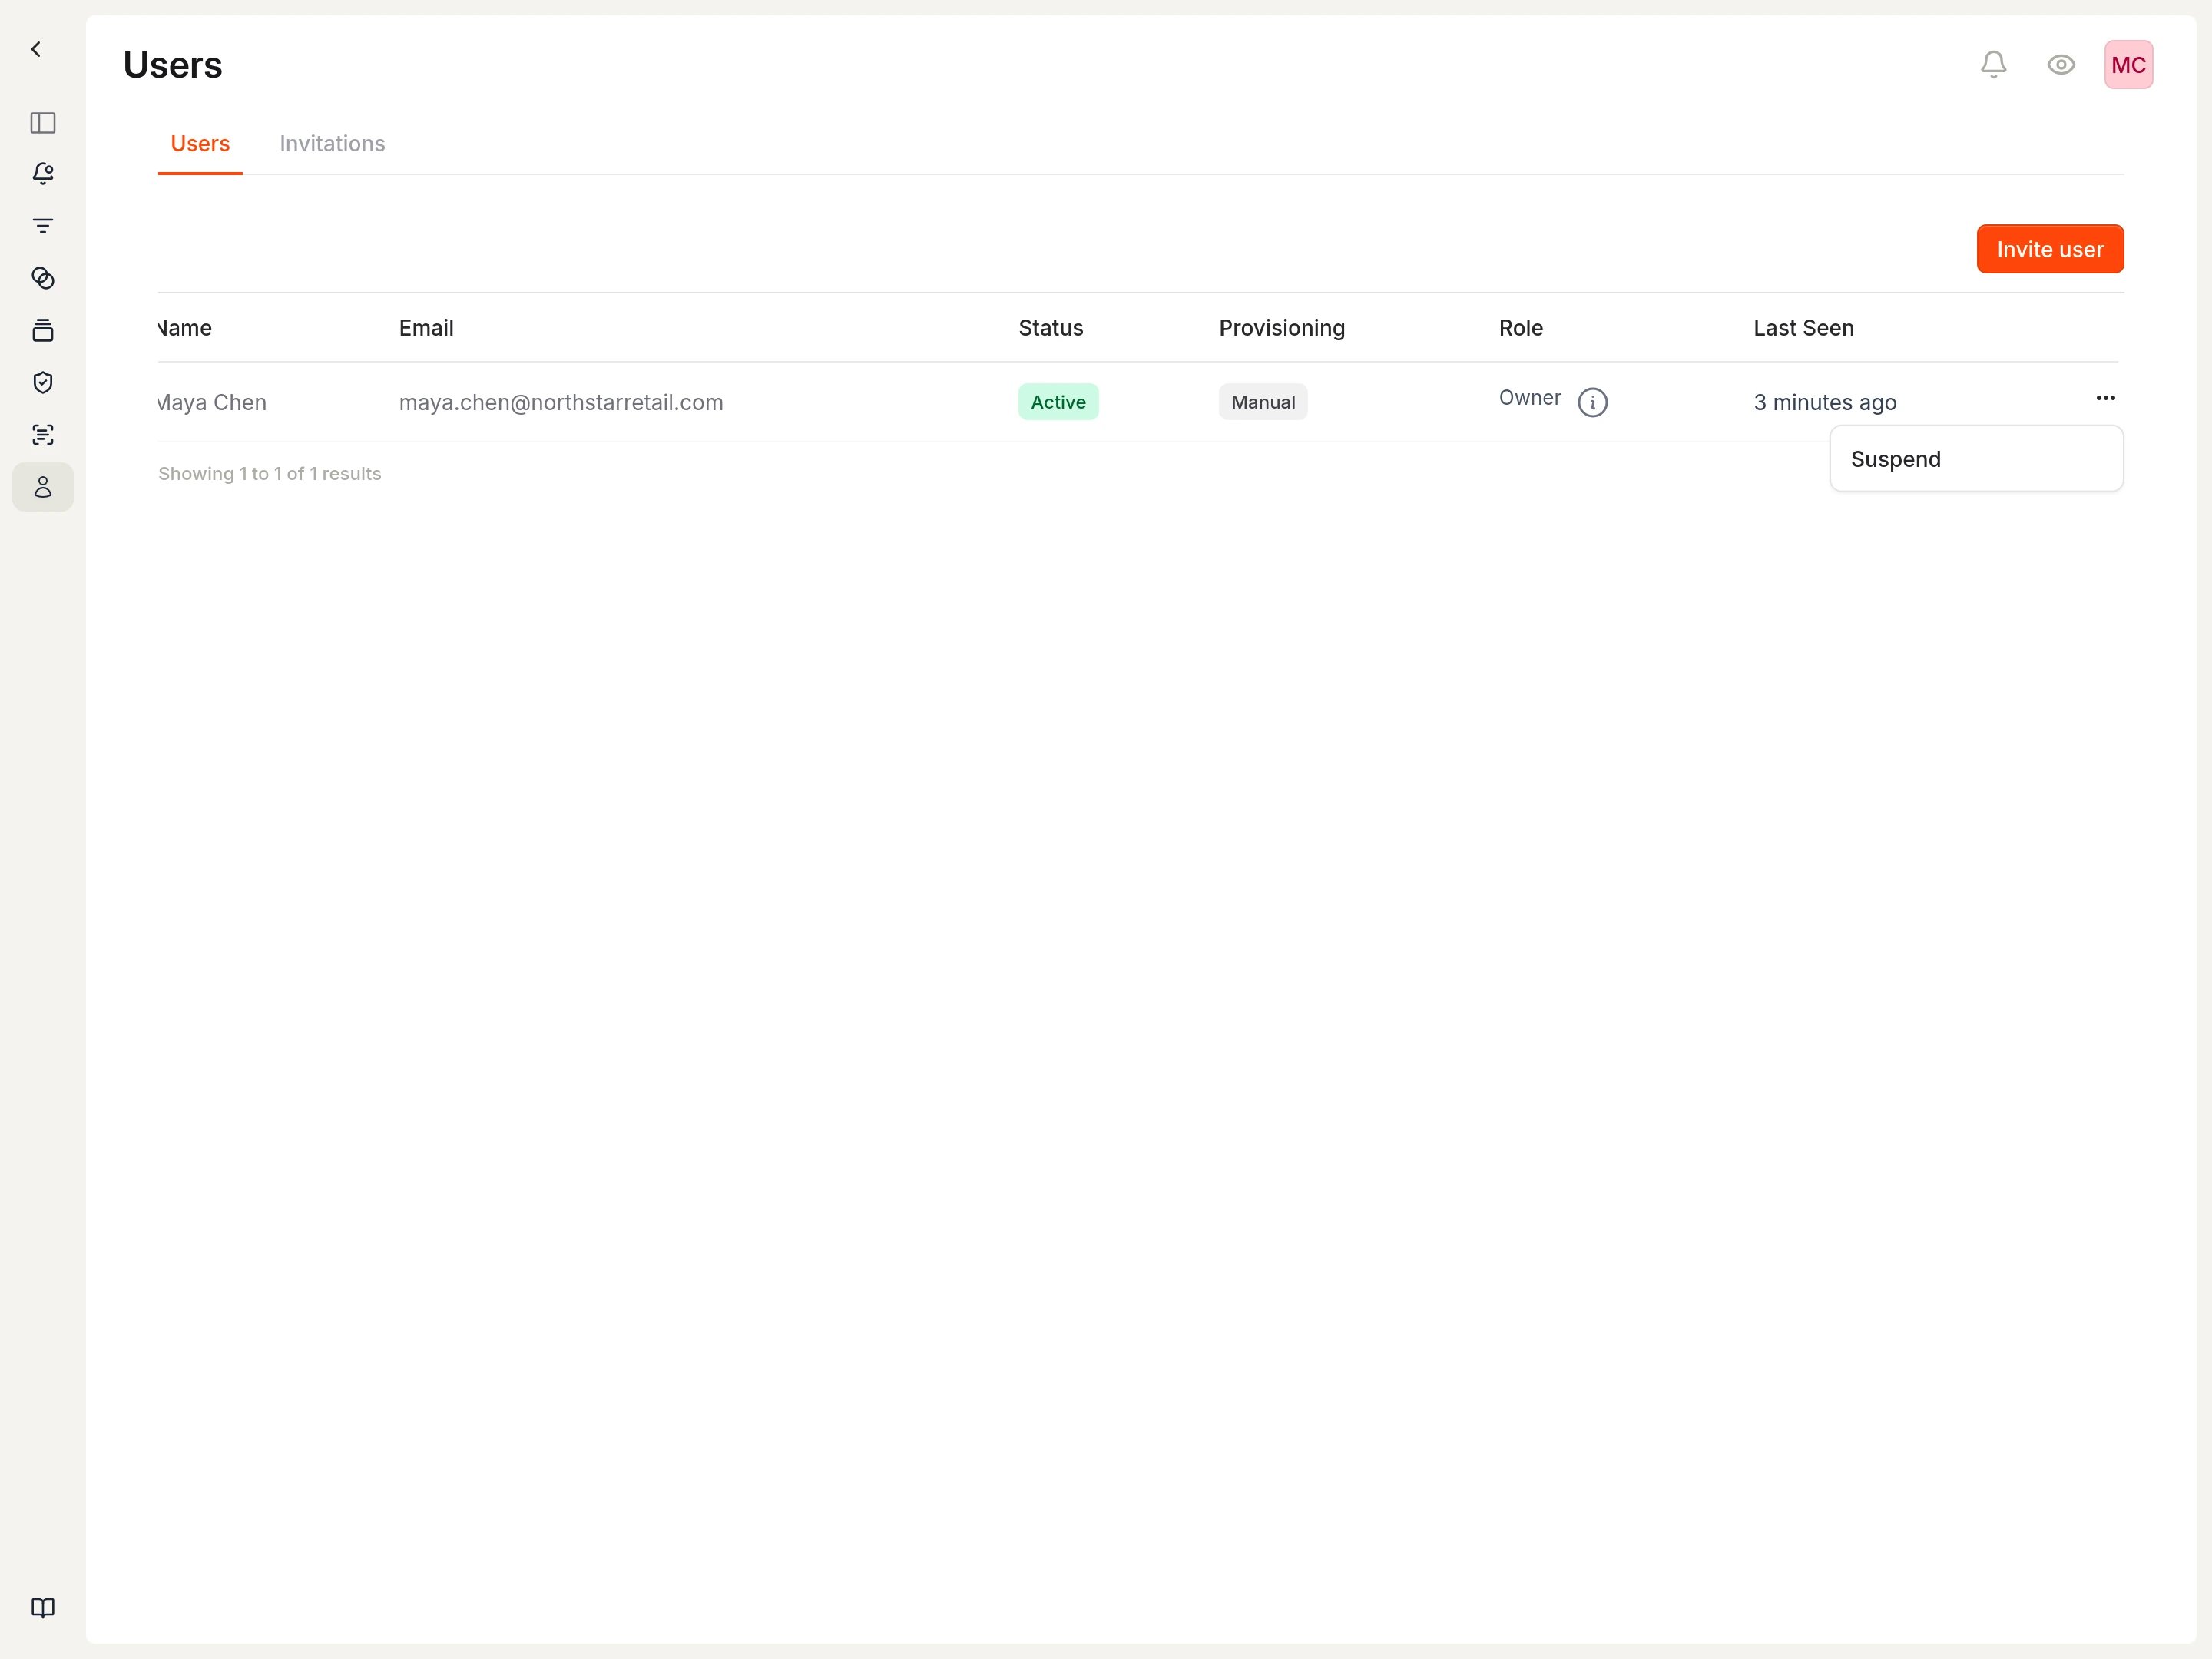
Select the actions menu (three dots) on a member row to access management options.
From here you can:
* See who sent each invitation
* Check when invitations expire
* Resend or revoke invitations using the actions menu
## Manage a member
Select the actions menu (three dots) on a member row to access management options.
 ### Change a member's role
1. Find the member in the Users list.
2. Select the role dropdown in their row.
3. Choose the new role.
The change takes effect immediately. The member's permissions update on their next page load.
### Suspend a member
Suspending a member revokes their access without deleting their account. Their vulnerability assignments and history are preserved.
1. Find the member in the Users list.
2. Select the actions menu (three dots) in their row.
3. Select **Suspend**.
Suspended members cannot access the workspace until reactivated.
### Remove a member
Removing a member completely removes them from the workspace.
1. Find the member in the Users list.
2. Select the actions menu (three dots) in their row.
3. Select **Remove from Workspace**.
## Related
* [Workspaces](/concepts/workspaces): Understanding workspace isolation
* [Security settings](/administration/security): Configure SSO and access policies
### Change a member's role
1. Find the member in the Users list.
2. Select the role dropdown in their row.
3. Choose the new role.
The change takes effect immediately. The member's permissions update on their next page load.
### Suspend a member
Suspending a member revokes their access without deleting their account. Their vulnerability assignments and history are preserved.
1. Find the member in the Users list.
2. Select the actions menu (three dots) in their row.
3. Select **Suspend**.
Suspended members cannot access the workspace until reactivated.
### Remove a member
Removing a member completely removes them from the workspace.
1. Find the member in the Users list.
2. Select the actions menu (three dots) in their row.
3. Select **Remove from Workspace**.
## Related
* [Workspaces](/concepts/workspaces): Understanding workspace isolation
* [Security settings](/administration/security): Configure SSO and access policies