Overview
API keys provide programmatic access for CI pipelines, integrations, and tooling. Cysmiq supports two types of keys:- Personal API keys: Scoped to your user account. Can be restricted to specific workspaces.
- Workspace API keys: Scoped to a workspace (tenant). Managed by workspace admins for shared integrations.
Create an API key
Open settings
- Personal key
- Workspace key
Open the Workspaces page, select Security, then scroll to API keys.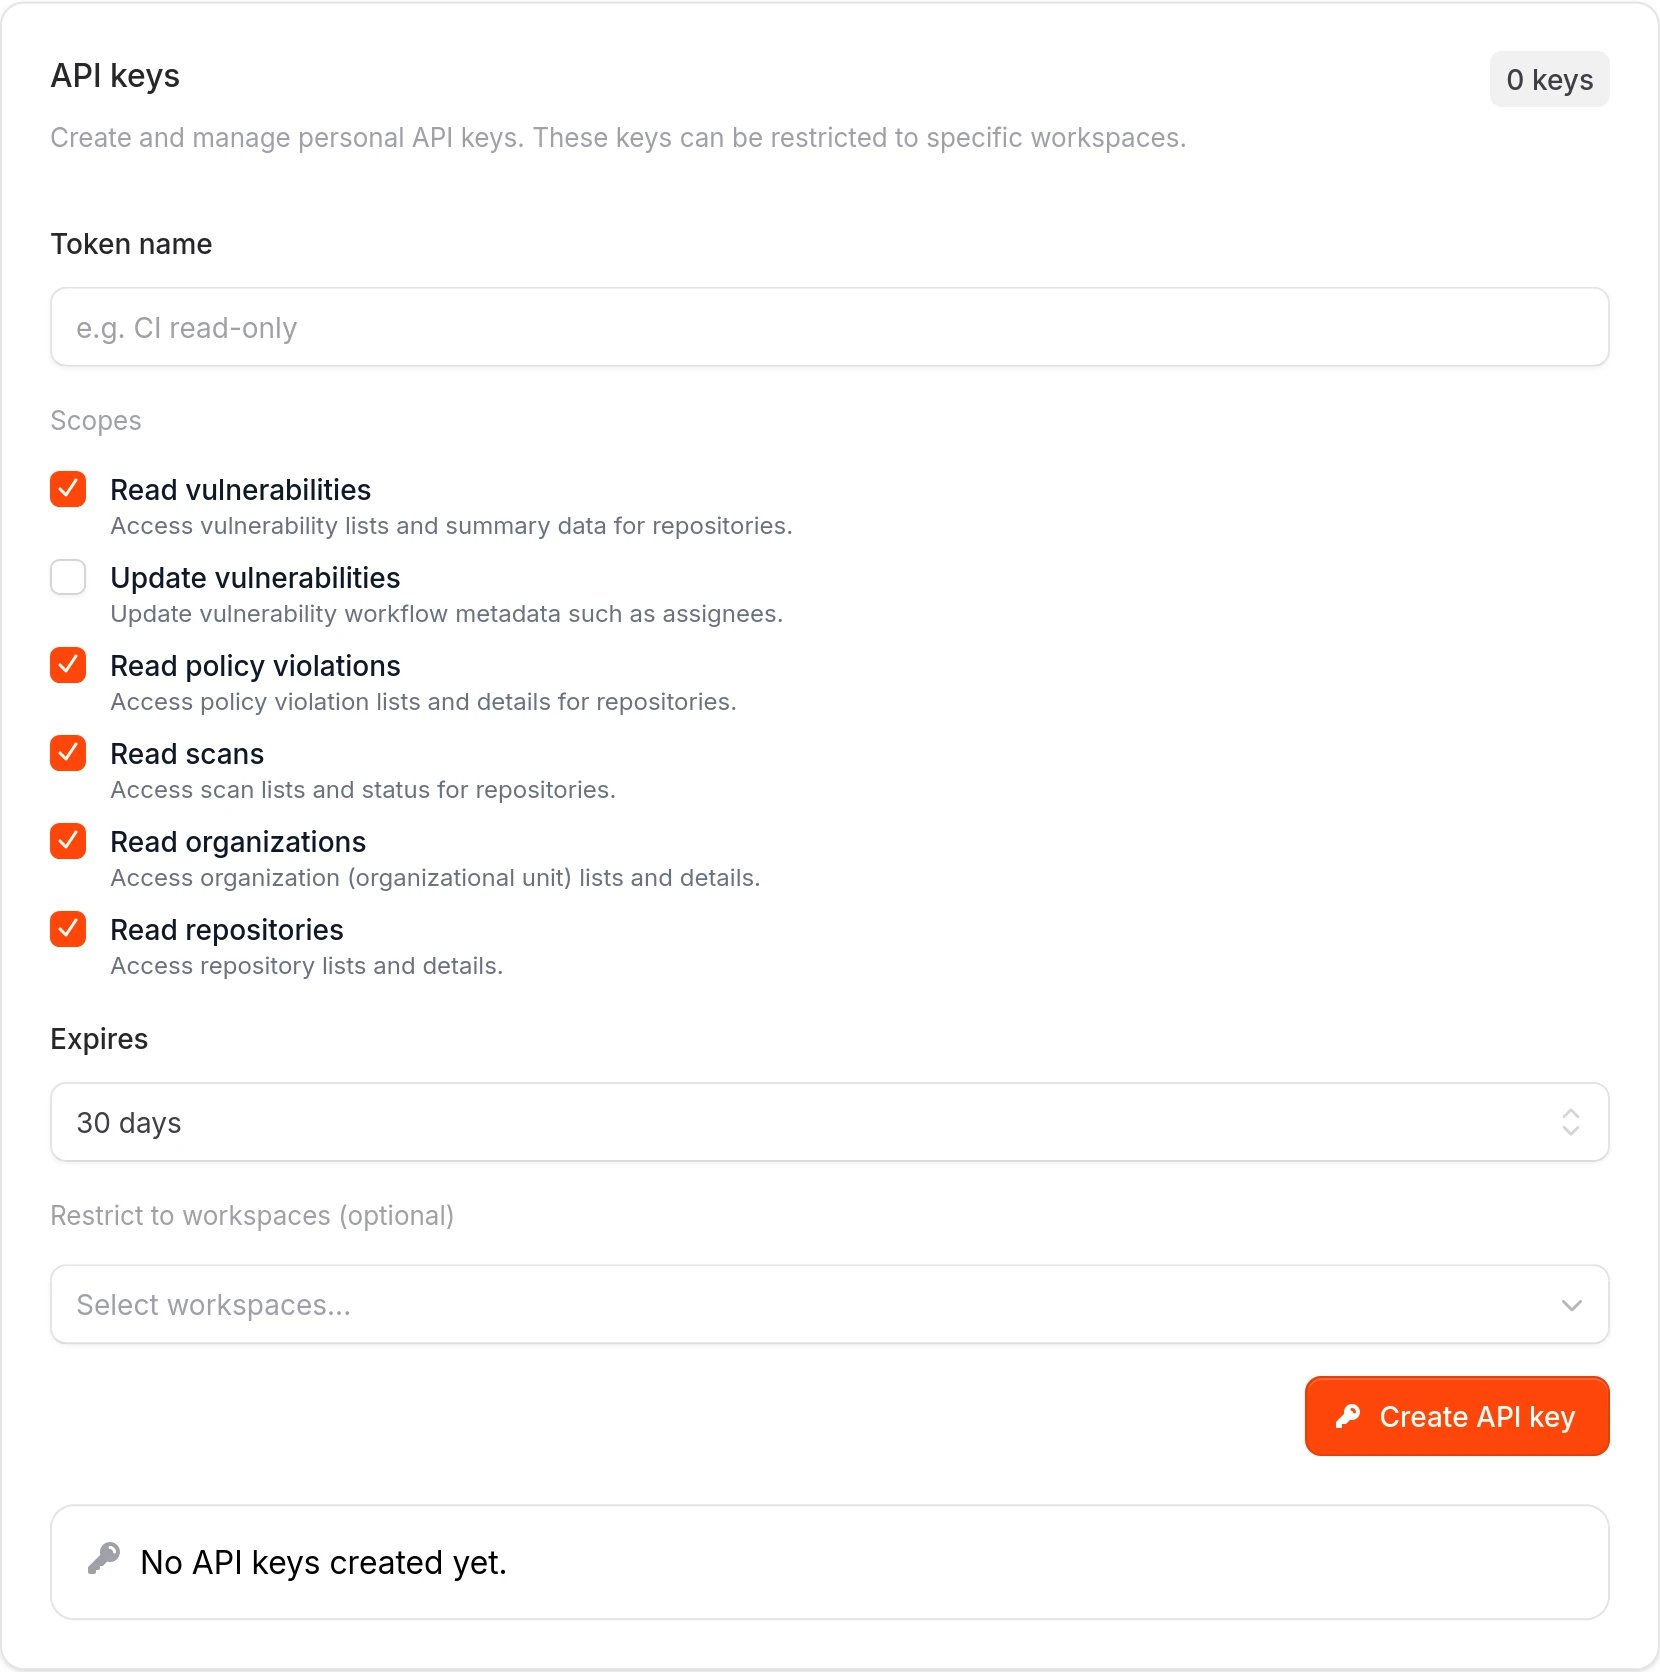
Use
https://app.cysmiq.com/workspaces for Cysmiq Cloud. For self-hosted, use your Cysmiq app URL.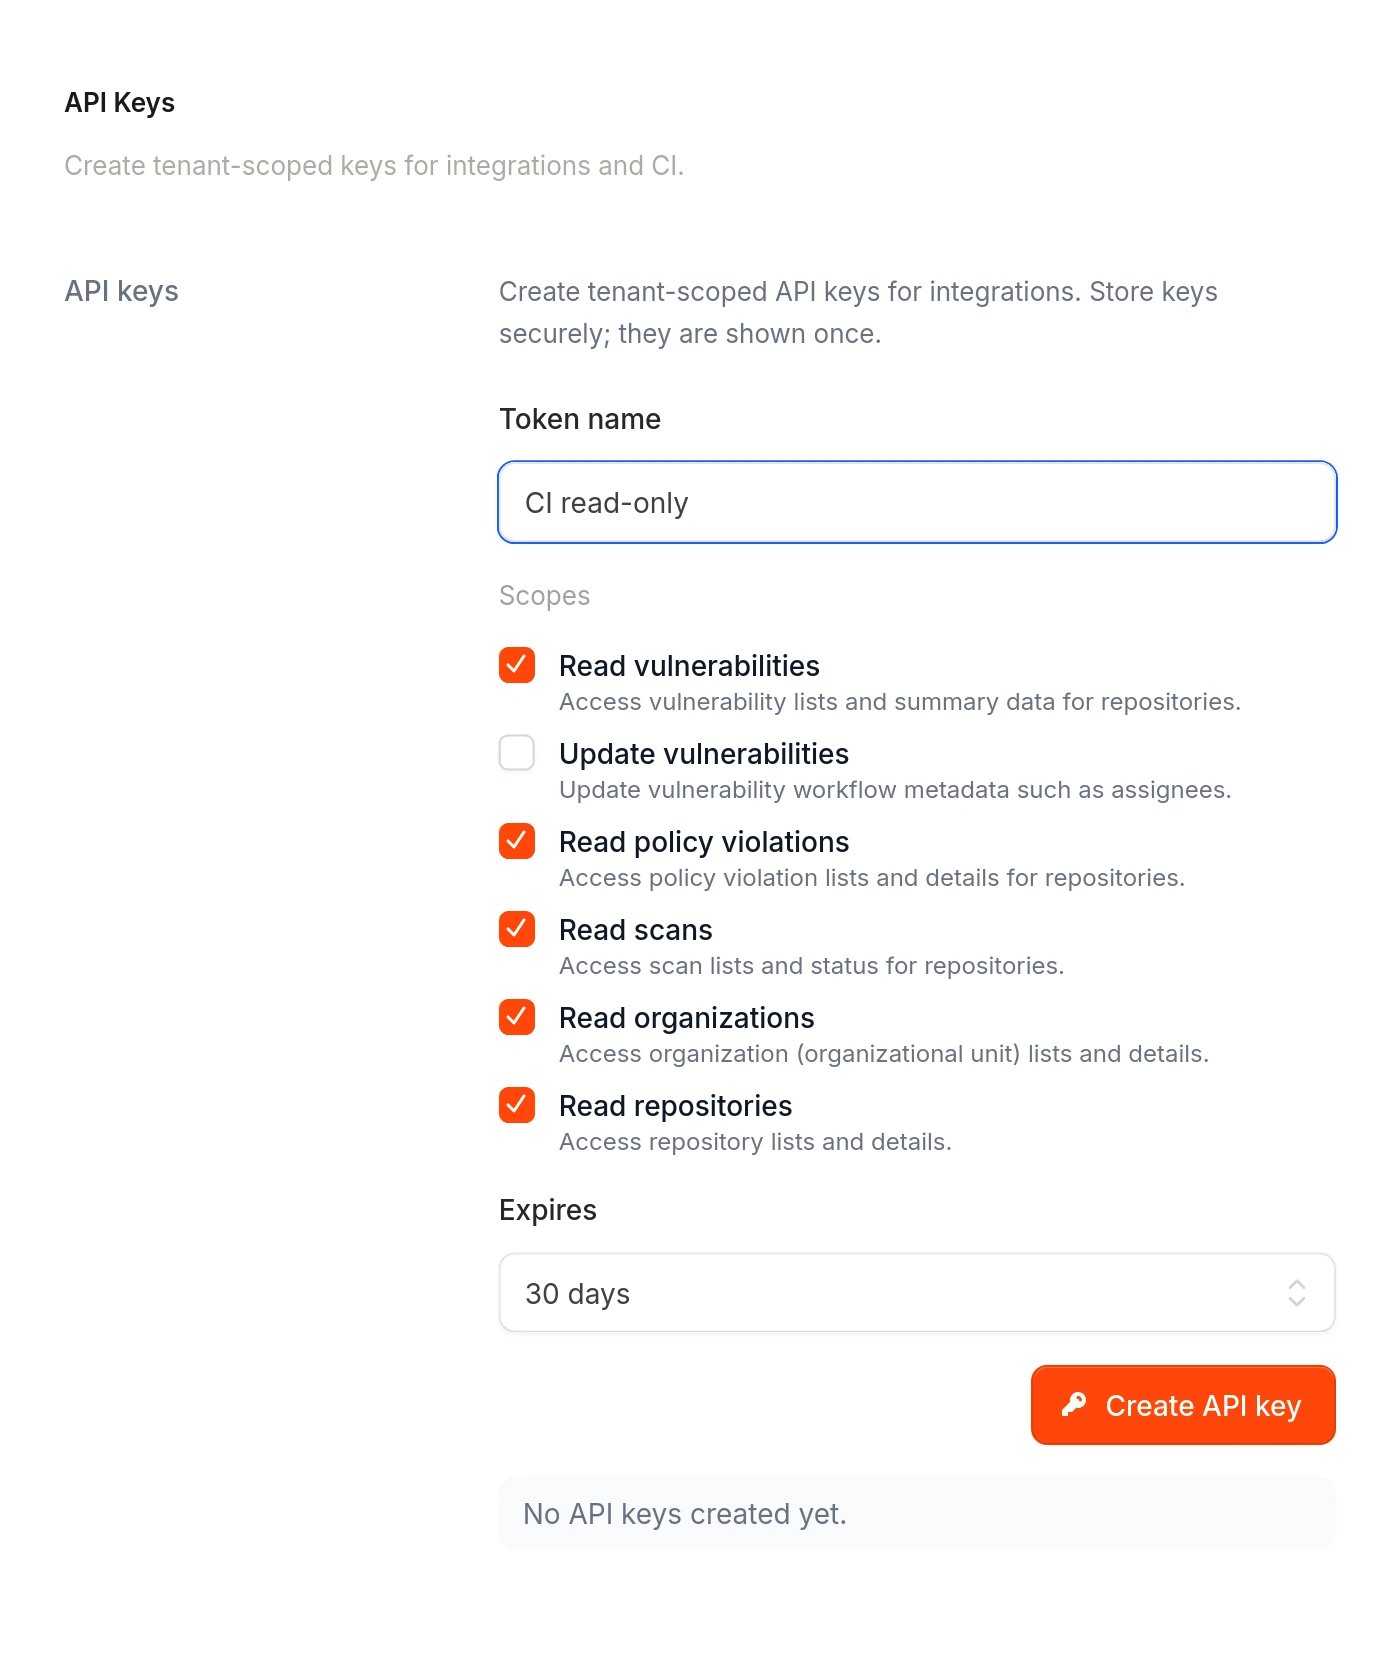
Configure the key
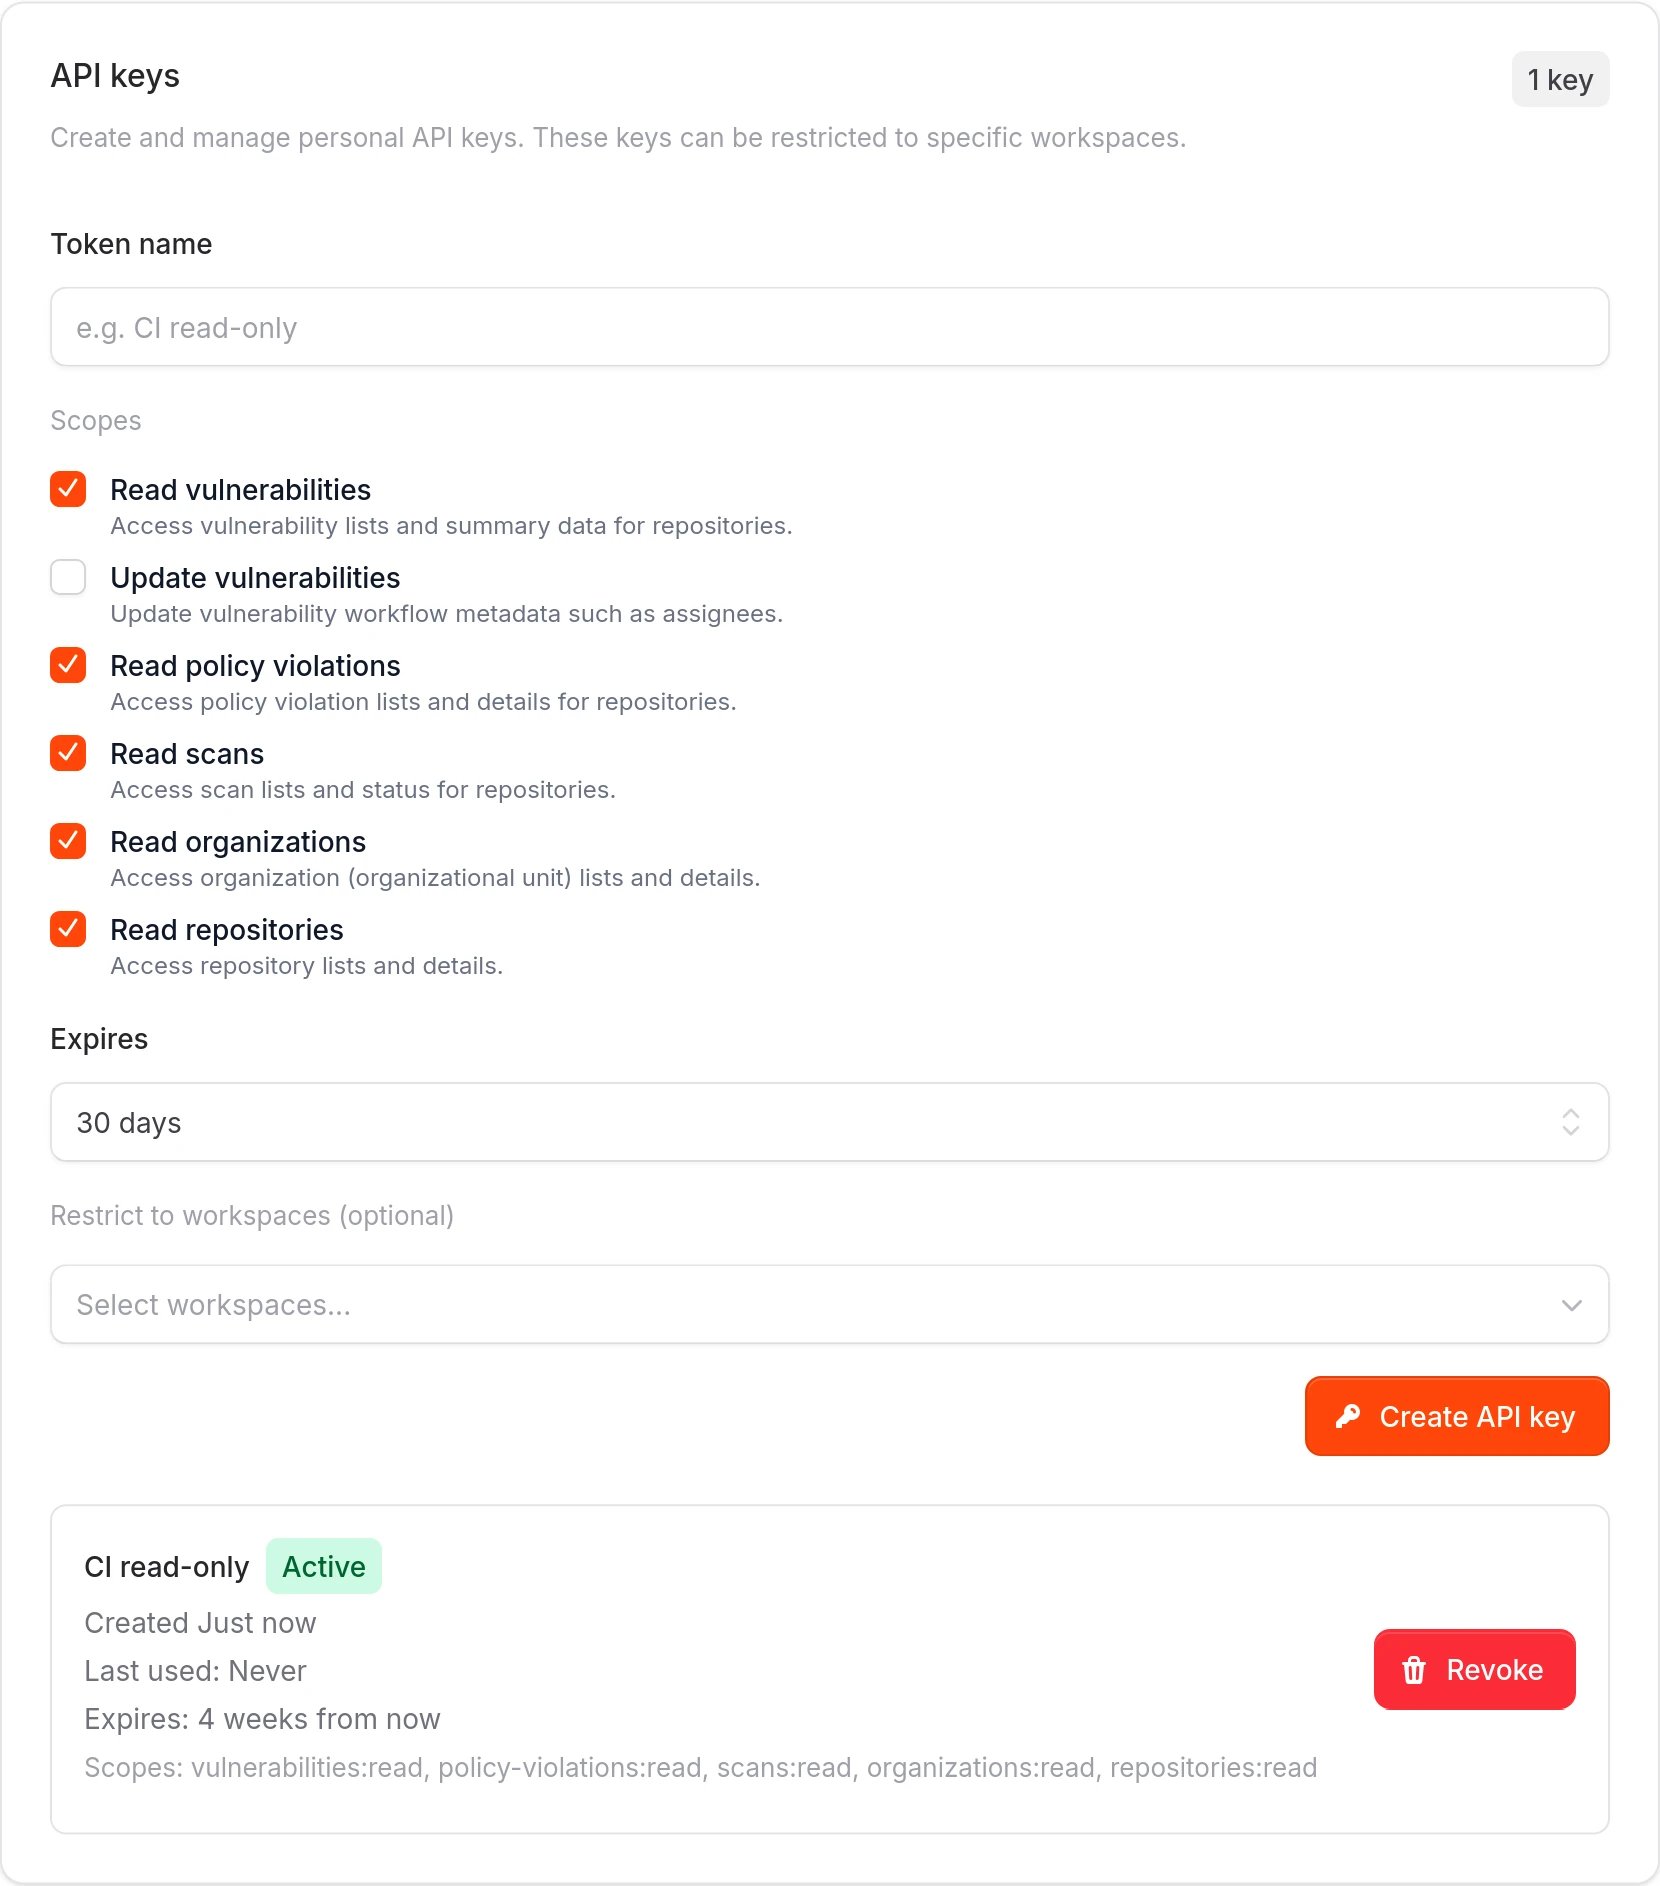
Enter a descriptive Token name to identify the key’s purpose, such as “CI read-only” or “GitHub Actions”.Select the Scopes for the key. For a CI read-only key, keep read scopes enabled and leave write scopes disabled. Available read scopes include:
- Read vulnerabilities (
vulnerabilities:read): Access vulnerability lists and summary data - Read policy violations (
policy-violations:read): Access policy violation lists and details - Read scans (
scans:read): Access scan lists and status - Read organizations (
organizations:read): Access organization lists and details - Read repositories (
repositories:read): Access repository lists and details
- Personal key
- Workspace key
Optionally restrict the key to specific workspaces using Restrict to workspaces. If no workspaces are selected, the key works across all workspaces you have access to.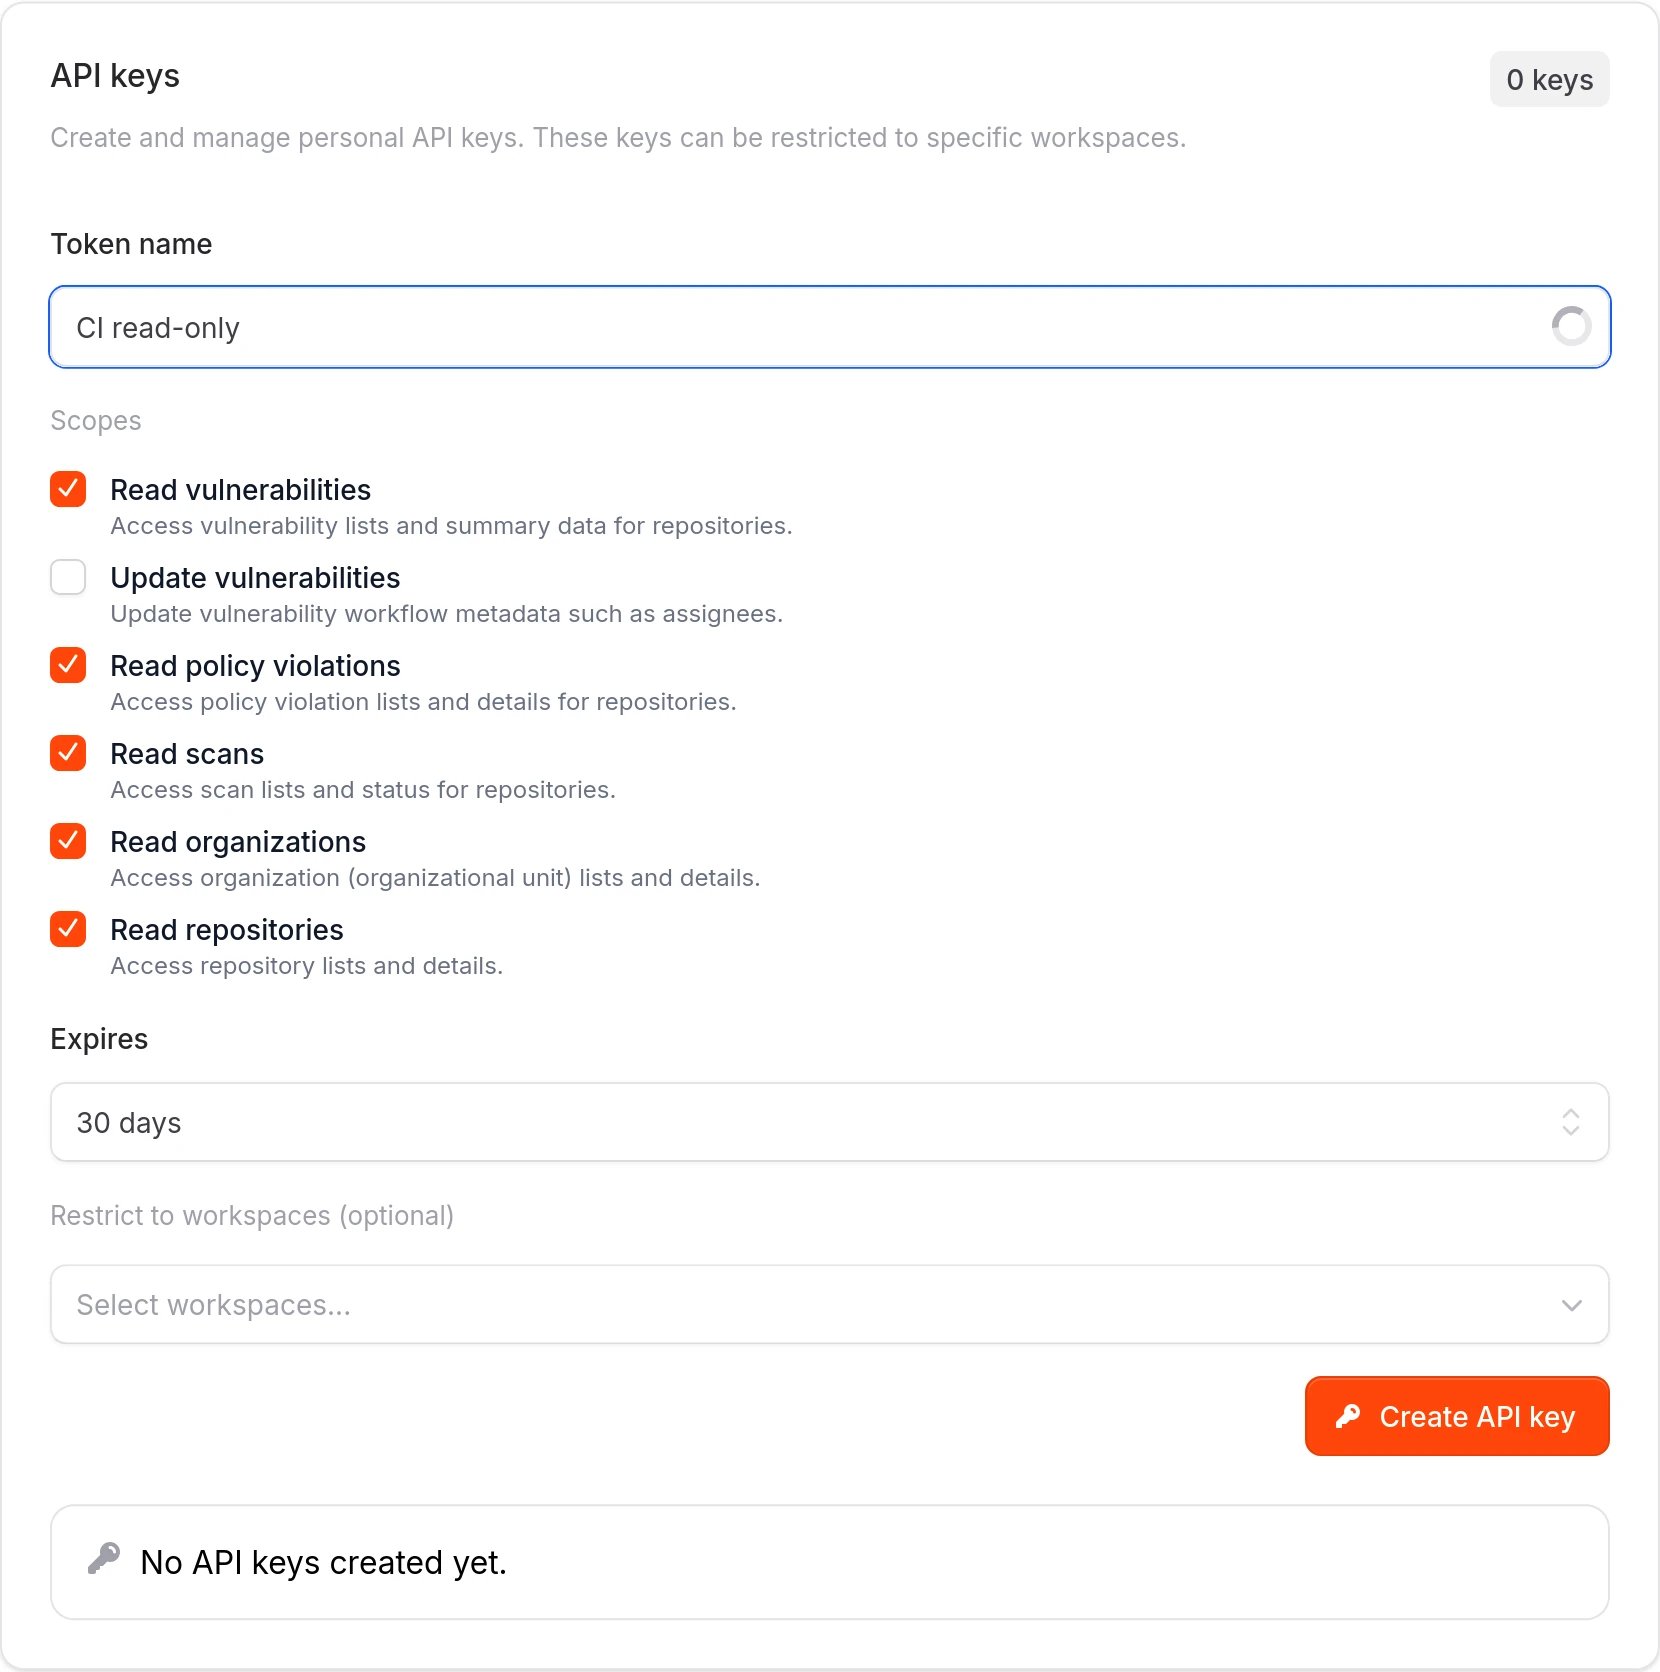
Verify an API key
Use thewhoami endpoint to confirm your key and tenant context.
Find your tenant slug
Open the Workspaces page. The tenant slug is the short identifier used in API URLs. It appears under each workspace name, such as 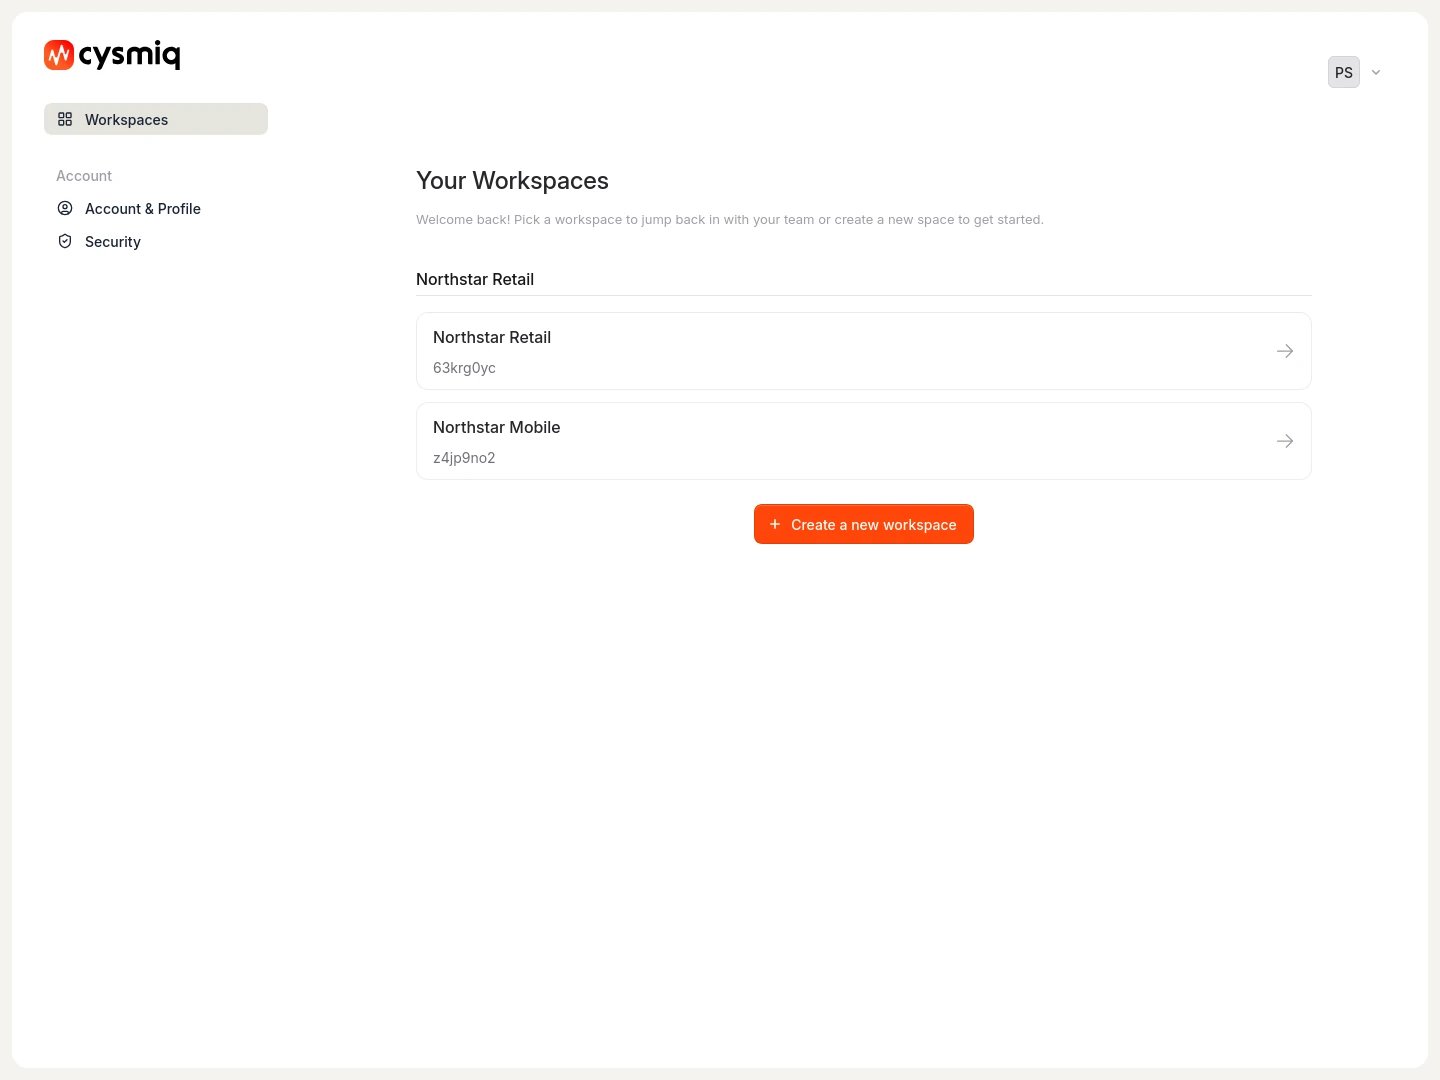
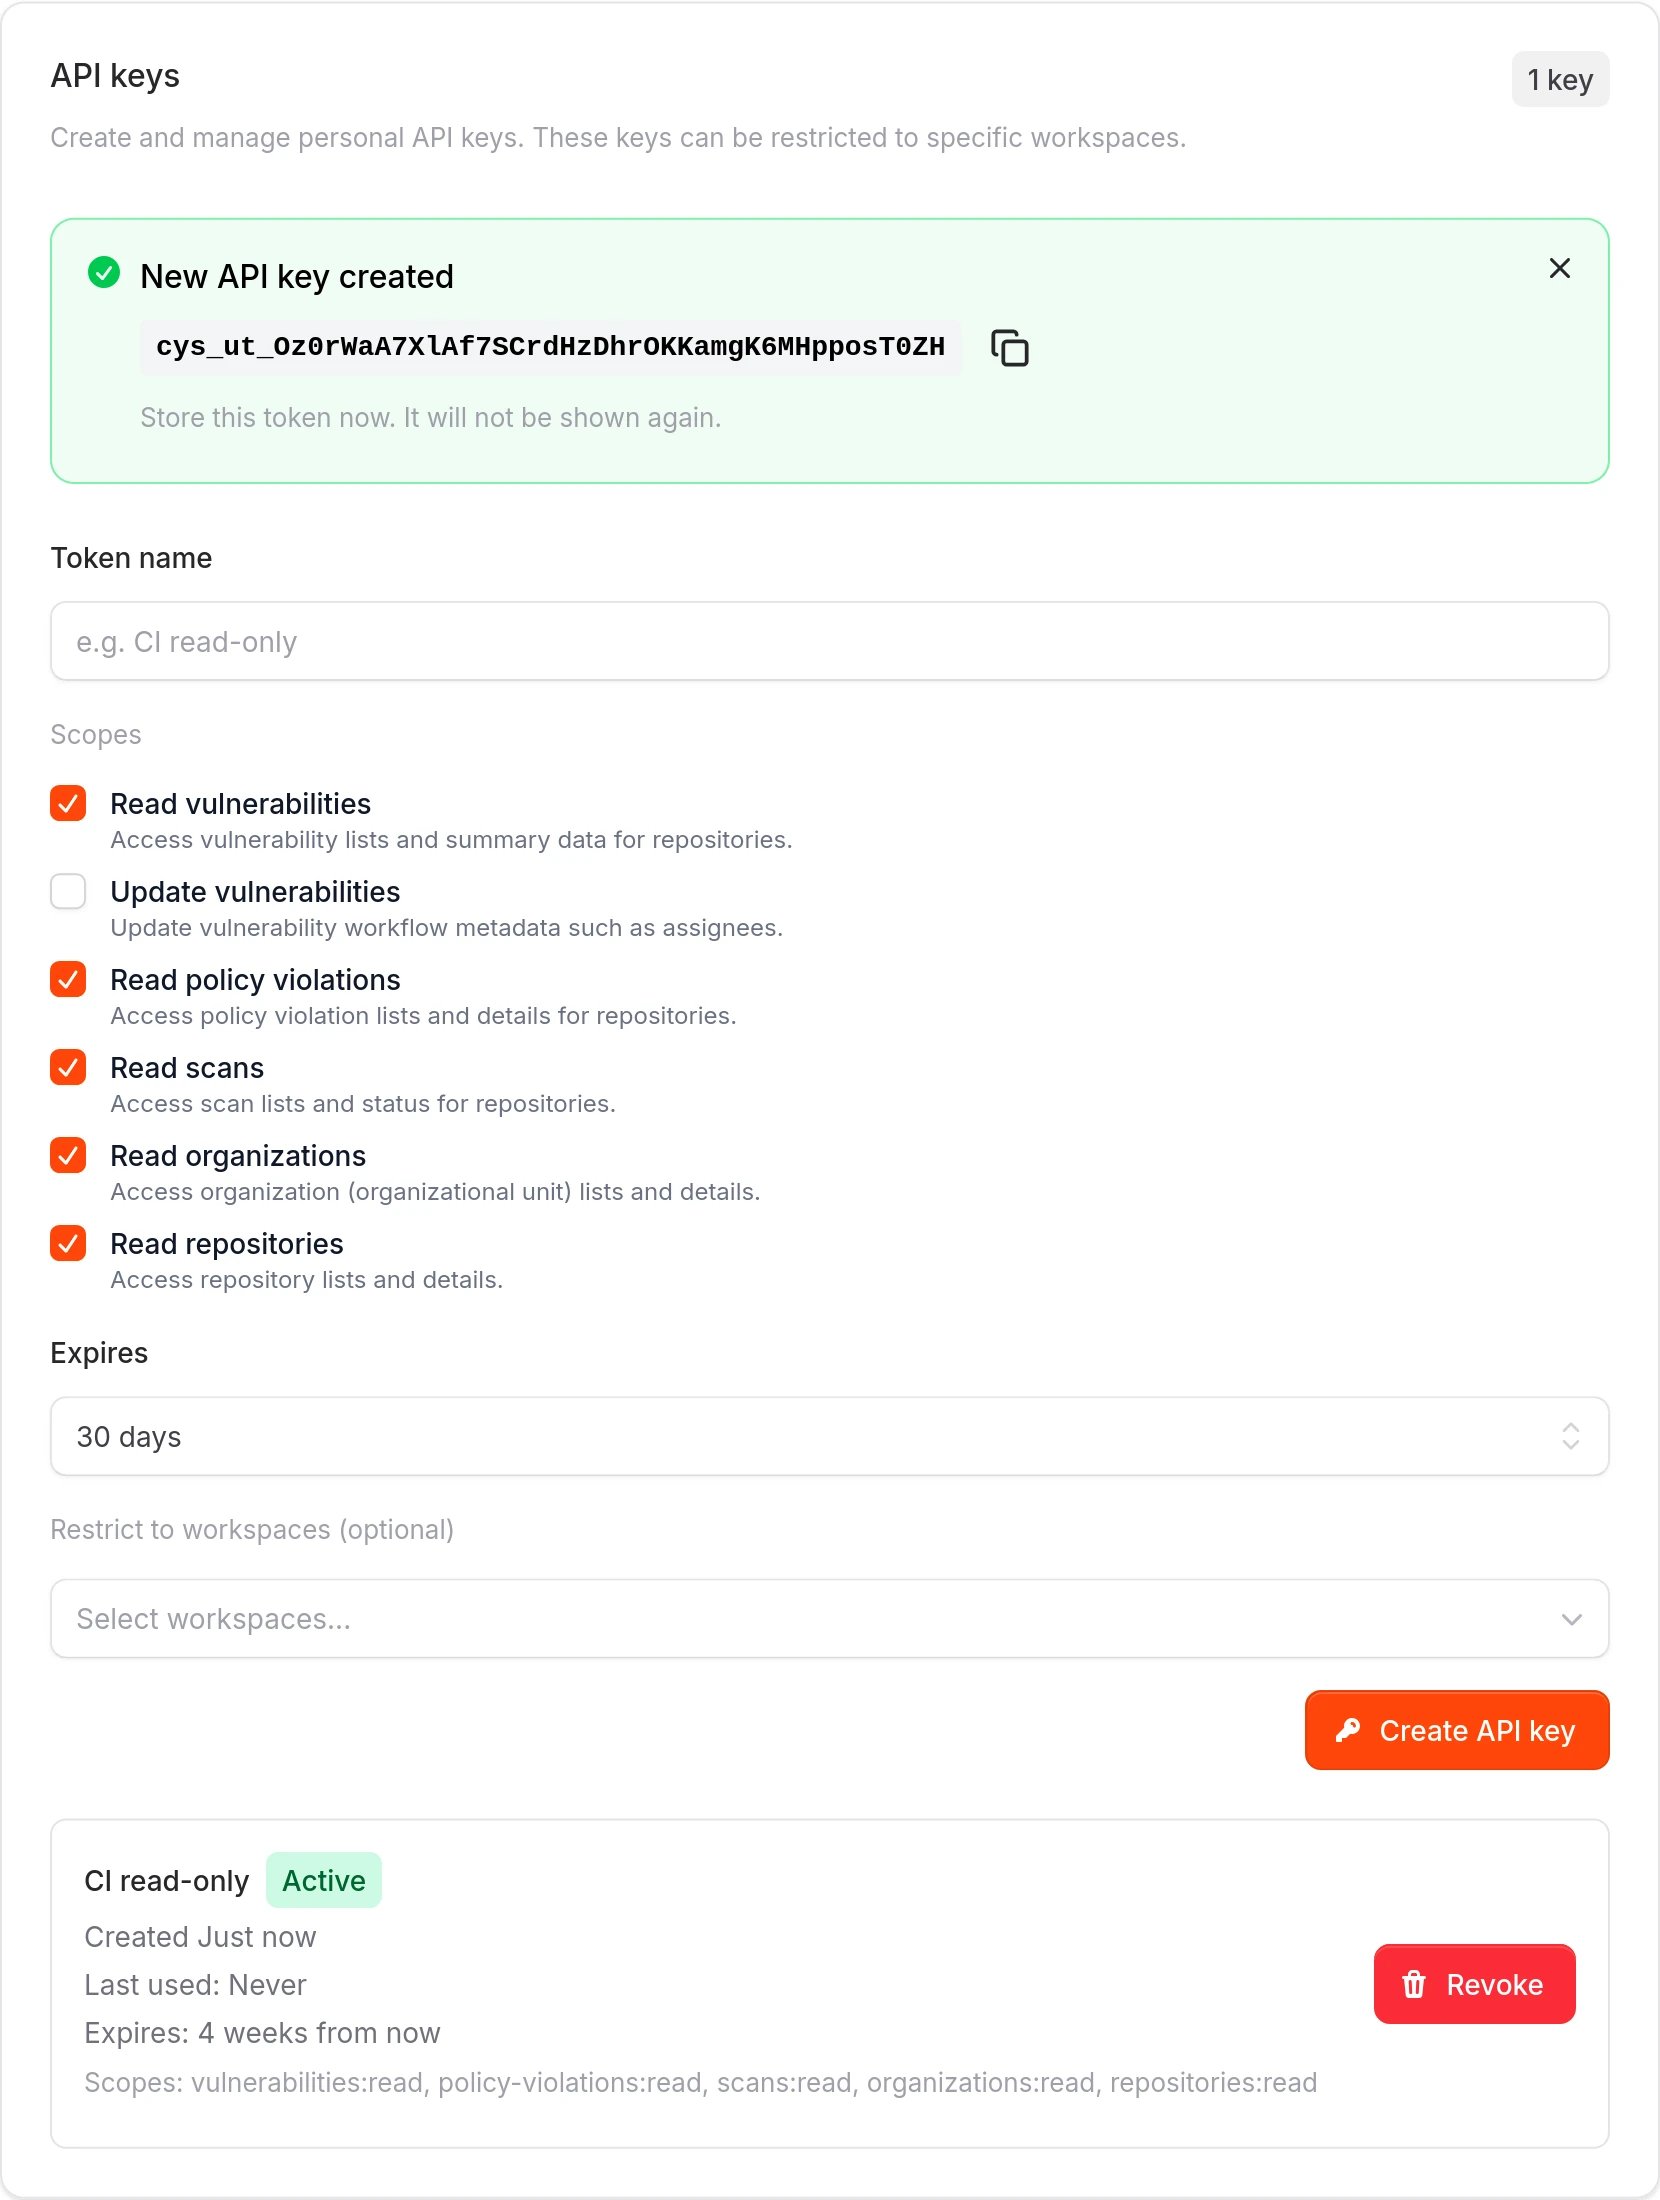
e55cdd66.View and revoke keys
Created keys appear in a list below the creation form. Each key shows:- Name and Status (Active, Expired, or Disabled)
- Created date and Last used timestamp
- Expires date
- Scopes assigned to the key
Related docs
- API keys: Key types, scopes, and lifecycle details
- API reference: Using API keys for authentication