Overview
This quickstart walks you through creating a Cysmiq account and your first workspace. You will finish with an empty workspace that is ready for a VCS connection.Prerequisites
- Access to the Cysmiq app
- An email address or GitHub account
Steps
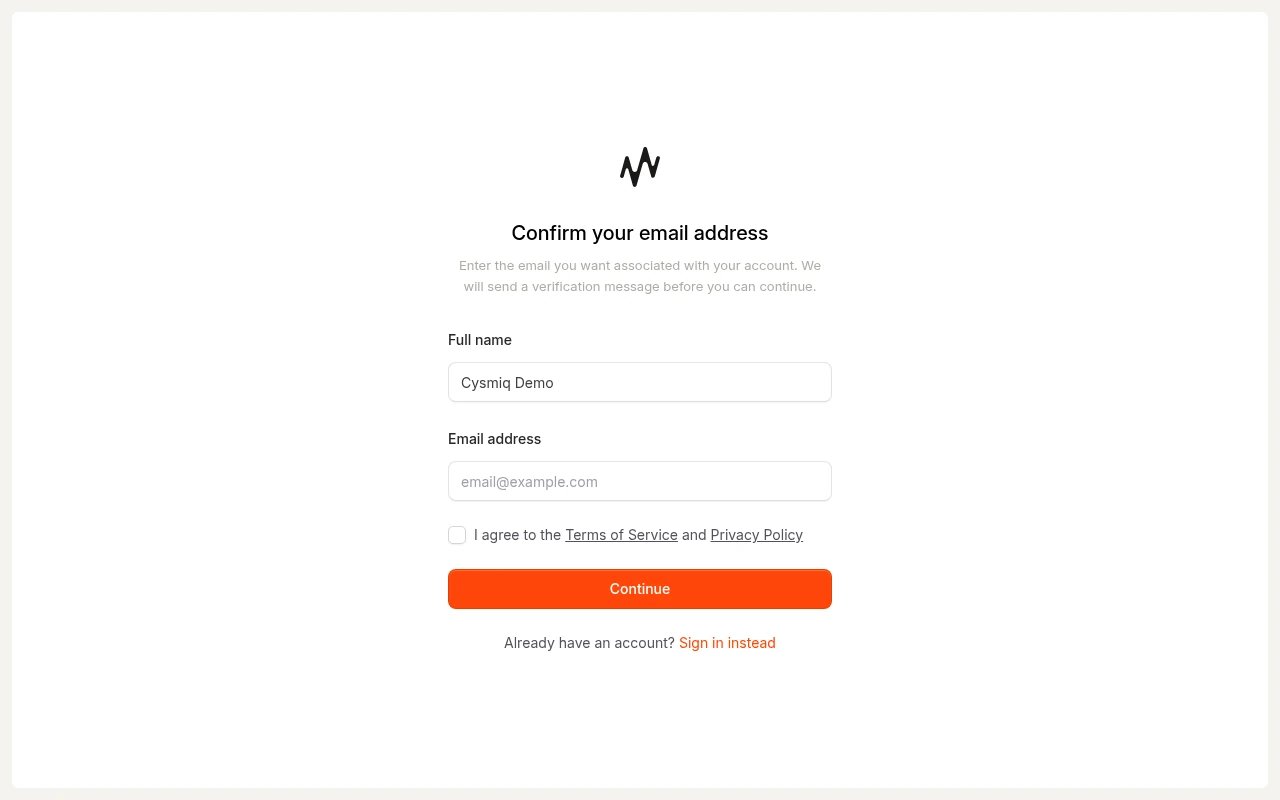
Create your account
Start on the sign-in page and select Sign up.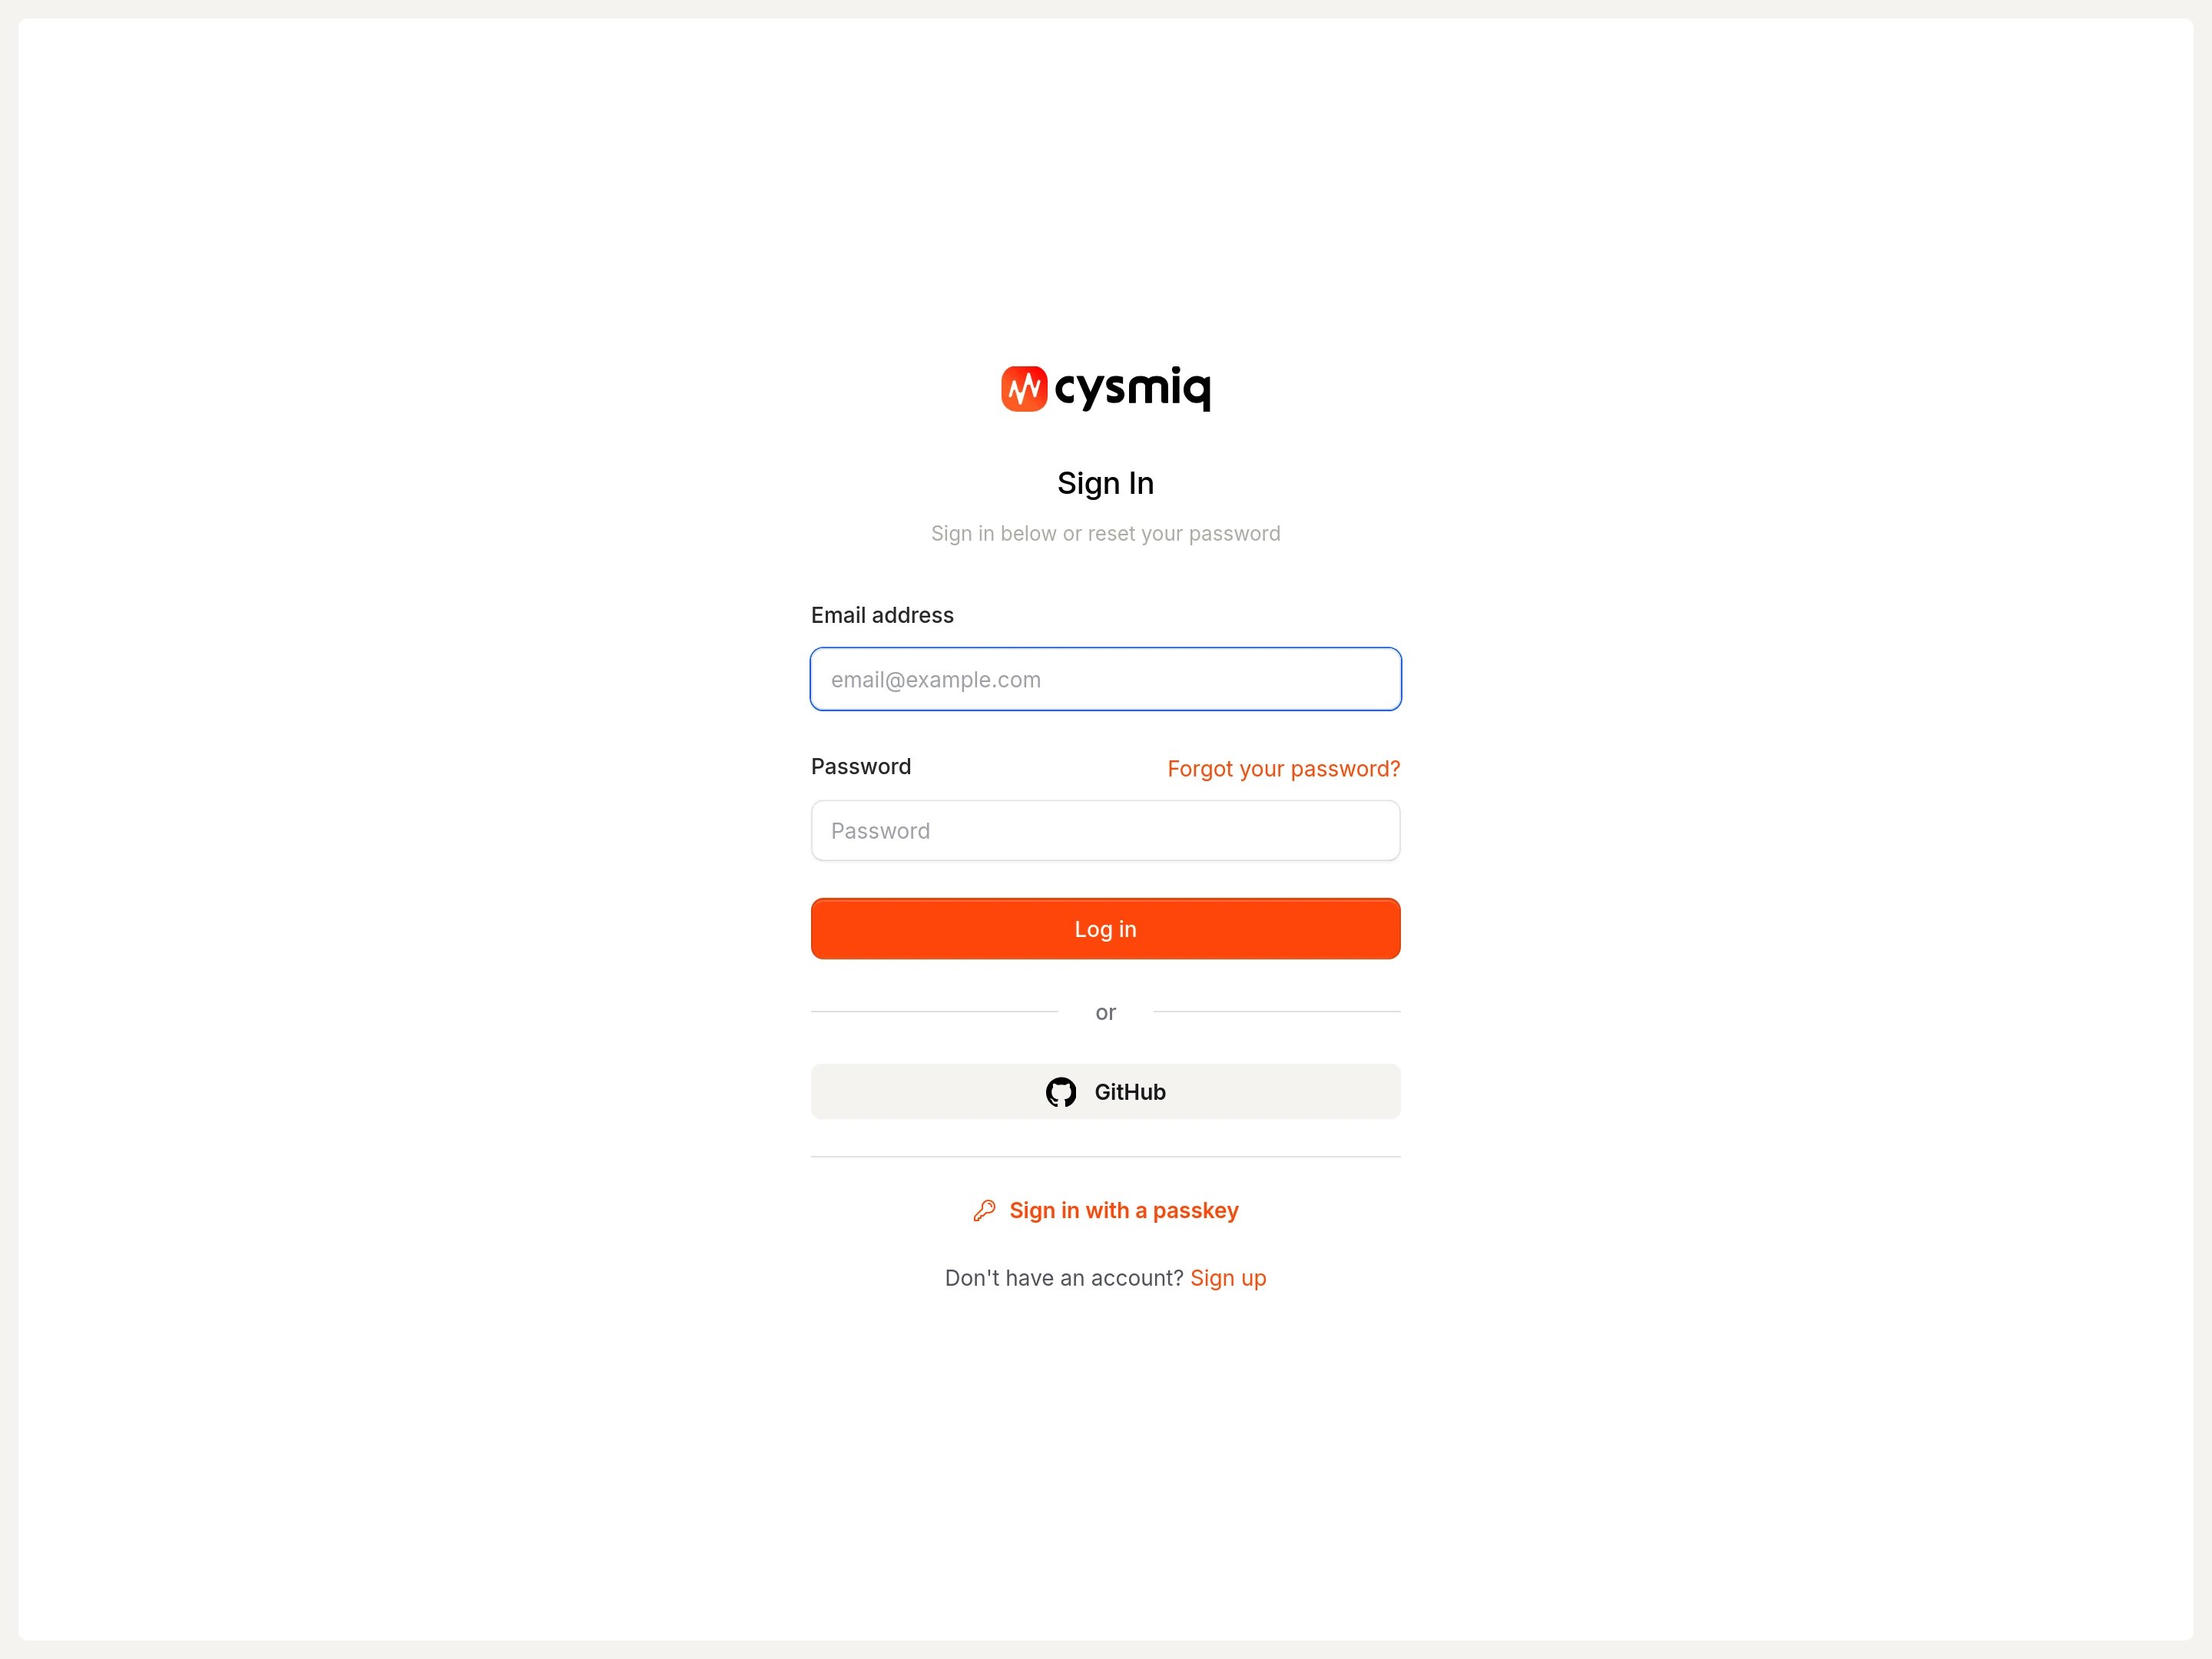
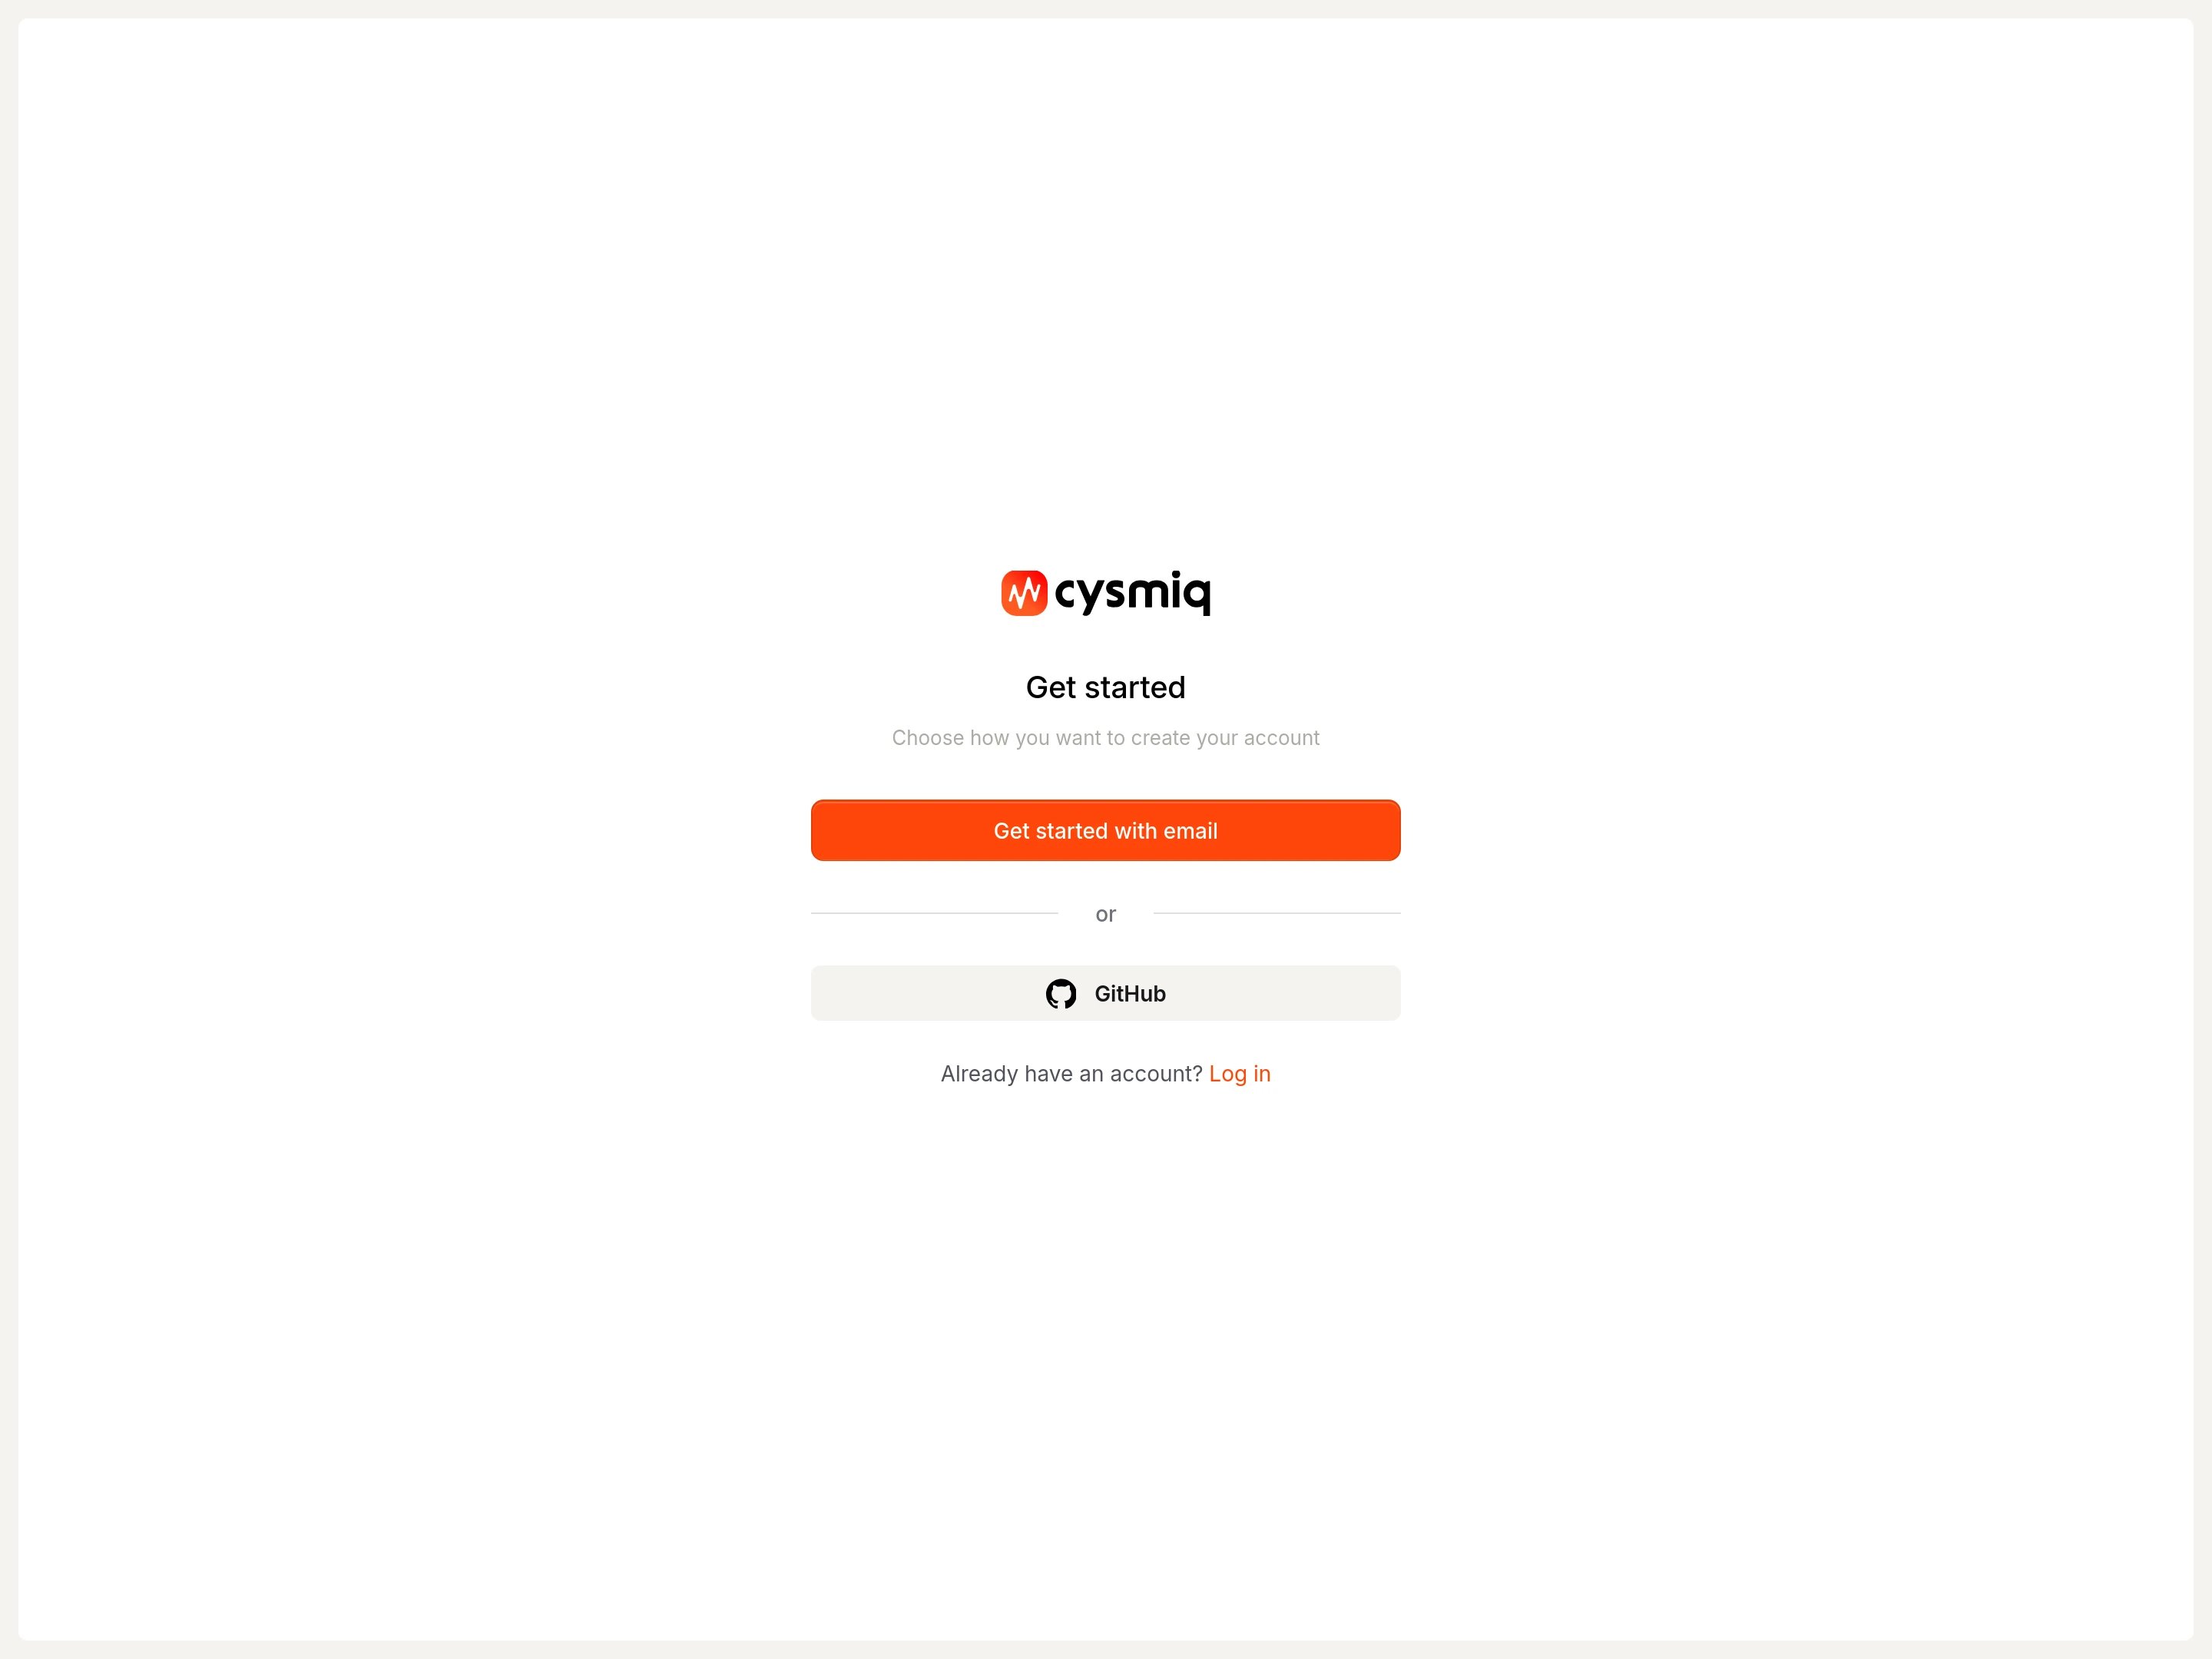
- Email
- GitHub
Enter your details, accept the terms, and create your account.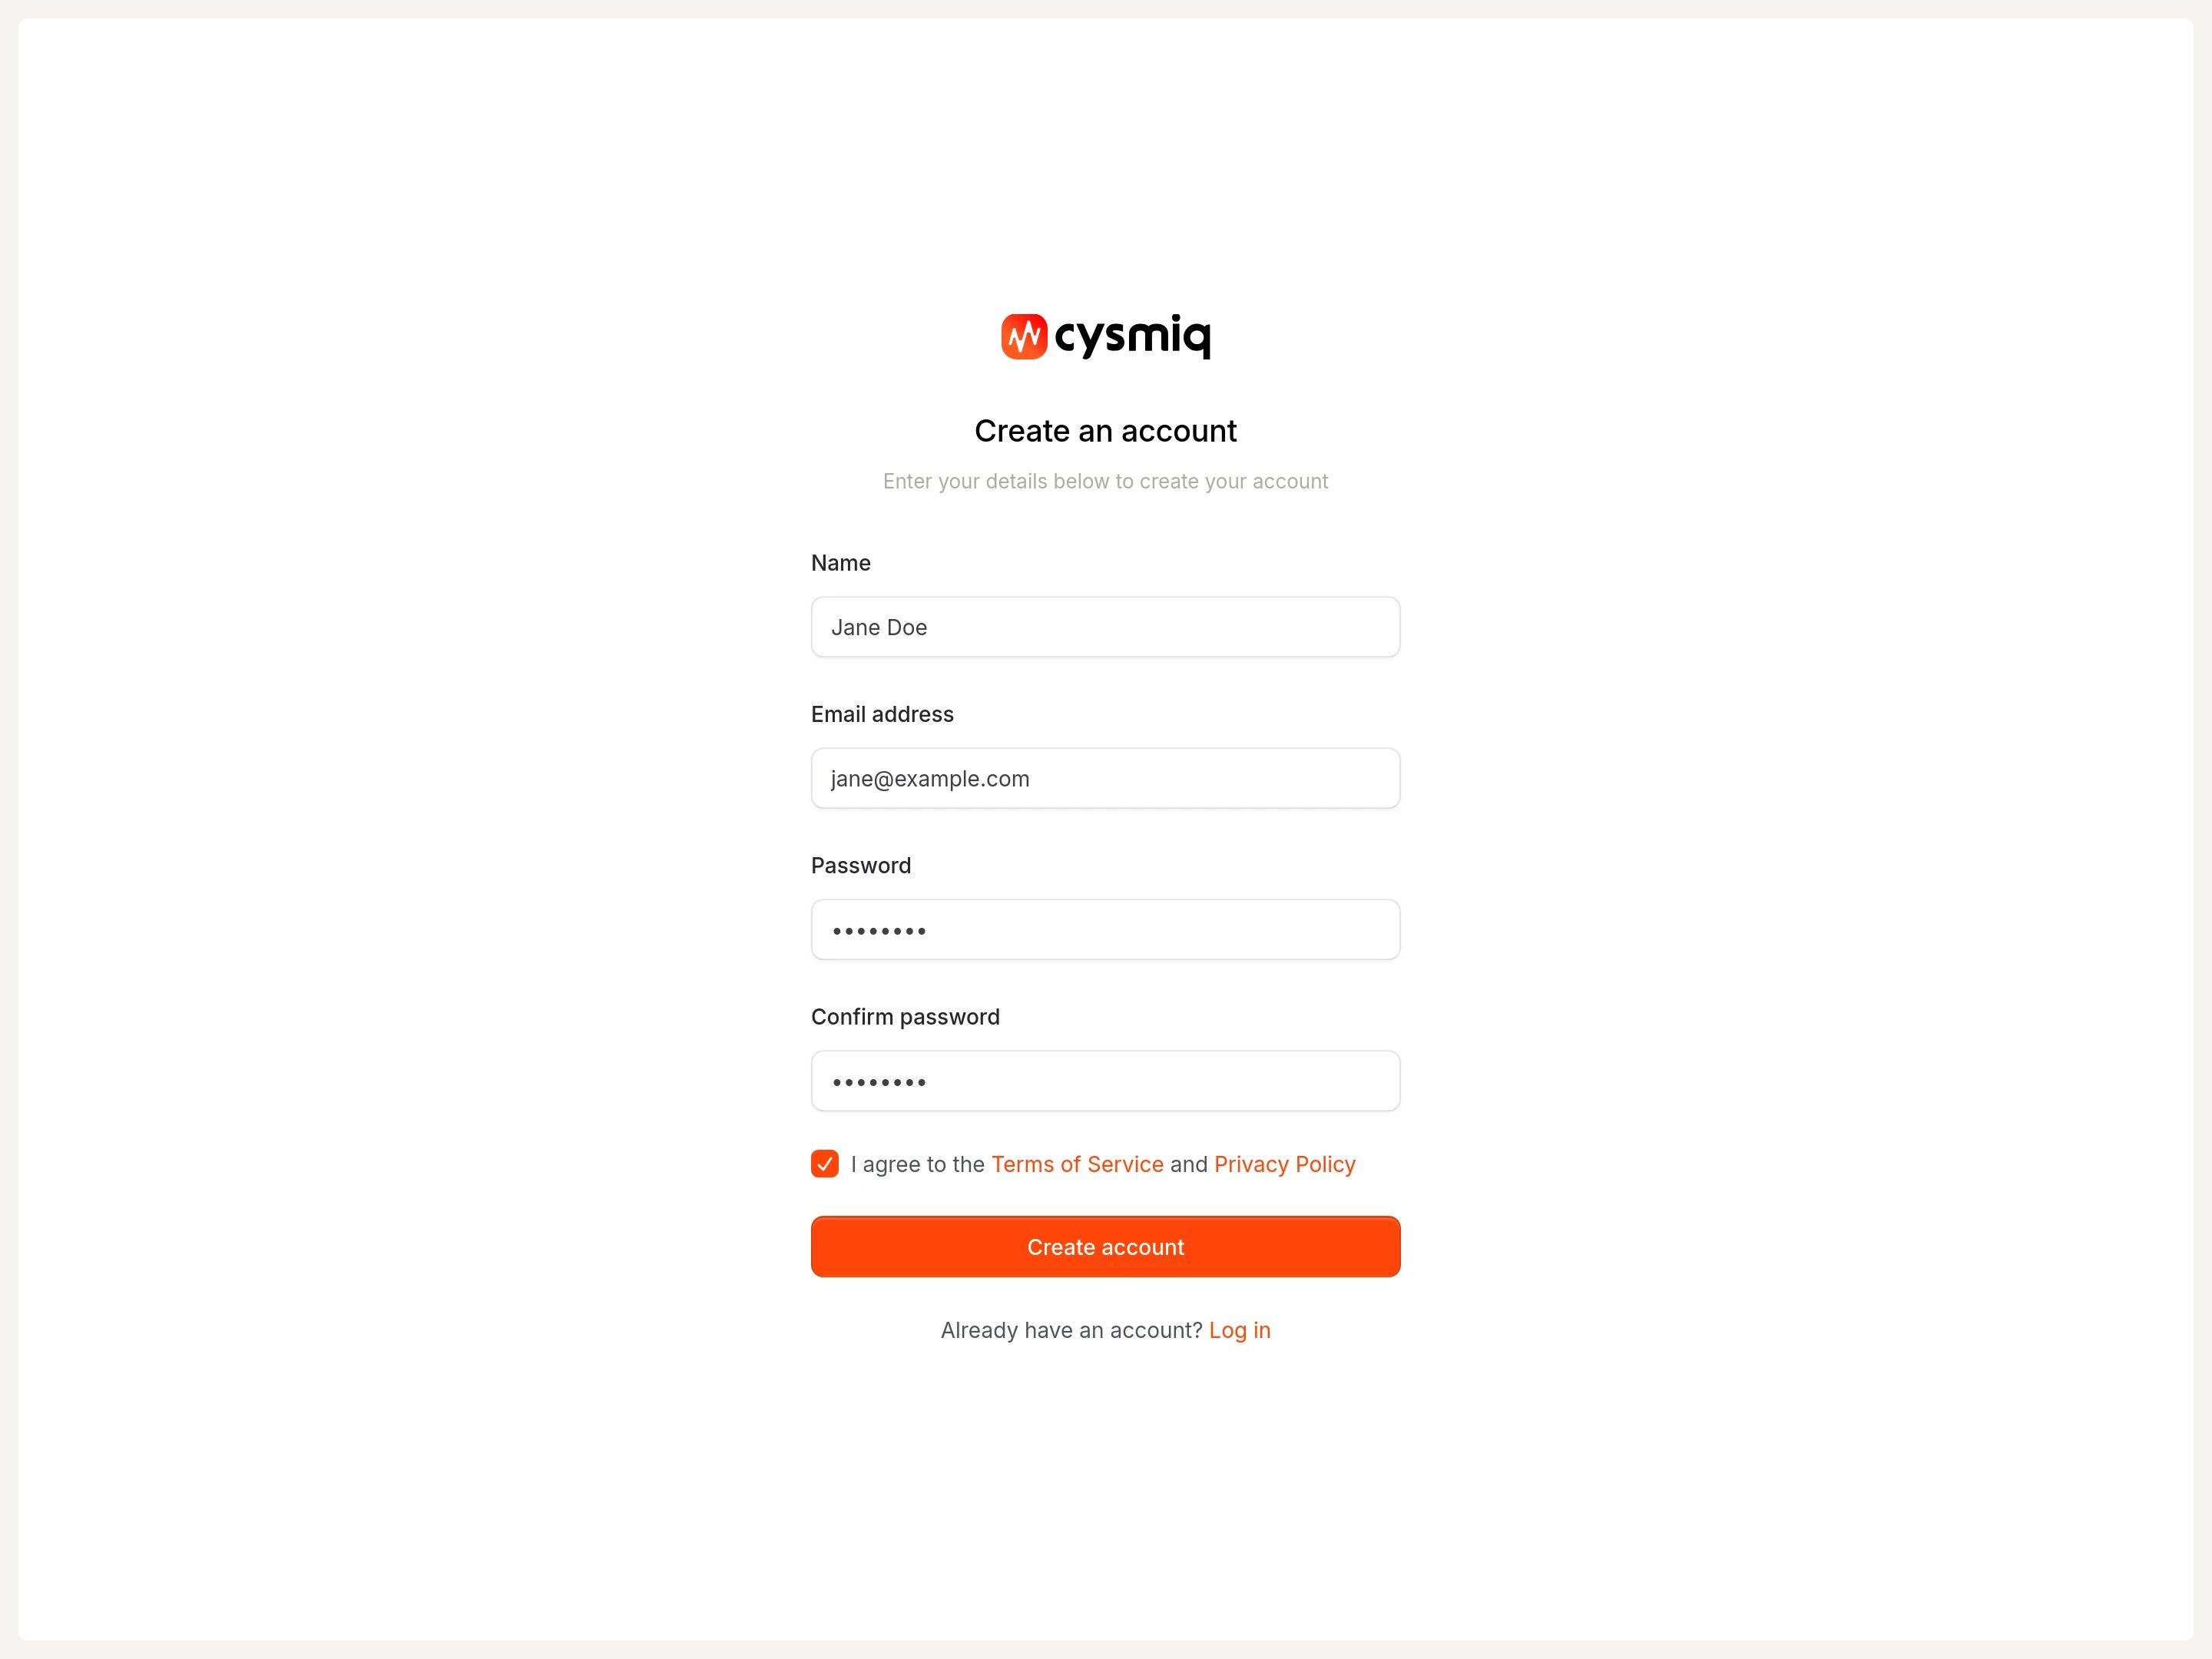

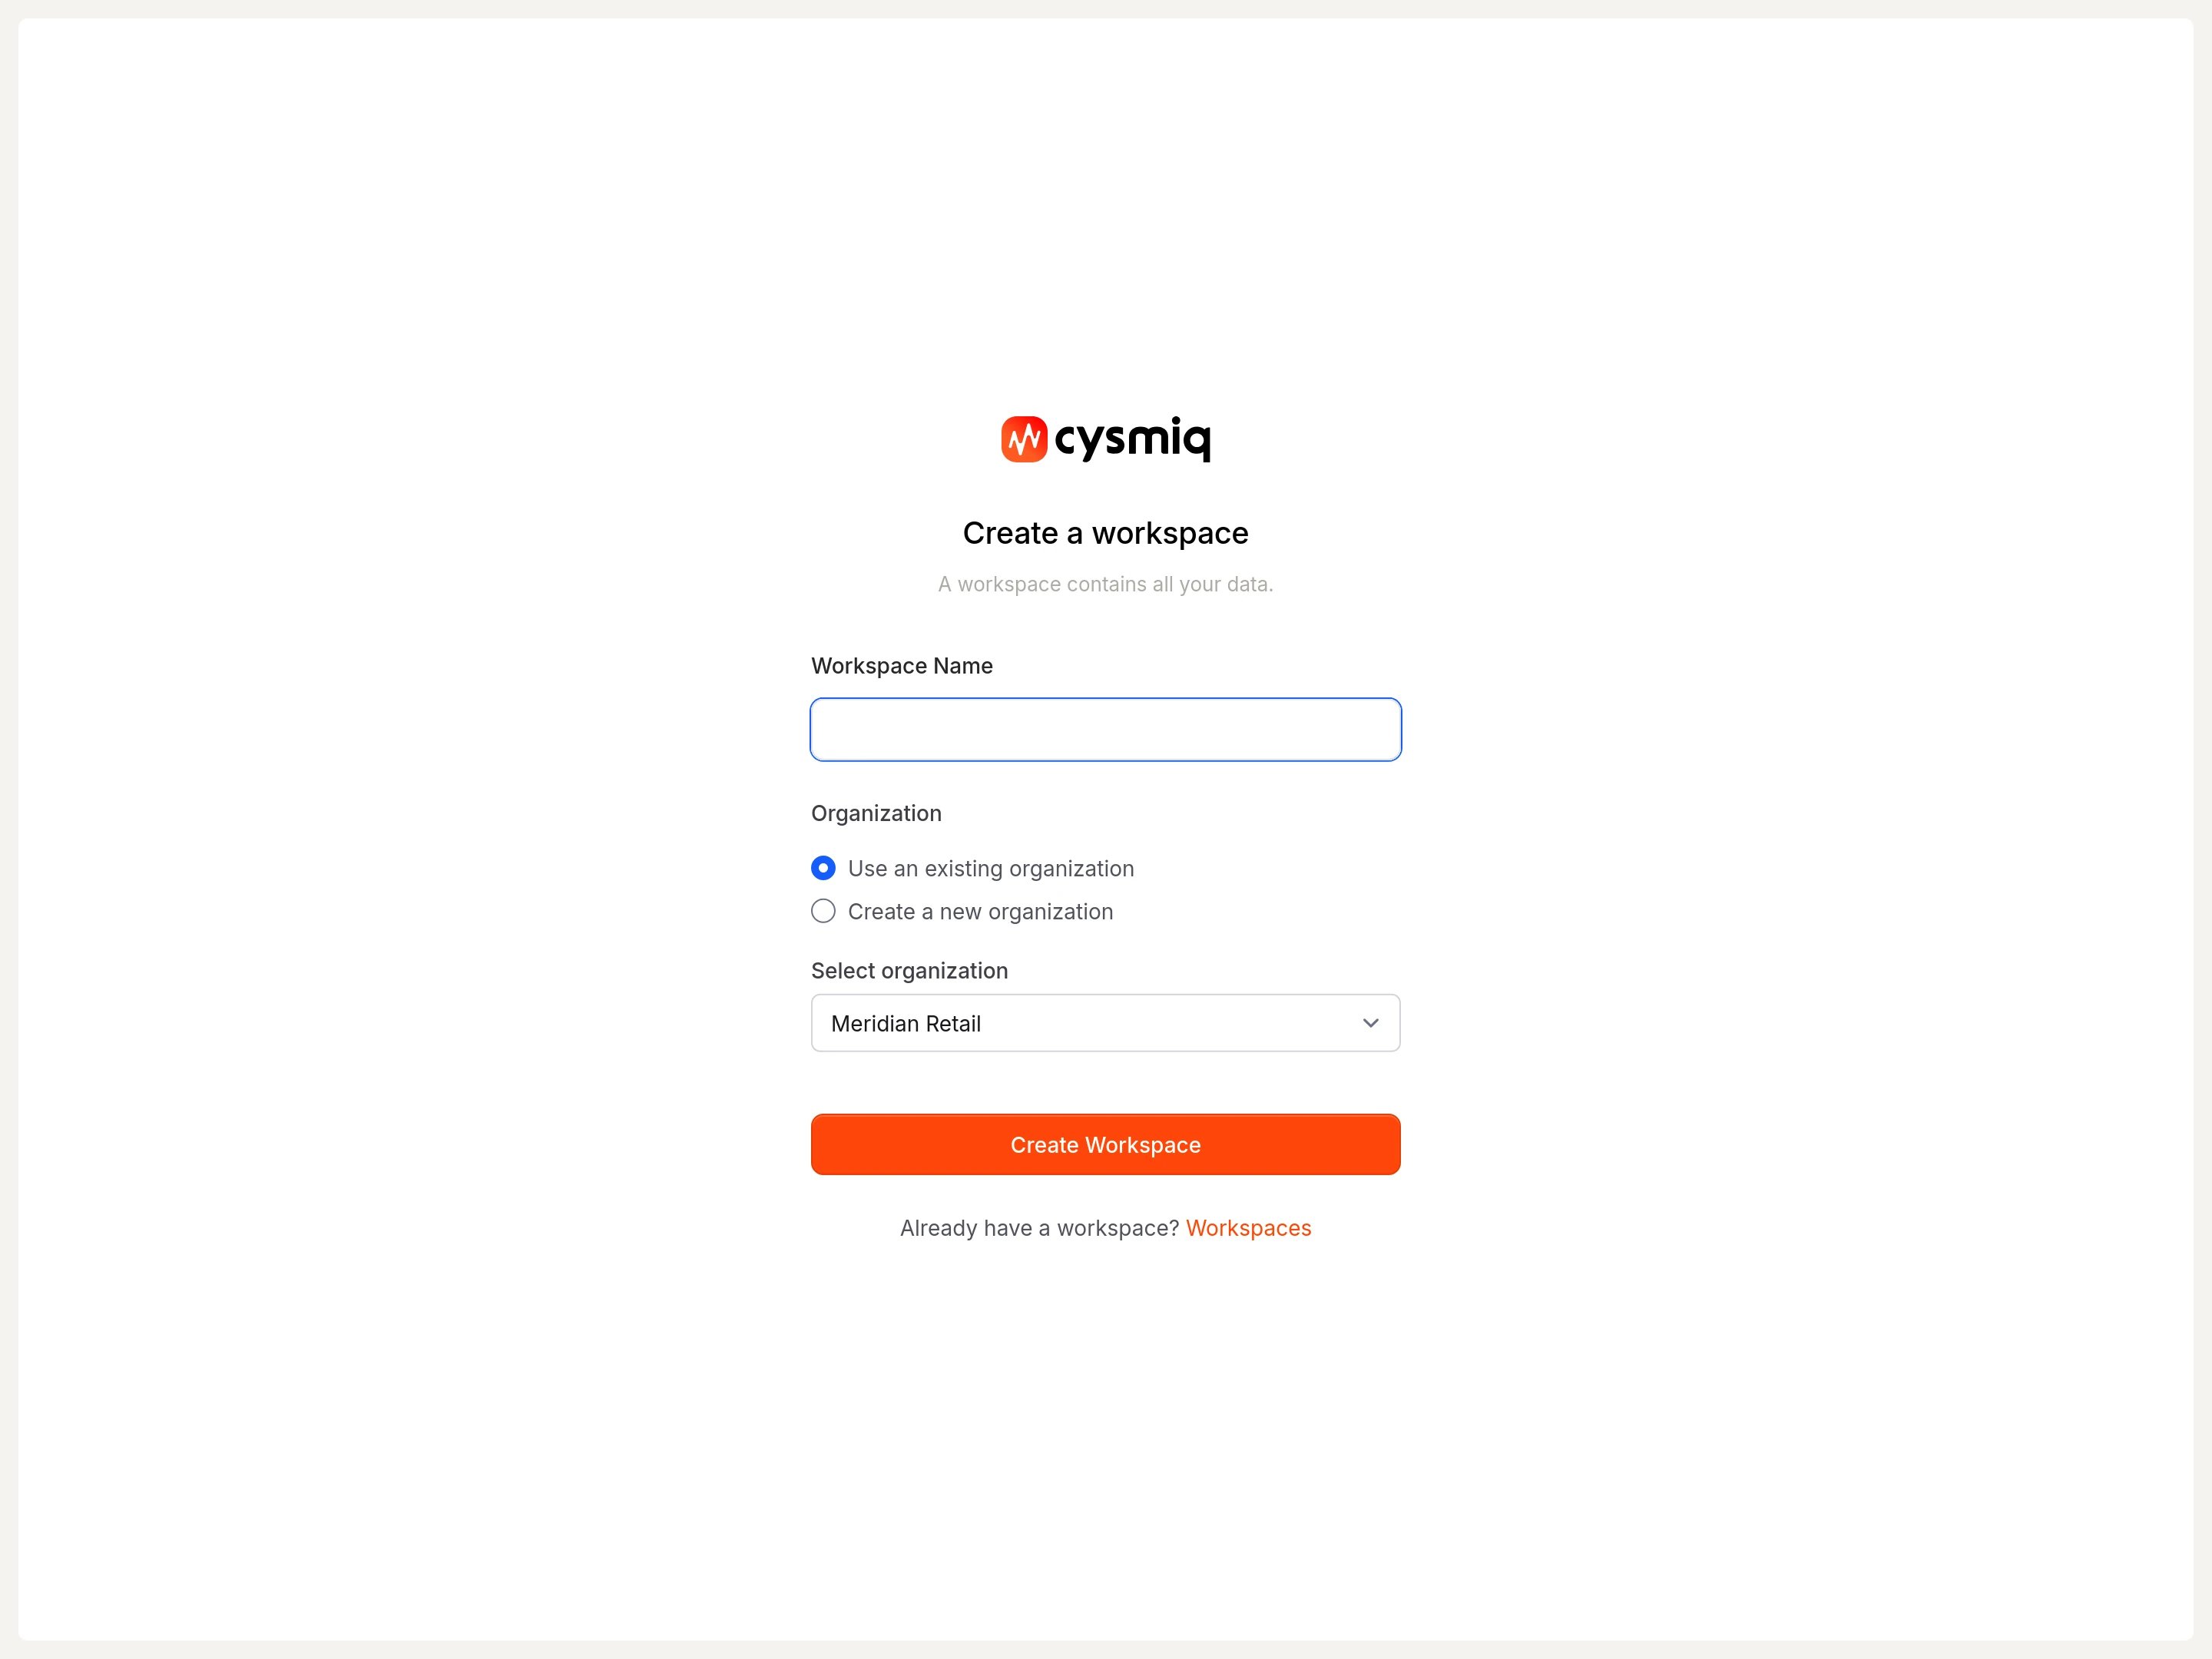
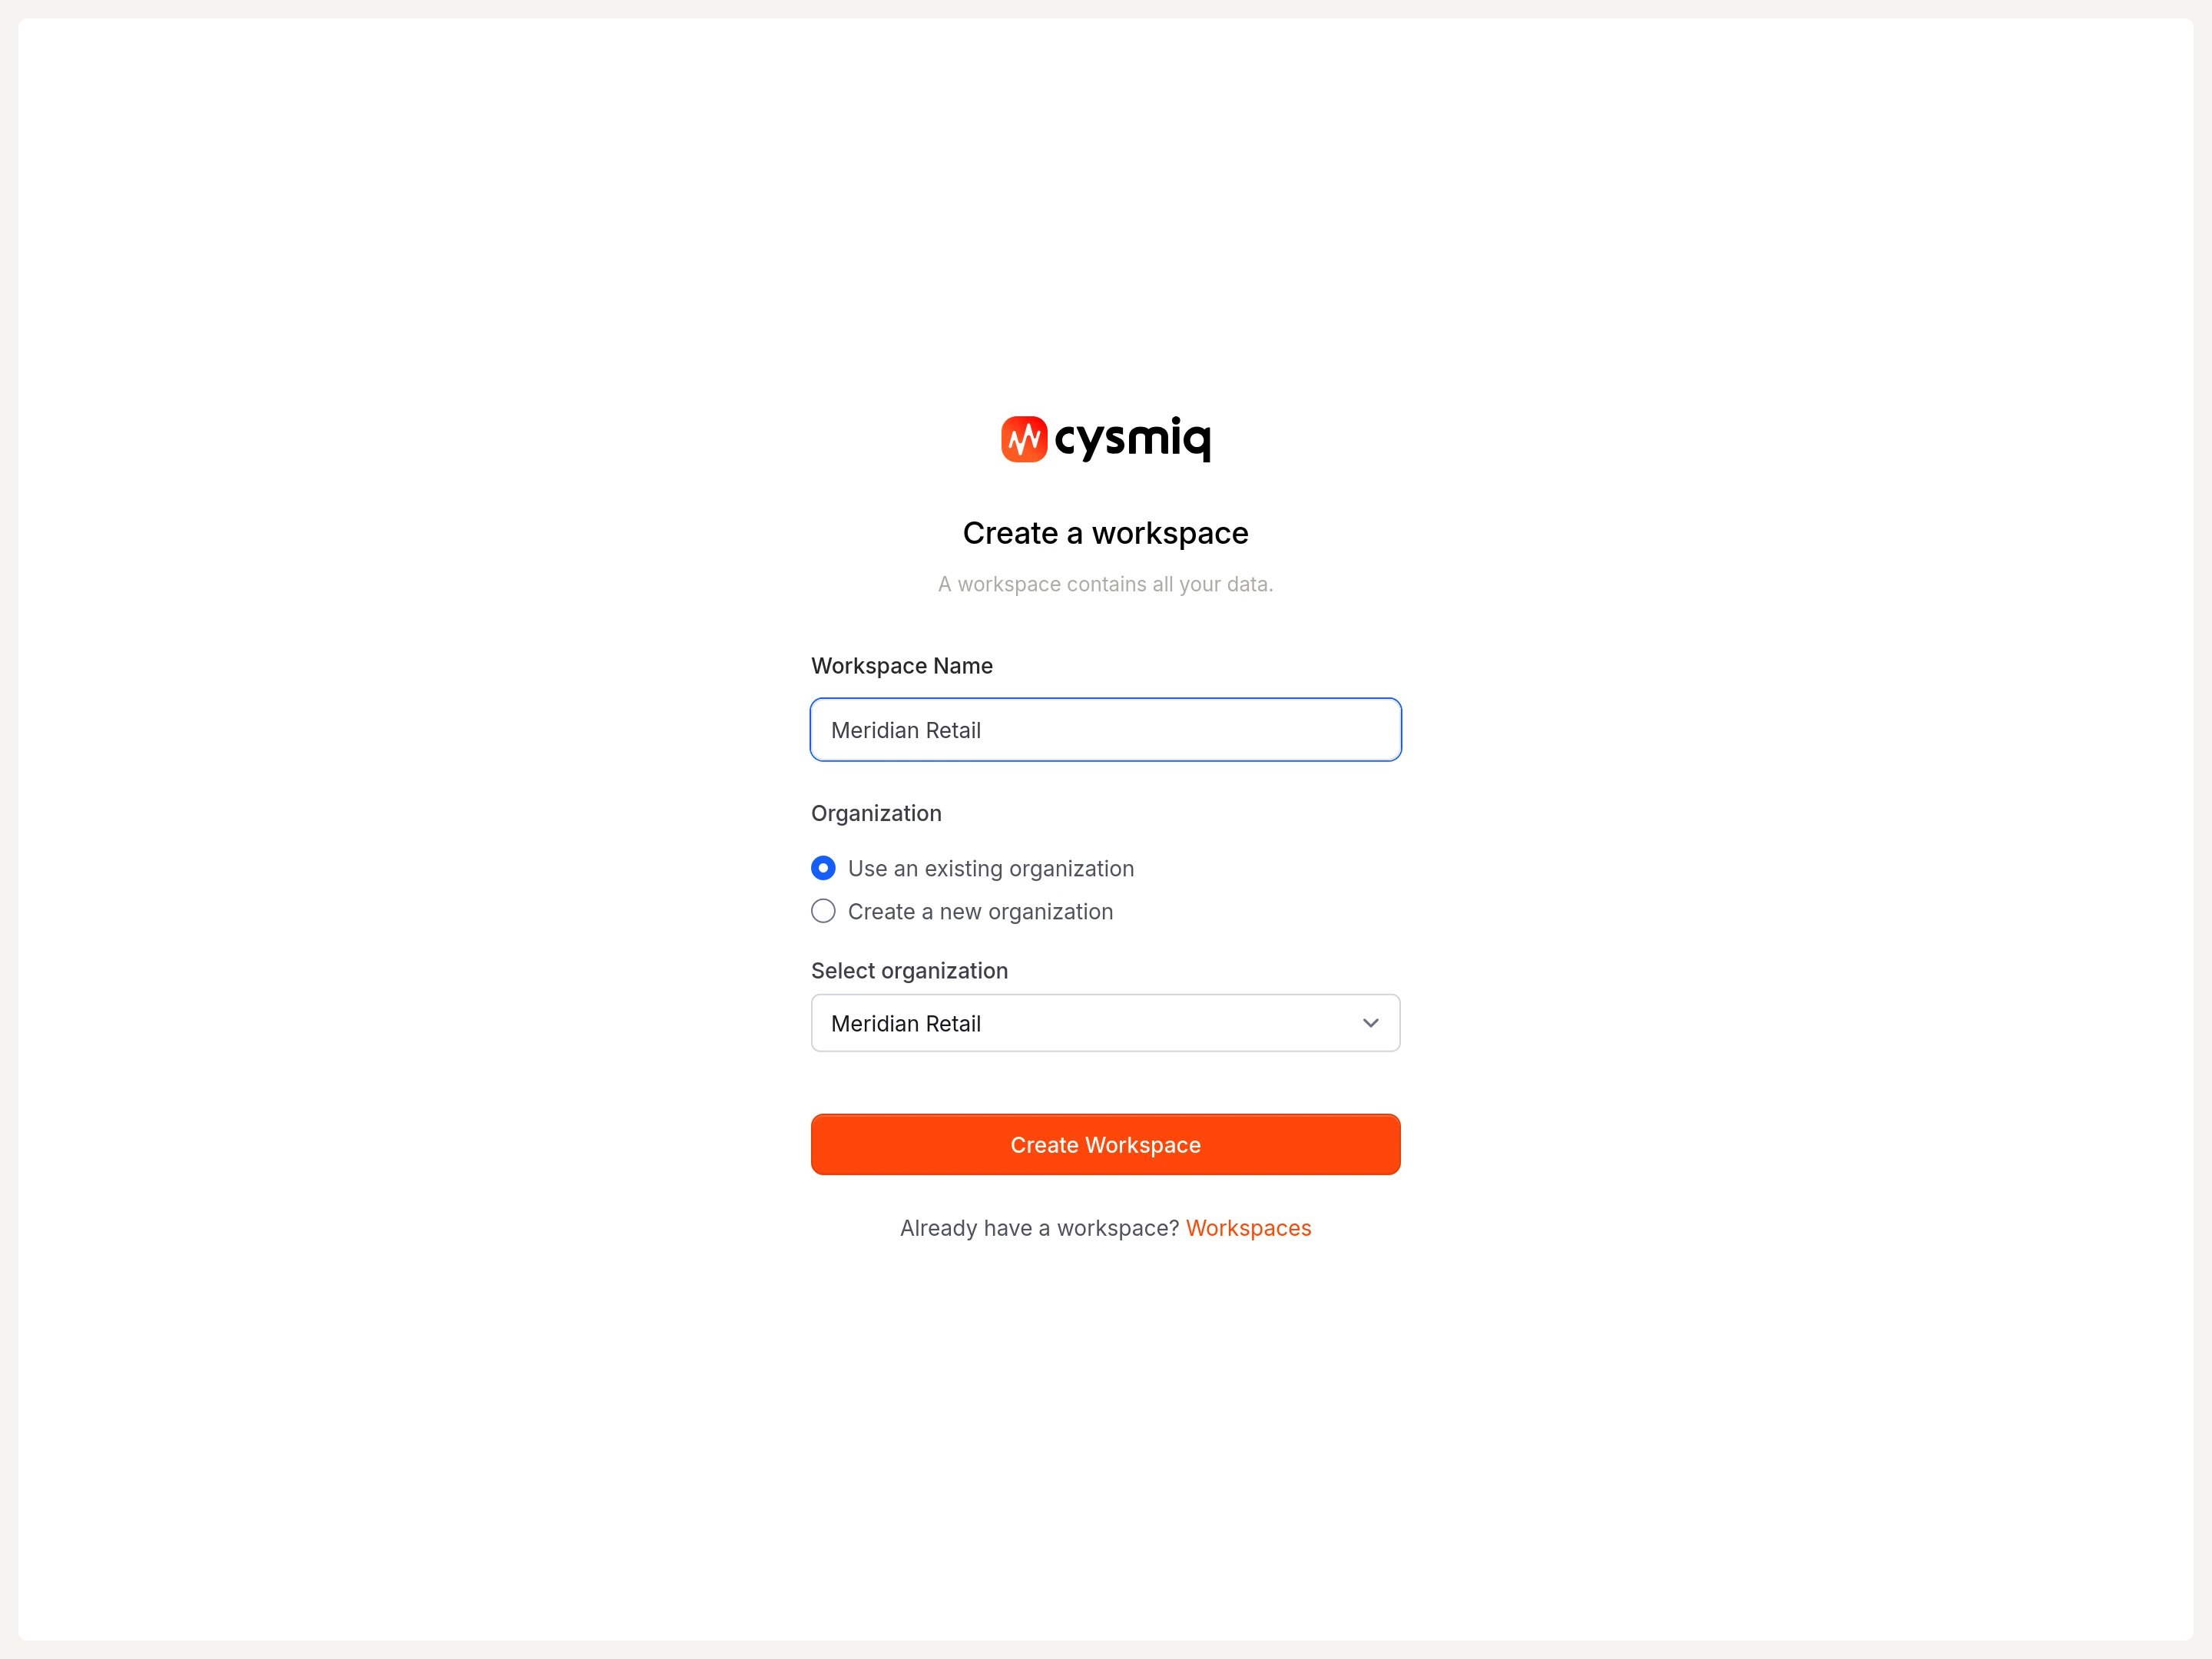
Create your first workspace
After you sign in, you land on the Workspaces page. If you already have a workspace, you can open it. For this quickstart, select Create a new workspace.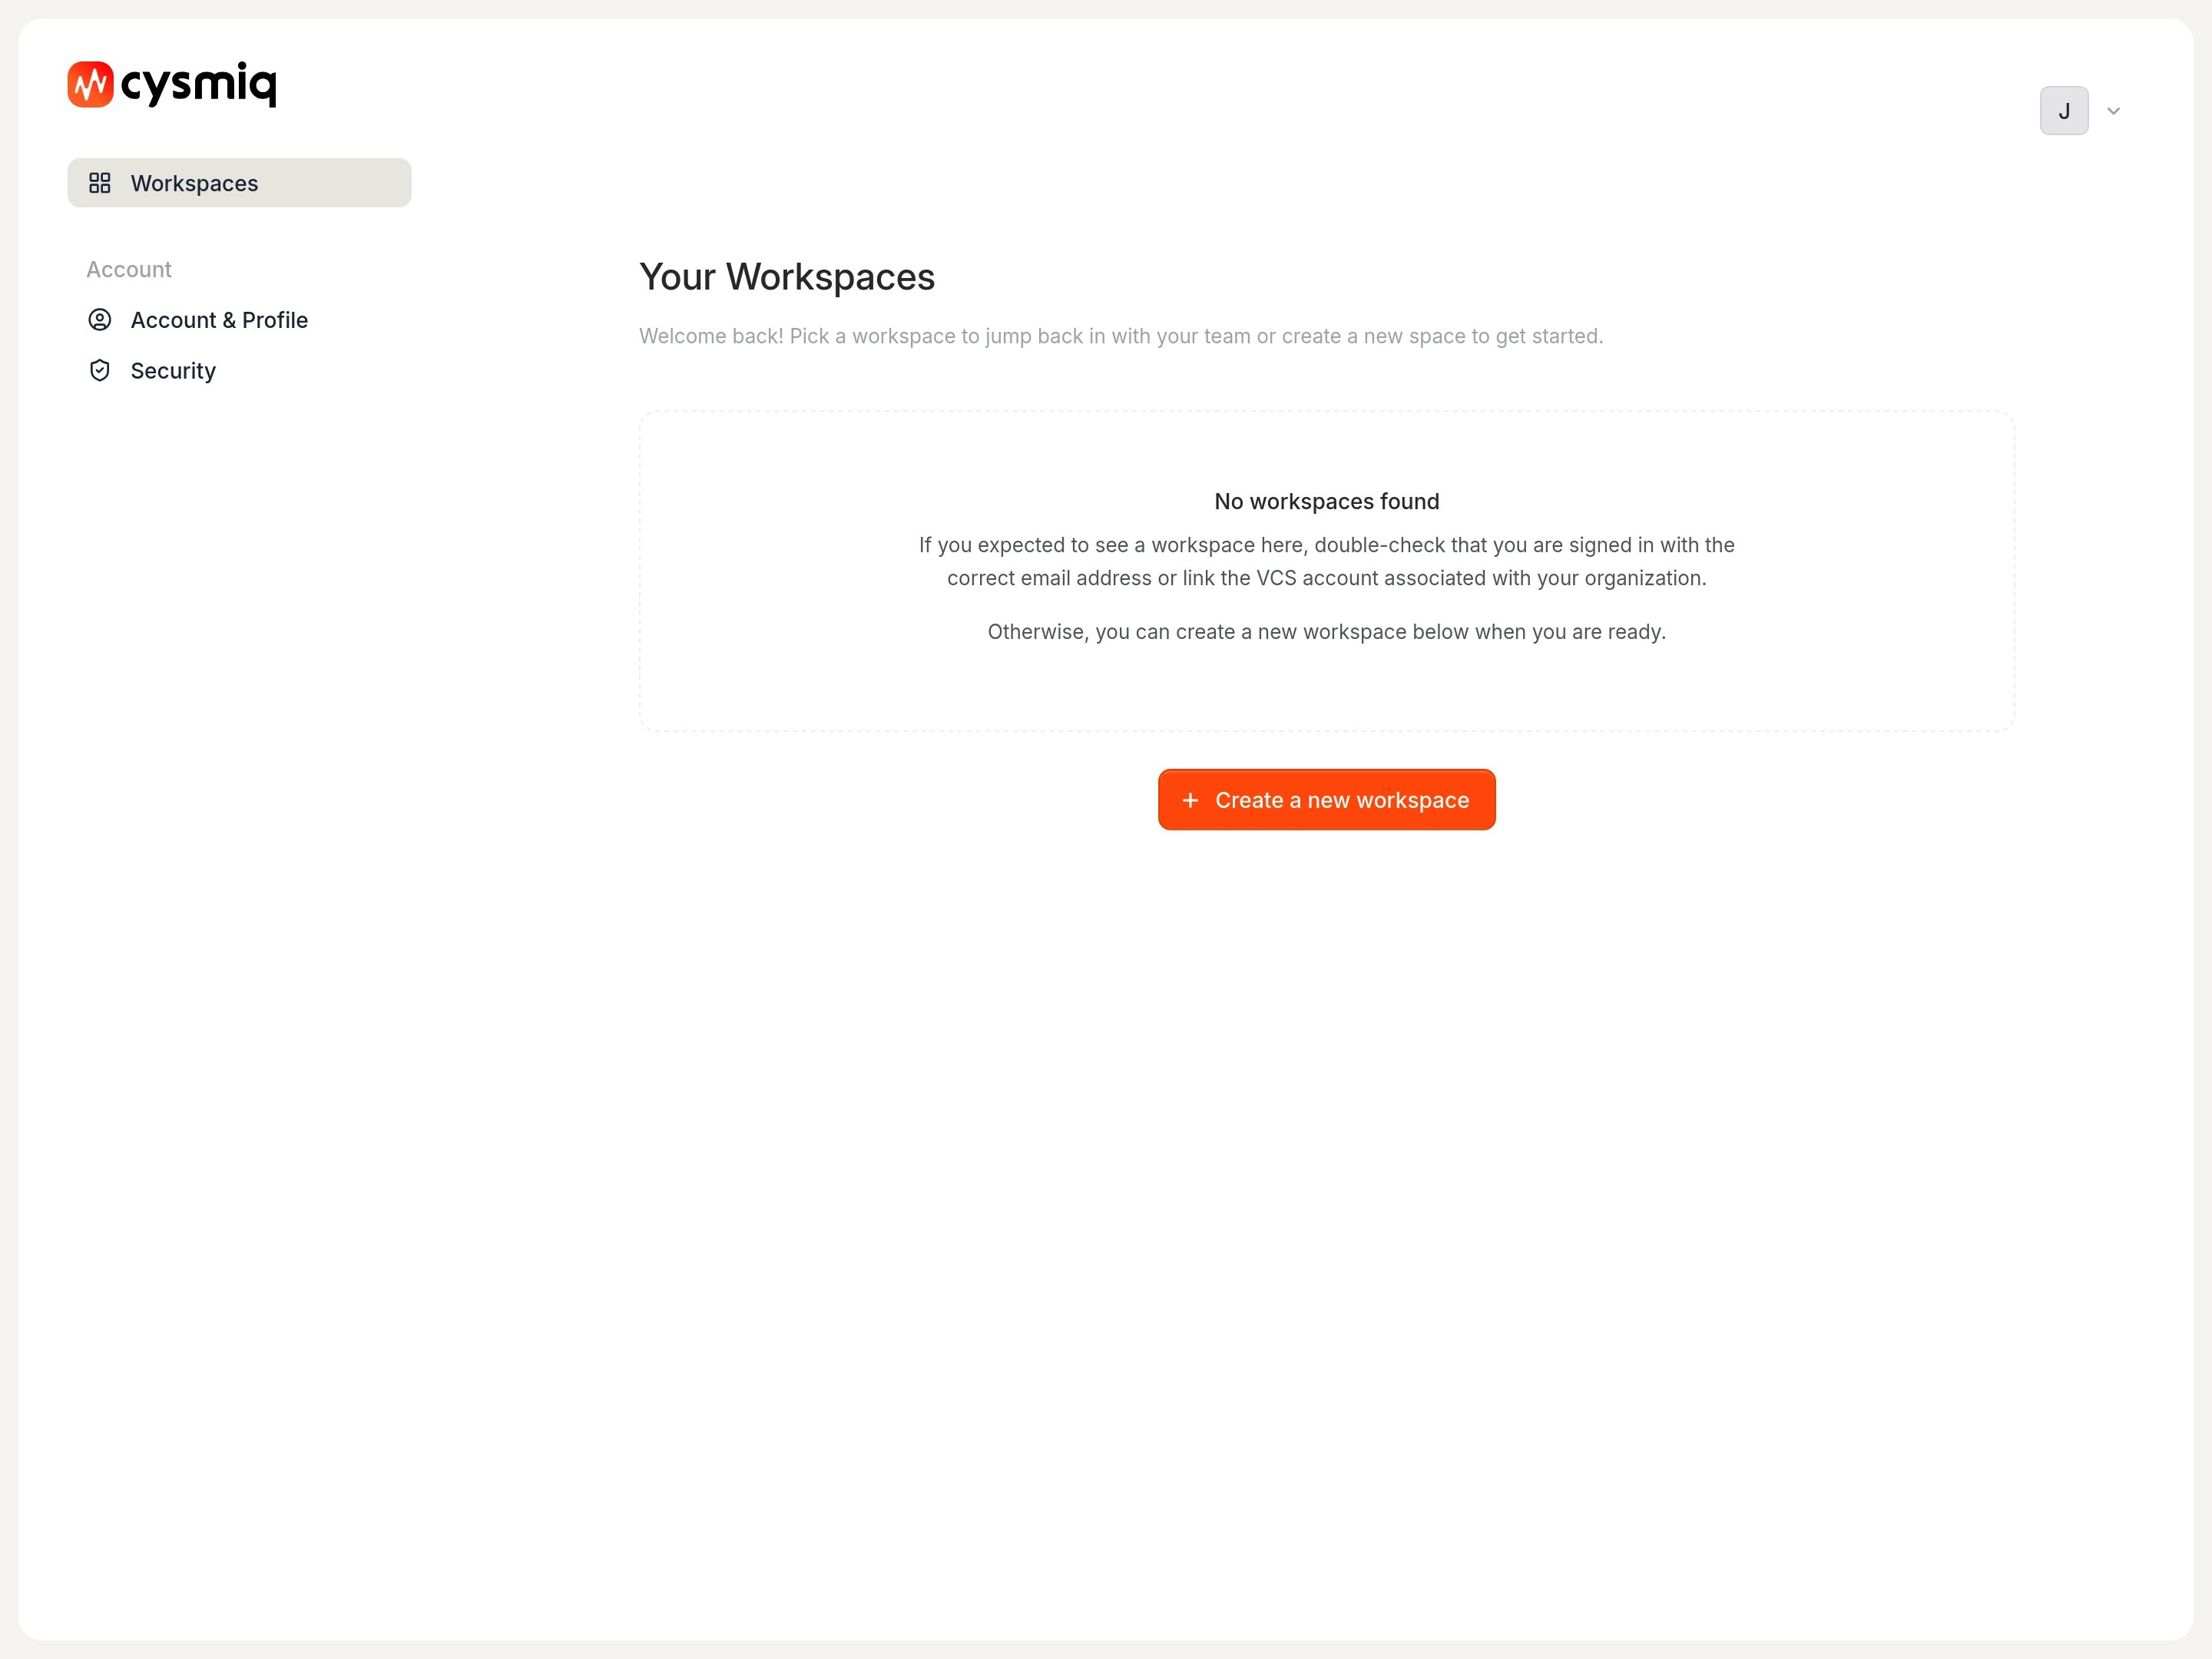
Connect your code
Your workspace is ready. Connect a version control system to start scanning repositories. Cysmiq supports GitHub, GitHub Enterprise, and GitLab.Next, follow the Connect a VCS guide.